
College Dorm & Apartment Halloween Decor Ideas That Are Spooky & Aesthetic
College living, but make it Halloween! 🕸️
College living, but make it Halloween! 🕸️

Who knew spring semester seniors could be so innovative?
You use them all the time, so they might as well represent YOU.
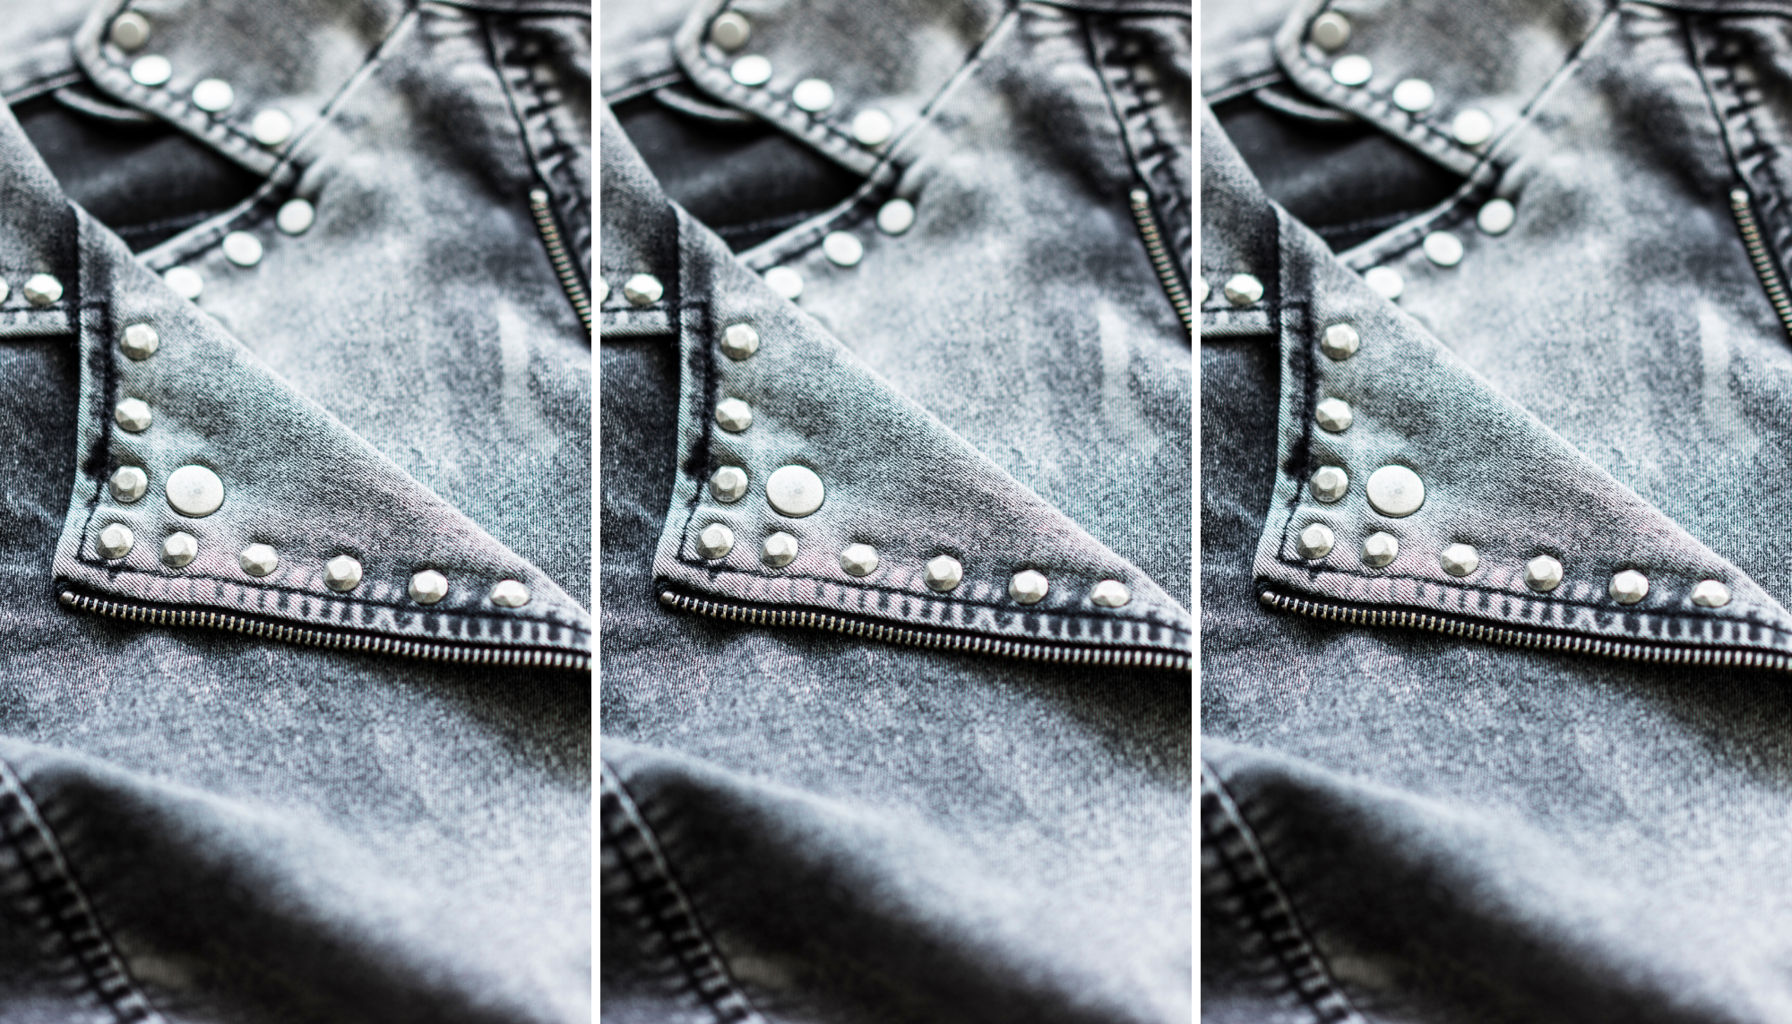
Why buy studded, ripped, or painted jeans when you can DIY them yourself? Here’s how.
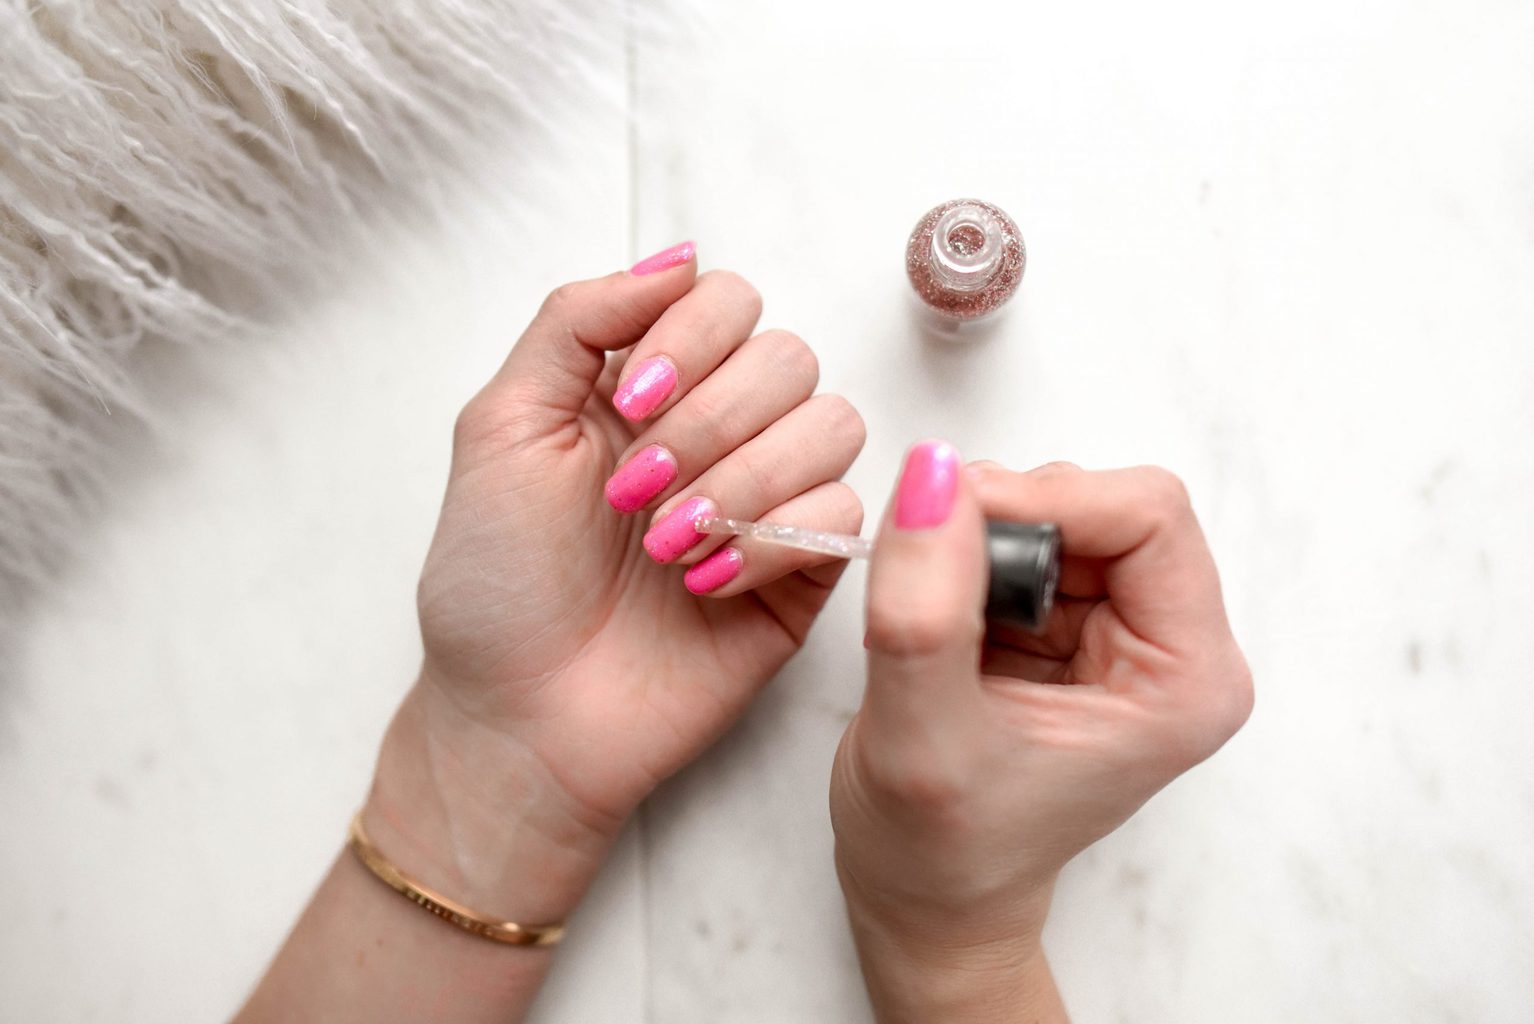
10 steps to a perfect at home manicure. Learn how to do your own nails at home to save money with our DIY mani tutorial.
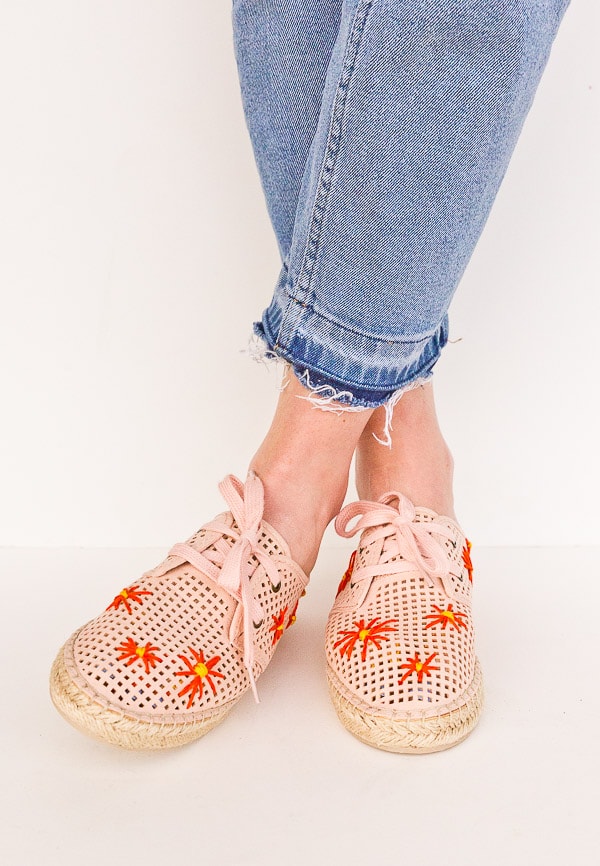
Cinderella’s slippers have nothing on these shoes.

Sharpen your skills this spring with these unique hobbies you can do at home.

Your wardrobe will feel brand new with all of these upcycling DIYs.

Sewing your own clothes is an amazing hobby, so here are the best beginner clothing projects to get you started.

There’s no better time than the present to learn something new.