
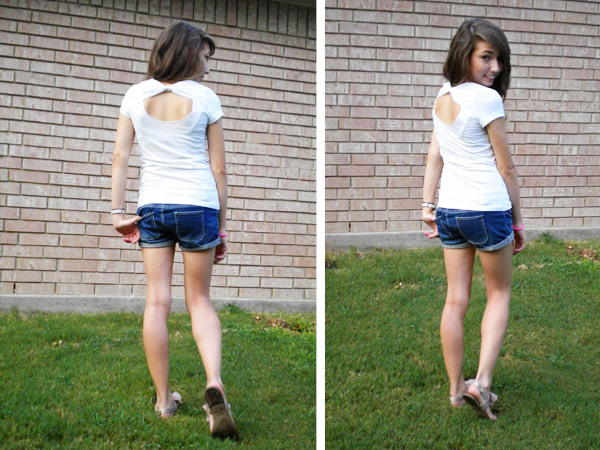
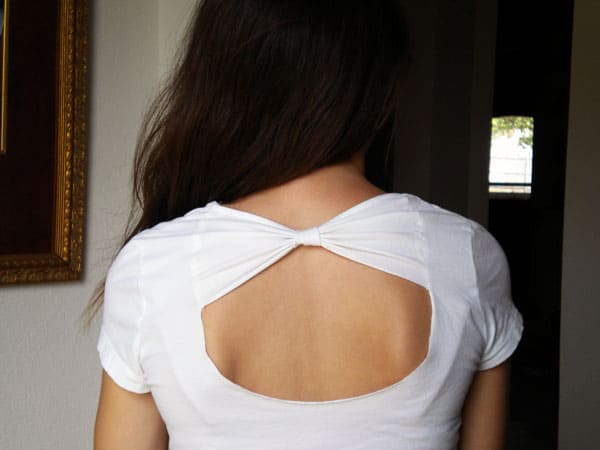
This summer, cutout, and low-back t-shirts have been extremely popular – you can find them in almost any store! These shirts are a perfect way to achieve a summery vibe and beat the heat. Learn how to make this DIY bow-back tshirt.
One of my favorite styles is this DIY bow-back t-shirt (see above); it creates such an effortlessly girly and chic look, and can easily be tucked into a skirt or worn with your favorite denim cutoffs.
This DIY will show you how to make your own bow-back t-shirt from an old tee you have lying around.
Table of Contents
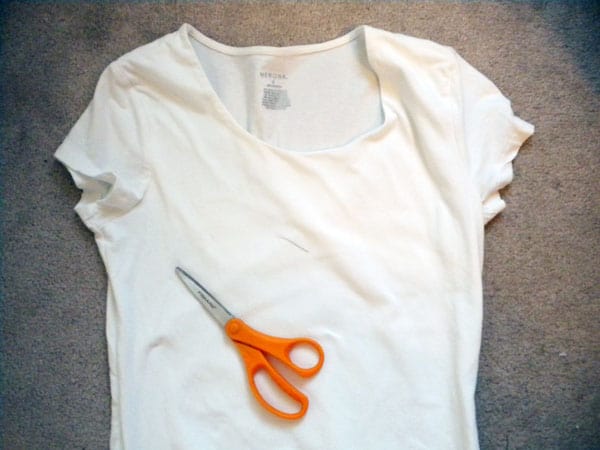
What You’ll Need:
- An old t-shirt – although any cut will work, a scoop or crew neck will work best for this DIY
- Scissors
- Needle and thread OR sewing machine (my fave sewing machine is this one)
- Seam ripper (Optional – for fixing mistakes!)
7-Steps on How To Make a DIY Bow Back Tshirt:
Step 1. First, make sure your shirt has been washed and dried if it’s new.
Lay it out so you are looking at the back of the shirt, making sure that the seams on each side are even and the entire shirt is flat.
On the back of the shirt, make light pencil markings for how wide you want your cutout area to be, and how far down the shirt you want it to go (see the finished product at the end of the post for an idea of where mine was).
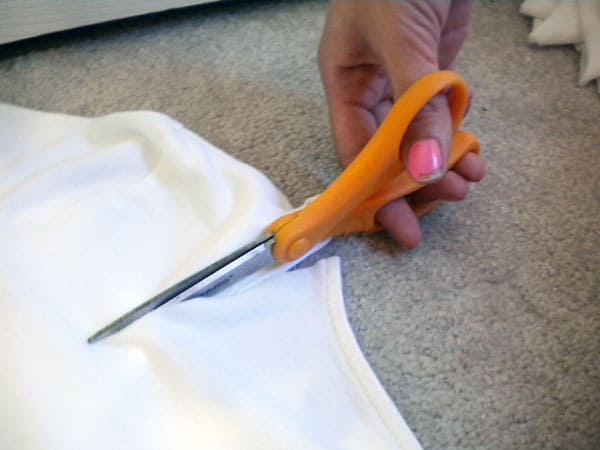
Step 2. Begin cutting one half of a “U” shape in the back of the shirt.
Make sure you don’t cut through both sides!
Try not to pull or move the shirt too much while you cut, and avoid closing the blades of the scissors all the way so you don’t get jagged edges.
Once you have cut half of the U shape, stop cutting.
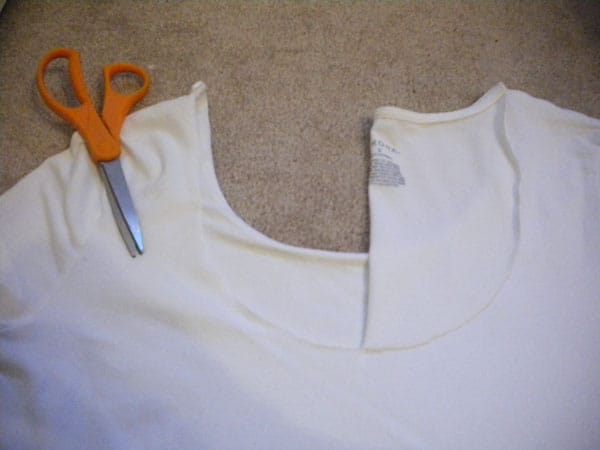
Step 3. Fold the half “U”
over to the other side of the shirt to use it as a guide. Cut along so both sides are even.
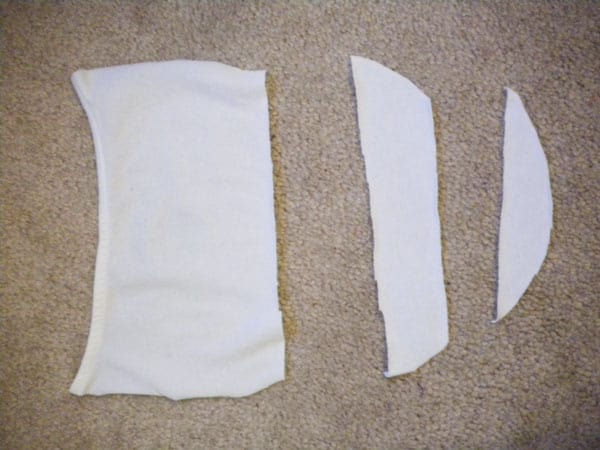
Step 4. Cut out the pieces for your bow.
Cut off the top of the “U” to make a rectangle, about 4 to 5″ tall. Furthermore, cut another strip of fabric, about 1 inch tall.
You should end up with 3 pieces, similar to the ones shown. You will only be using the top two pieces.
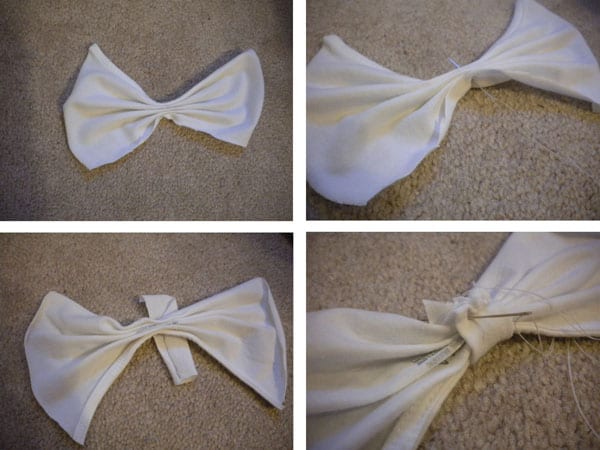
Step 5. Make your bow using the fabric you just cut.
Fold the larger rectangles like a fan- the folds should be horizontal.
Pull your needle and thread through the center to hold the folds in place. Then, using the strip of fabric, wrap the center of the fan.
Cut off the excess length, and sew along the edge to form a loop. Your bow is complete!
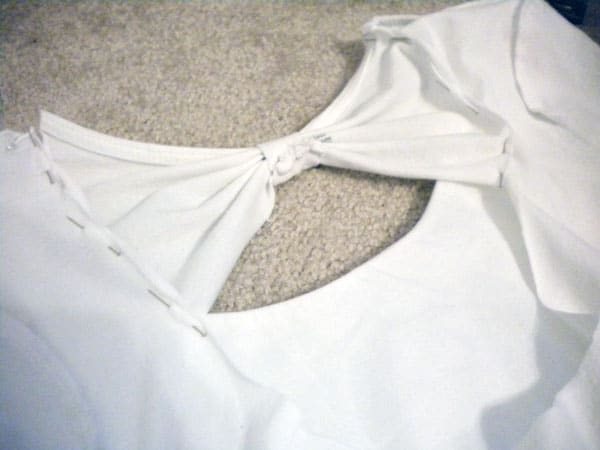
Step 6. Align your bow.
I found mine looked best when it was at the top so the neckline was continuous, but you can put it lower if you want.
Turn your shirt inside out, then pin the bow so that the side of the bow you want facing outward is facing in, too. In other words, you’ll be looking at the “inside” of the finished product when you sew, so that the seam will be on the inside of the shirt.
Try the shirt on inside out while it’s still pinned to make sure you like where the bow is.
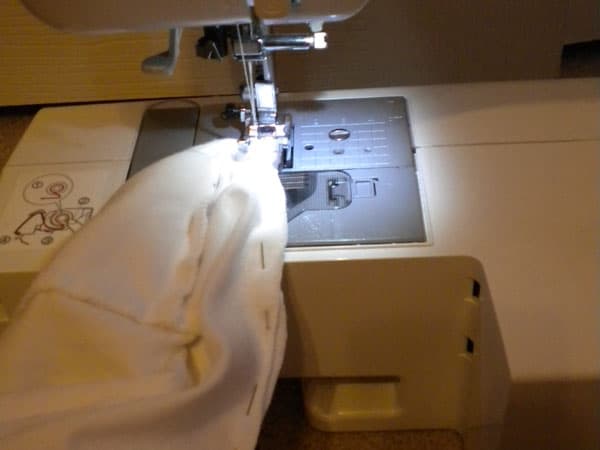
Step 7. Sew your bow in place.
Make sure you knot or backstitch, since this area will receive a lot of strain. Turn your shirt right side out, and you’re done!
You could also add more bows if you want, or even cut out the entire back and make bows all the way down. The amount of the back you cut out can completely change the look of this shirt.
Don’t let the idea of sewing scare you. Although a needle or sewing machine may seem daunting, it just takes a little practice and patience! And if you do mess up, you can use a seam ripper to tear out any seams you messed up on.
If you don’t have a seam ripper, you can also use a pair of scissors, you’ll just have to be extra careful. Most mistakes in sewing are fixable, so don’t stress – just be creative!
Your Thoughts For This DIY Bow Back Tshirt?
What do you think about cutouts and low-back shirts? Will you be making your own bow-back shirt? Have any other DIYs you’d love to see? Tell us in the comments!
For more DIY fashion ideas like this, you might want to check out our related posts below –
That’s exactly what I thought.
I attempted this DIY and failed miserably! I sewed my bow on too high up and cut too much off! Oh well, hopefully I’ll do better next time!
I’m gonna try it with a white tank 🙂 hoping for great results
Emily’s right! For those of us who don’t have a sewing machine!
I just did this and it is so cute! love it <333
Kate- As long as you use a knit shirt (as in tshirt material, not like a sweater knit) you’ll be fine.
Not sure if anyone is still checking comments on this post, but do you know if the unfinished bits from the cutout will unravel over time?
If it is knit t-shirt (stretchy) the edges will curl and not ravel!
So glad you loved it! I would loved to see how it turns out.
Emily, I’ve seen that way too! I wanted to create a larger cutout, and I wanted it to have a more finished look so I covered the stitching. There are a lot of different ways to do this, depending on the look you want!
There’s a much simpler way to do this DIY – just cut wide slits in the back of the shirt, bunch up the material and put a stitch in to create the bow.
Great idea
Wow it looks great. Good job!
I love it I love it I Looooooooooove it
I love this tutorial! Definitely going to do it~