Learn how to alter clothes like a pro with our expert tips. Discover efficient techniques for altering clothes to perfection.
Whether you’re interested in sewing so you can work towards making your own clothes or you just want to take care of the clothes you already have, I firmly believe that everyone should have some basic sewing skills they can pull out in a pinch.
You never know when that perfect pair of on-sale pants will be just two or three inches too long or when your favorite coat will mysteriously lose a button. With some basic skills, you can fix your clothes and edit them to fit you better. (You’ll even be able to start some beginner sewing projects!)
Table of Contents
How to Alter Clothes – Step by Step Guide

Below, I’ll explain two basic sewing techniques step by step:hemming and sewing on a button. Both techniques are much easier than they look, I promise!
1. Hemming
If you’re short like me, chances are you’ll have to hem something at some point. Although you can pay someone to do it for you (or use hemming tape for a temporary hem), it’s easier and cheaper to do it yourself.
Whether it’s a dress, skirt, or pants, you want to make sure you gather all your supplies before you start, including a needle, thread that matches the fabric, a tape measure (or ruler), iron, scissors and pins. Here’s what you do:
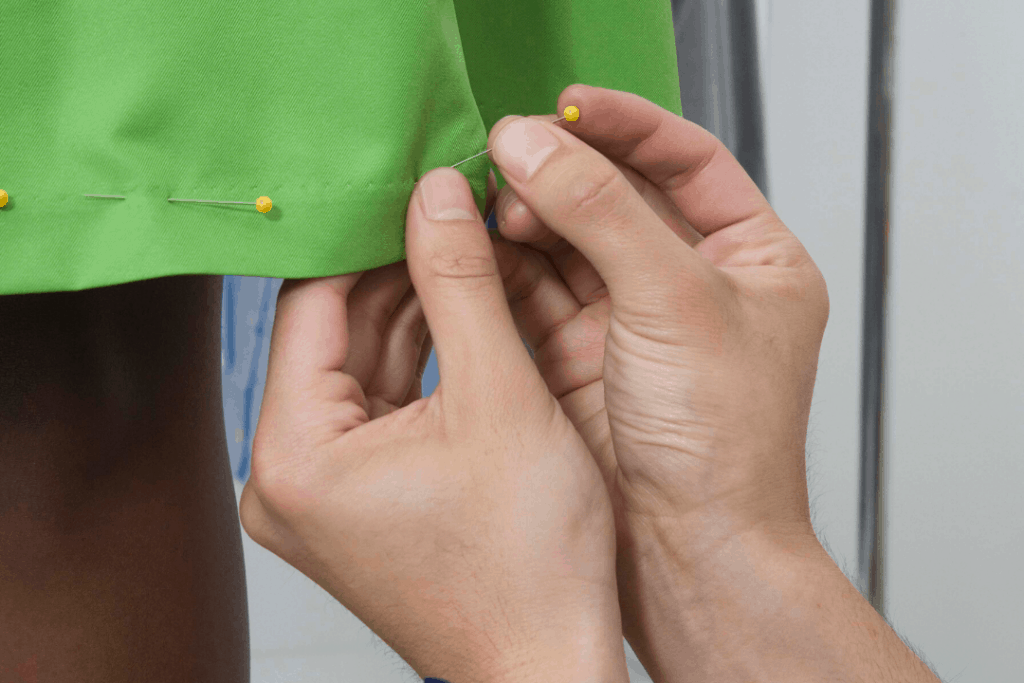
1. Put the garment on inside out.
Have a friend pin the hem up where you would like it to be and make sure that the pins are perpendicular to the edge you will be sewing. Take it off carefully so you don’t stick yourself!
2. Even hem
Measure to make sure your hem is the same all the way around and to make sure pant legs are even. Take your time with this so that you don’t end up with an uneven hem!
3. Iron the hem down where it is pinned
If you have cut the edge you are hemming, as with a shortened dress, iron the hem down with the pins, but then remove the pins and fold the edge 1/4-1/2″ under and then pin and iron again so that there will not be an exposed edge that can fray. Always leave your pins in until you’ve sewn the hem!
4. Now it’s time to sew.
I find that the easiest, strongest, and most reliable hem stitch is the vertical hem stitch, which is illustrated below. As you can see in the tutorial below, the stitch goes through Layer 2, comes up, and barely catches Layer 1 before repeating the cycle.

Tips and Tricks:
- Triple knot your thread ends and begin by sewing from the inside of the fold to the inside of the garment as shown below.
- Catch as little of the outer garment in the stitch as possible so that your hem doesn’t show through.
- Make your stitches small and as invisible as possible. This will get easier and easier with practice and will help insure that your hem will be strong and durable.
- For more help and other hem stitches, check out this link.
2. Replacing Buttons
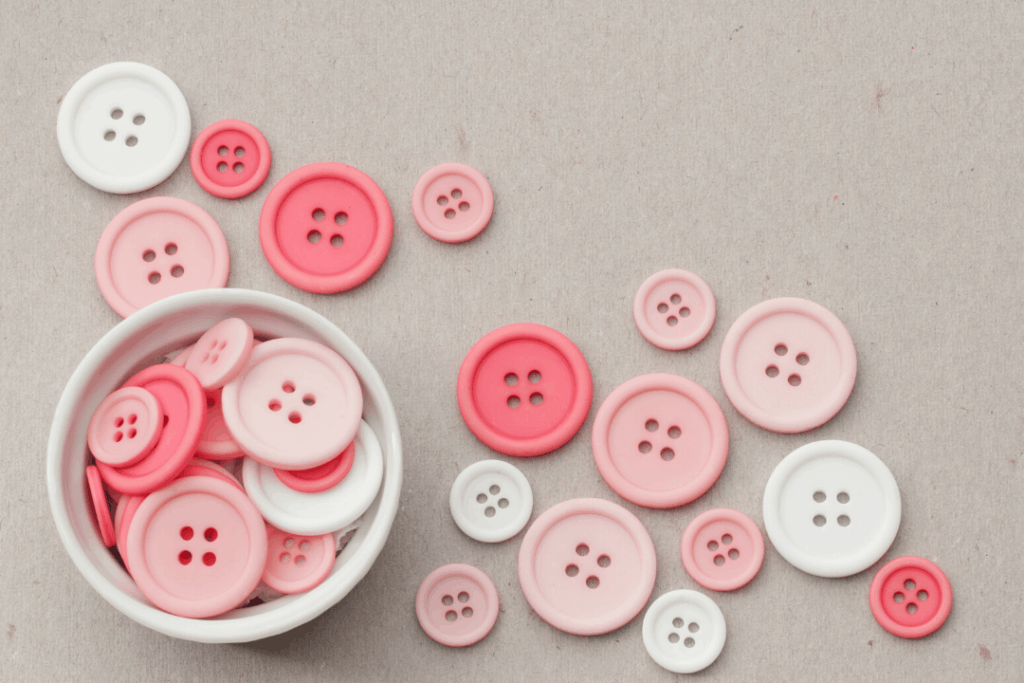
One of the best ways to change the look of a garment is to sew on new buttons. In order to do this, it’s important to know how to sew on a button.
We’ve talked about how to sew on a button here at CF before, but if you found our basic guide confusing, this one is more detailed and should help your button stay on longer.
1. Thread your needle with thread the same color as your fabric and pull it through until your thread is doubled over. Tie a triple knot, holding both strands together so that your needle is in the middle of a giant loop.
2. Starting on the outside of the garment (where you are going to sew the button on) push the needle through from front to back. This way, your knot will be hidden by the button.
3. Sew back up through the garment, this time putting the needle through the button loop or one of the holes. If your button has just two holes, sew up through one and down through the other 6-8 times. If your button has four holes, sew in an X for 3-4 passes and then, if the button will not be visible, sew in a square around the outside for extra strength.
4. Push the needle back up through the fabric, but NOT any of the button holes. Wrap thread around the stitching between the button and the garment 2-3 times. Sew back down through the fabric and knot it off. Check out the tutorial below for detailed instructions:

Tips and Recommendations For How To Alter Clothes
If you’re interested in doing alterations, here are some more simple tips to get you started!
Before you cut:
- Assess the piece: Determine the fabric type, construction, and potential alterations needed. Consider if the alterations are feasible and if the fabric is in good enough condition.
- Gather your tools: Basic sewing supplies like needles, thread, scissors, a seam ripper, and pins are essential. Depending on the alteration, you might need an iron, ironing board, a sewing gauge, or specific things like zippers or hooks.
- Wash and iron the piece: This removes wrinkles and makes it easier to work with.
Understand what common alterations are:
- Taking in seams: Adjust pants that are too loose at the waist or hips, or shorten the sleeves of a jacket.
- Letting out seams: Expand a garment that has become too tight.
- Hemming: Shorten the length of pants, dresses, or skirts.
- Replacing buttons or zippers: Refresh worn-out closures.
- Adding darts or tucks: Take in fullness or create a more tailored fit.
- Shortening straps: Adjust the length of shoulder straps on dresses or tops.
- Lengthening sleeves: Add fabric to extend the sleeves of a jacket or sweater.
Tips for success:
- Start small: If you’re a beginner, choose a simple alteration like the ones we explained today before tackling more complex projects.
- Work on scraps first: Practice your sewing techniques on scrap fabric before touching the actual garment.
- Measure twice, cut once: Double-check your measurements before cutting any fabric.
- Use the right tools and thread: Match the needle size and thread weight to the fabric type.
- Pin before you sew: Pinning ensures accurate seam placement and prevents mistakes.
- Go slow and take your time: Rushing can lead to errors.
- Don’t be afraid to ask for help: If you’re stuck, consult a sewing guide, online tutorial, or even a tailor for assistance.
Remember, practice makes perfect! With a little patience and practice, you’ll be altering clothes like a pro in no time. Good luck and happy sewing!
What do you think?
Do you know how to do these sewing tricks already? Do you sew regularly? Are there any other sewing techniques you’d like to learn? Let me know in the comments!
I need to know how to sew two buttons on at the same time using one piece of thread, with one button on the front of the fabric and one button on the back of the fabric right underneath the first button. Actually, I know how to sew them on but not sure how to tie the tread off properly.
This is perfect! Exactly what I need to know, I already knew how to sew on a button, but hemming is something I never knew how to do. No longer shall I take all my sewing to my mother to do, after extensive begging on my part of course.
Yes! Definitely upload some more tips on sewing without a sewing machine. How can we make our clothes better?