Is it just me, or are scrunchies everywhere lately? From the runway to the high street, this ’80s accessory is popping up all over the fashion map. Maybe it’s my fond memories from gymnastics (did anyone else feel incredibly cool when your leotard matched your hair?), but I for one am loving the return of this trend. I also love how they don’t leave a huge crease in your hair, so they’re great for working out as well.
Over the next few months, I’ll be sharing easy DIY projects on CF. For my first article I wanted to start with something extra simple and scrunchies are probably the perfect DIY in this respect. Honestly it’s just a long rectangle that you sew up to make a tube and pull an elastic through — but for those of you who are just want to dip a toe into the world of DIY, I’ve included a pattern with measurements, a follow along tutorial, and photos below. Enjoy!
Table of Contents
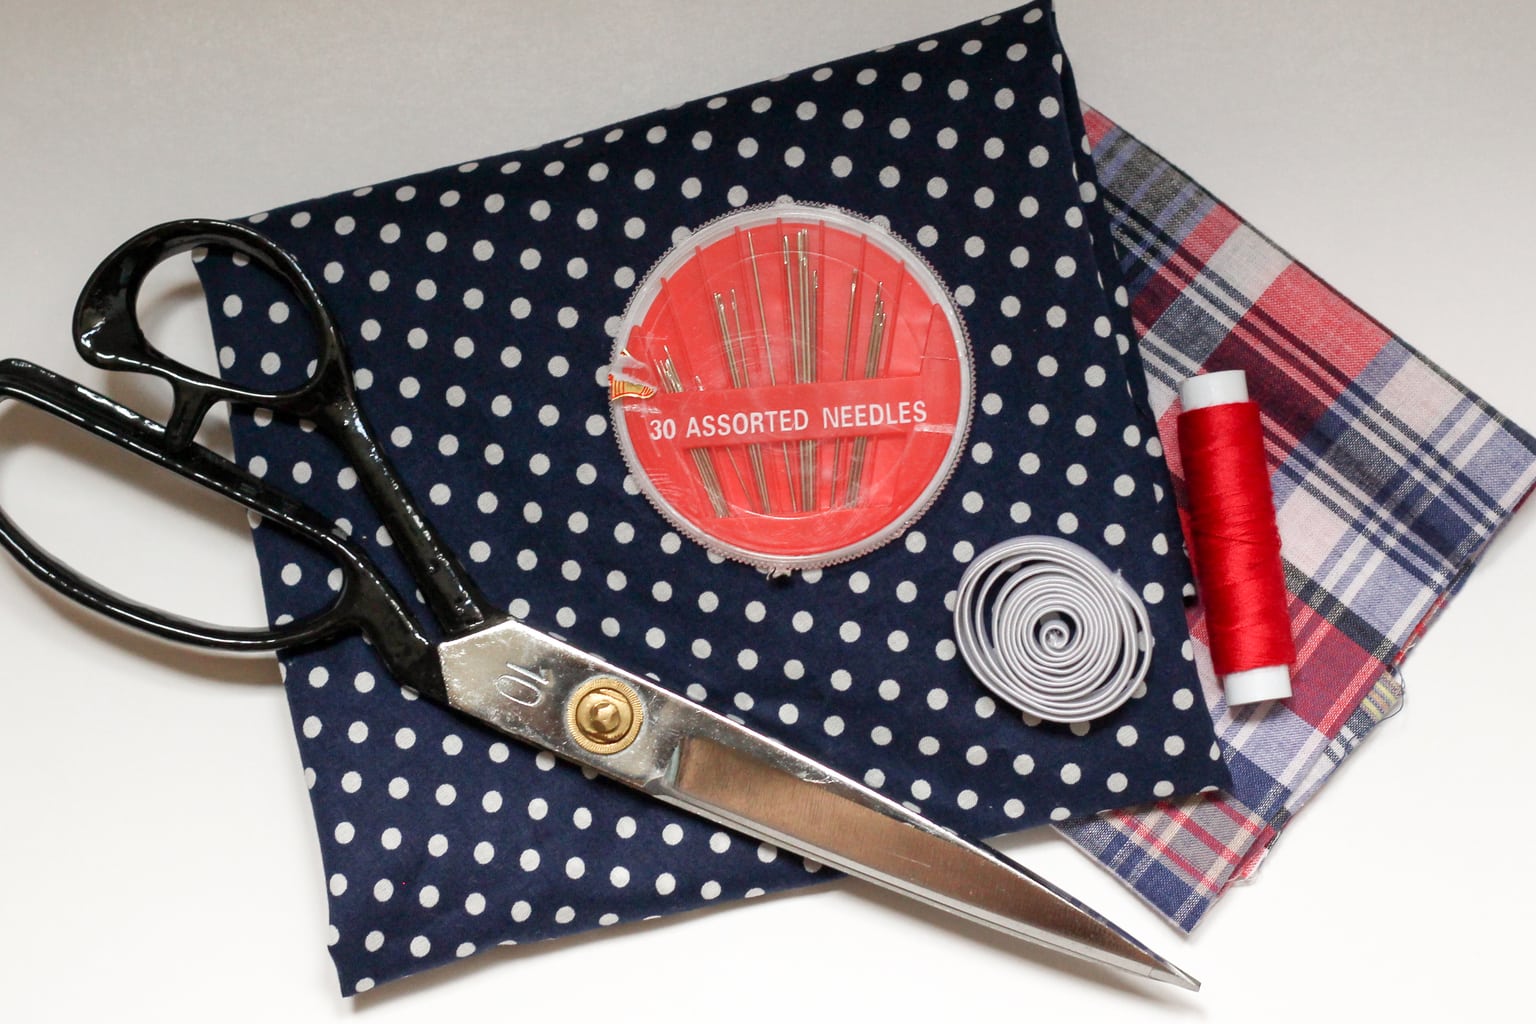
Things you will need:
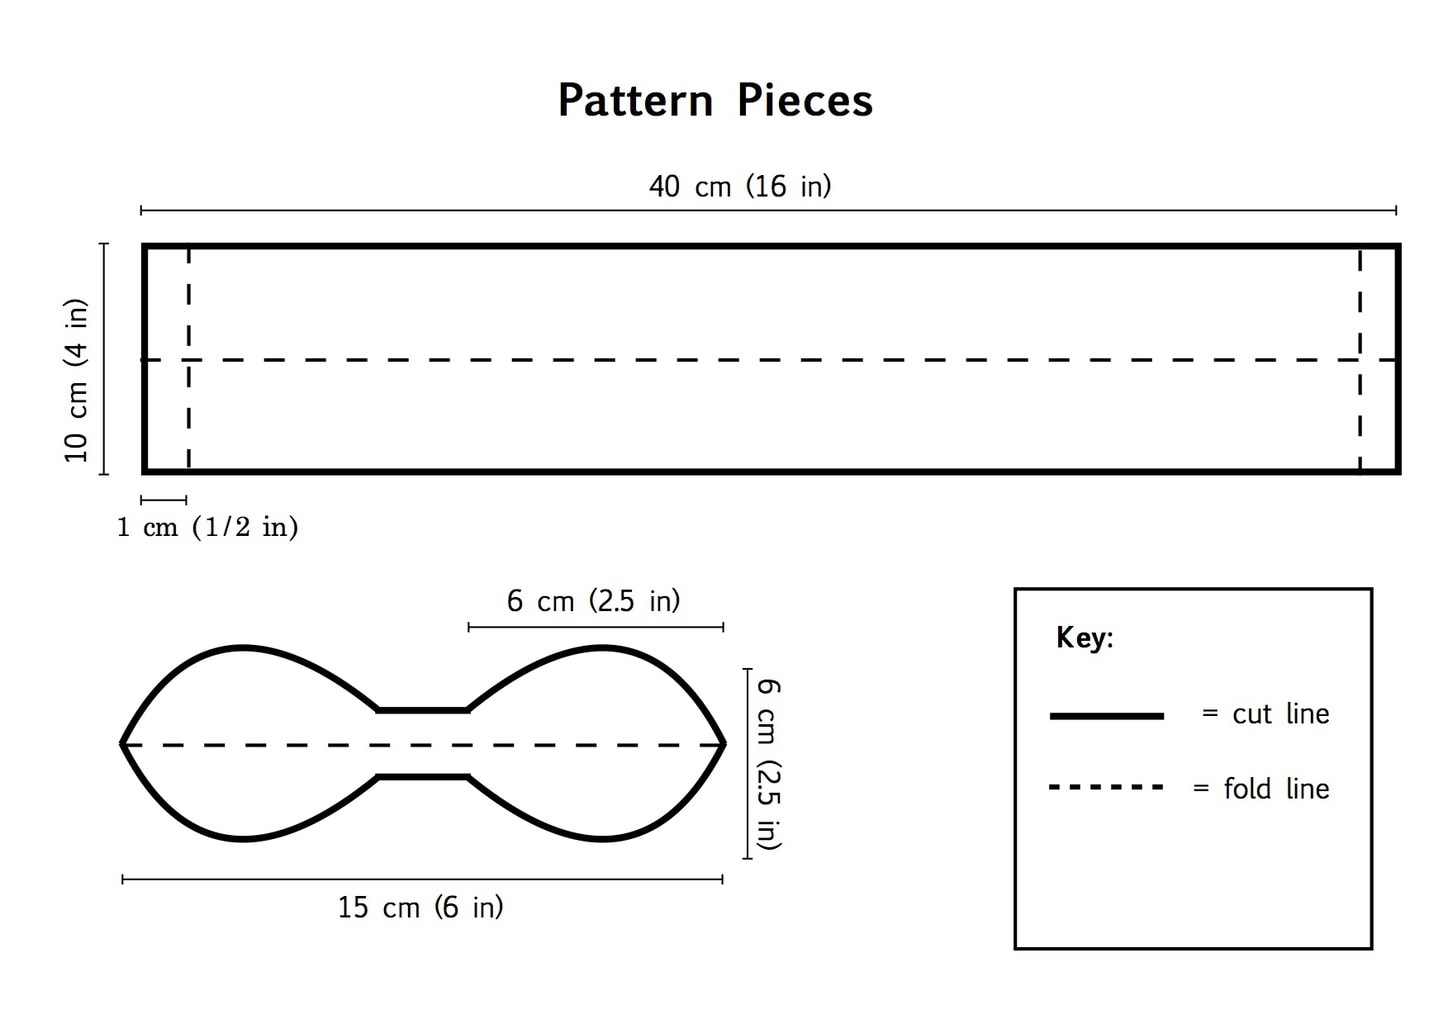
– a rectangle in the fabric of your choice measuring 16″x4” (40x10cm) — I’ve just used cotton here but you can change it up by using silk for a more luxe look or velvet if you really want to commit to the eighties.
– 7” (18cm) elastic
– Needle and matching thread/sewing machine (this is the sewing machine I always recommend)
– add ons of your choice — I’ve included instructions to make bunny ears a la Ariana Grande below but really you can add trims, beads, anything your heart desires.
Step by Step Instructions:
Step 1. Fold the sides of the rectangle in about 1cm or 1/2”
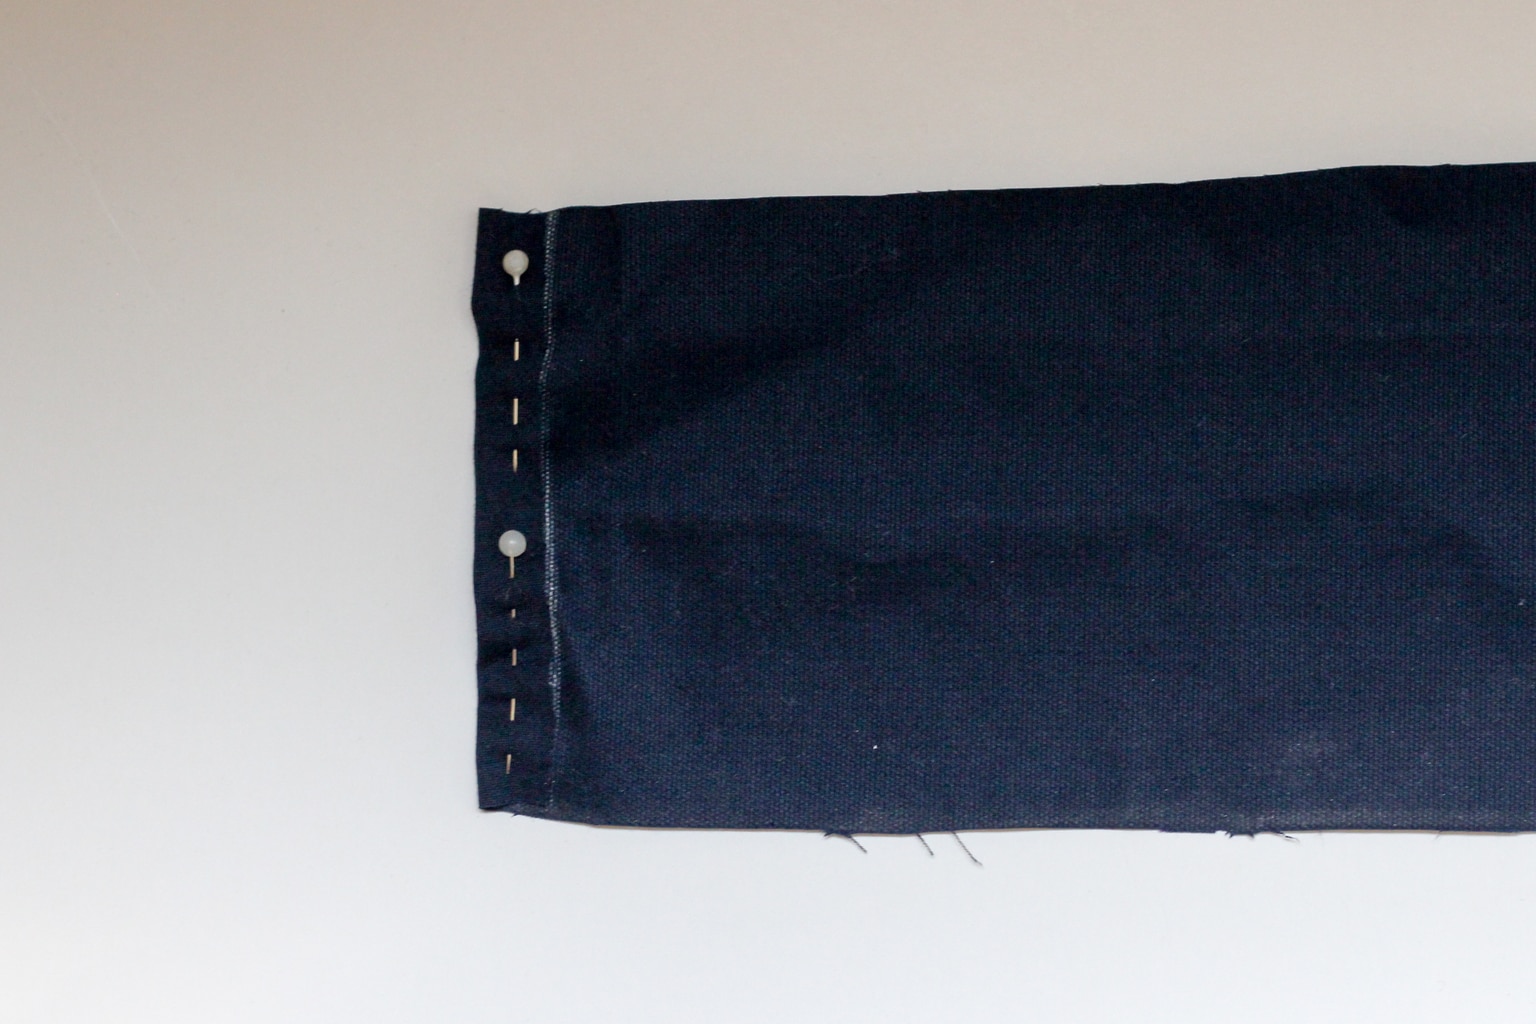
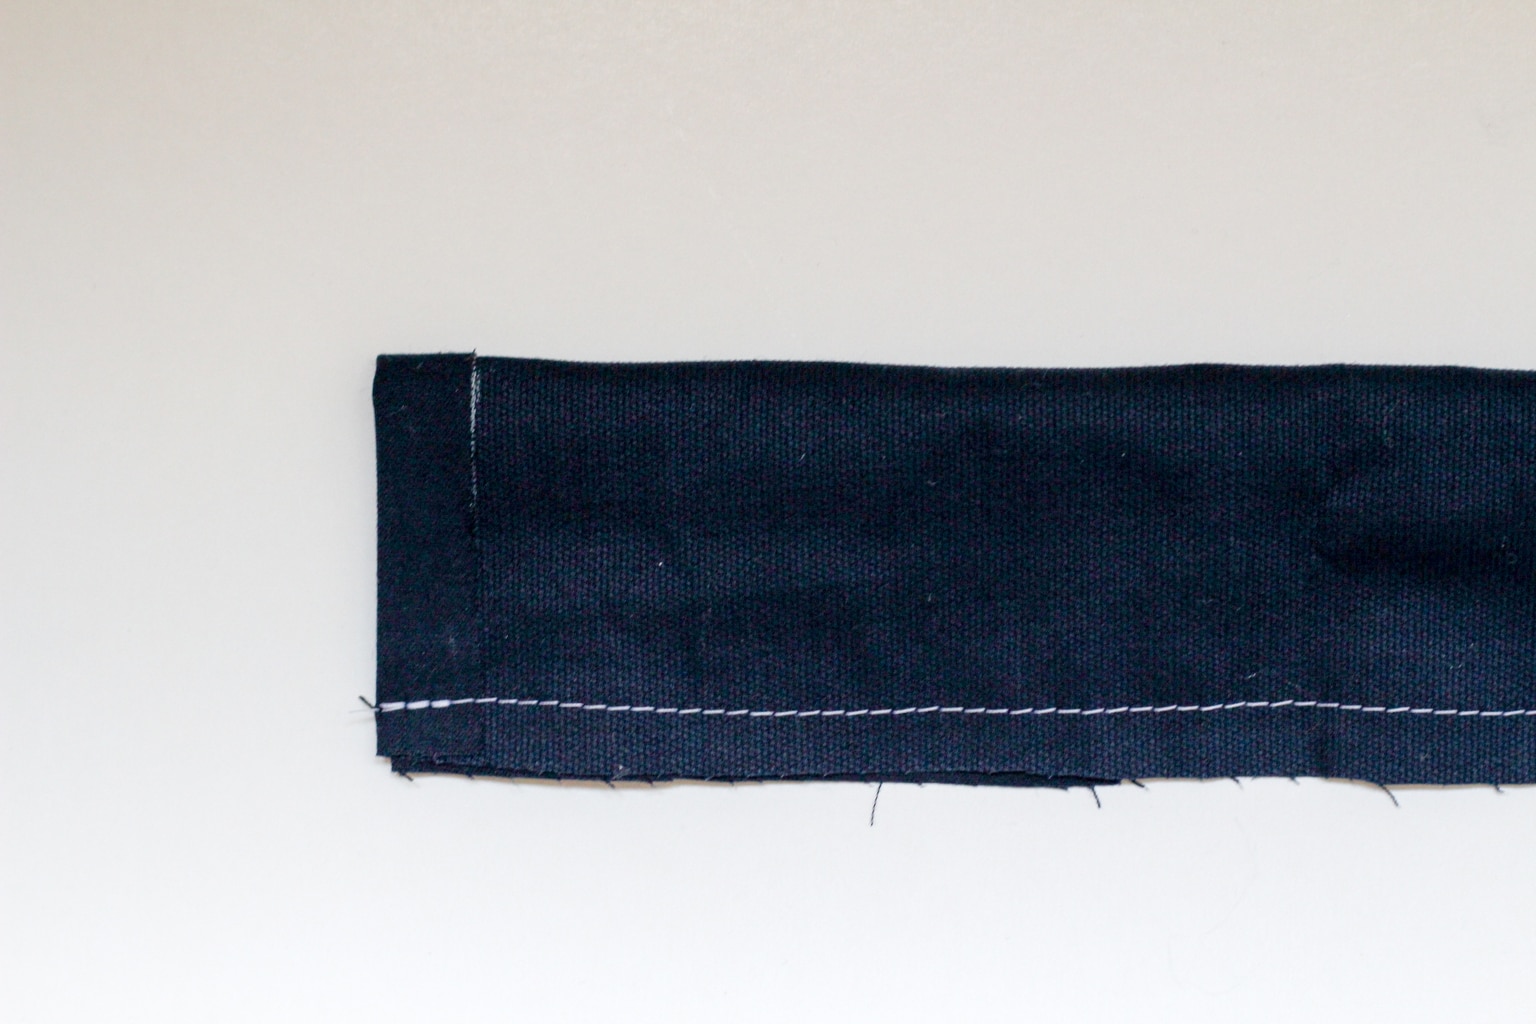
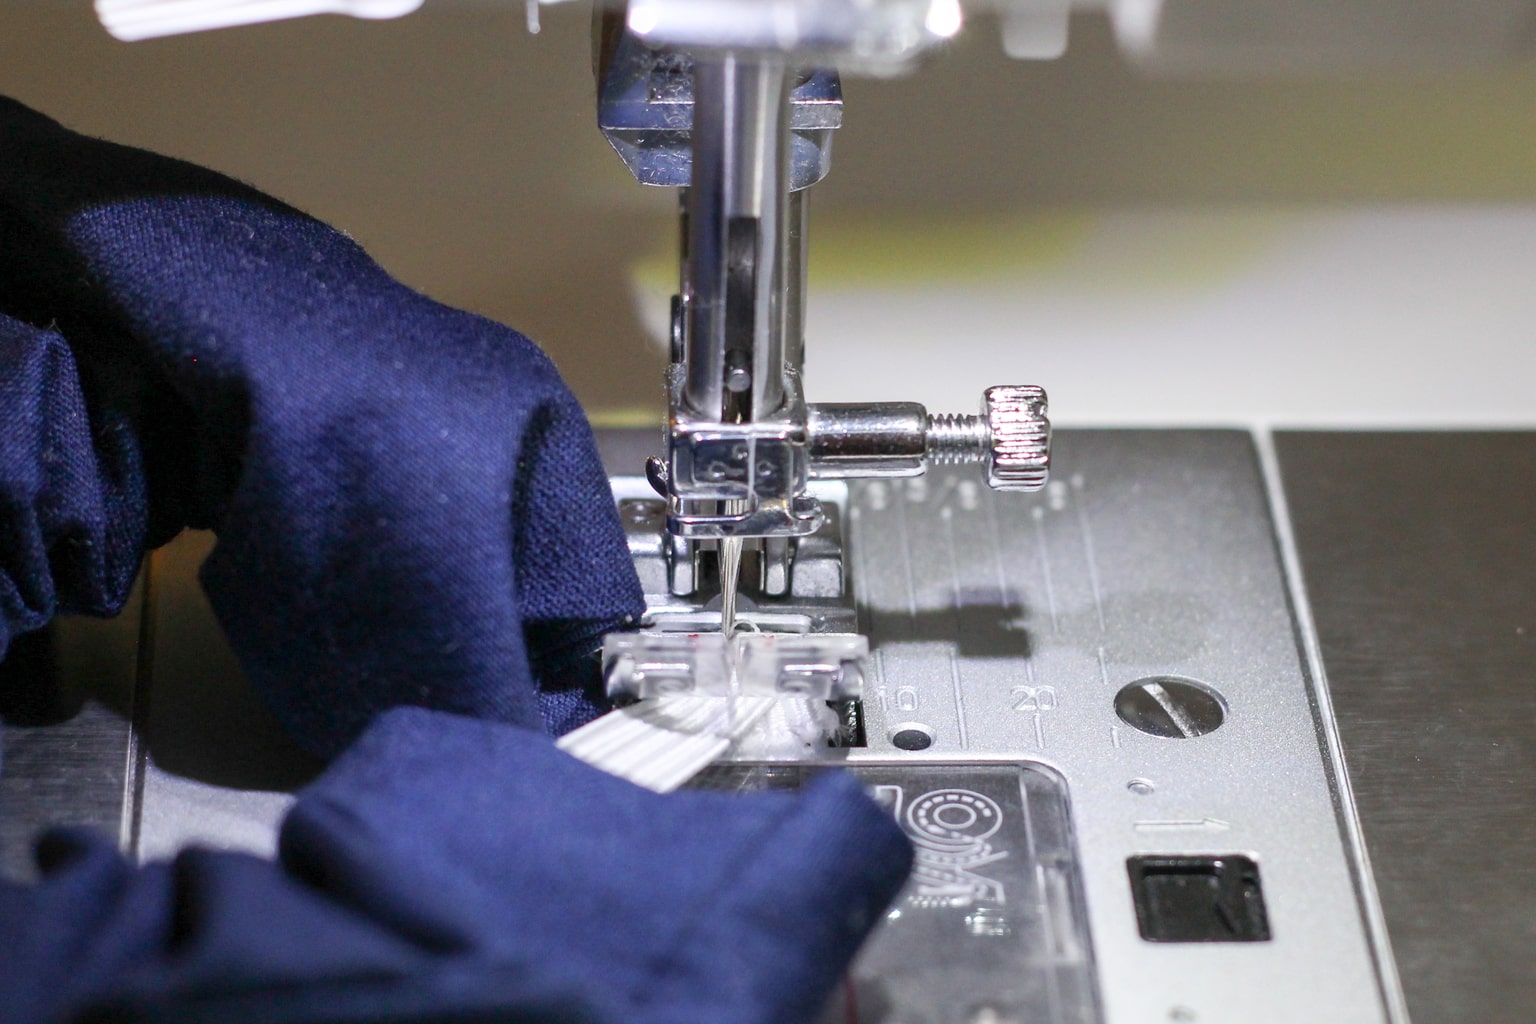
Step 2. Fold the rectangle along the fold line so that the side you want facing out is hidden in the middle, and sew along the cut edge. Then turn the tube inside out. By sewing with the wrong side (the inside of the fabric) in facing out, it will ensure that the nice side will be on the outside when the tube is turned inside out.
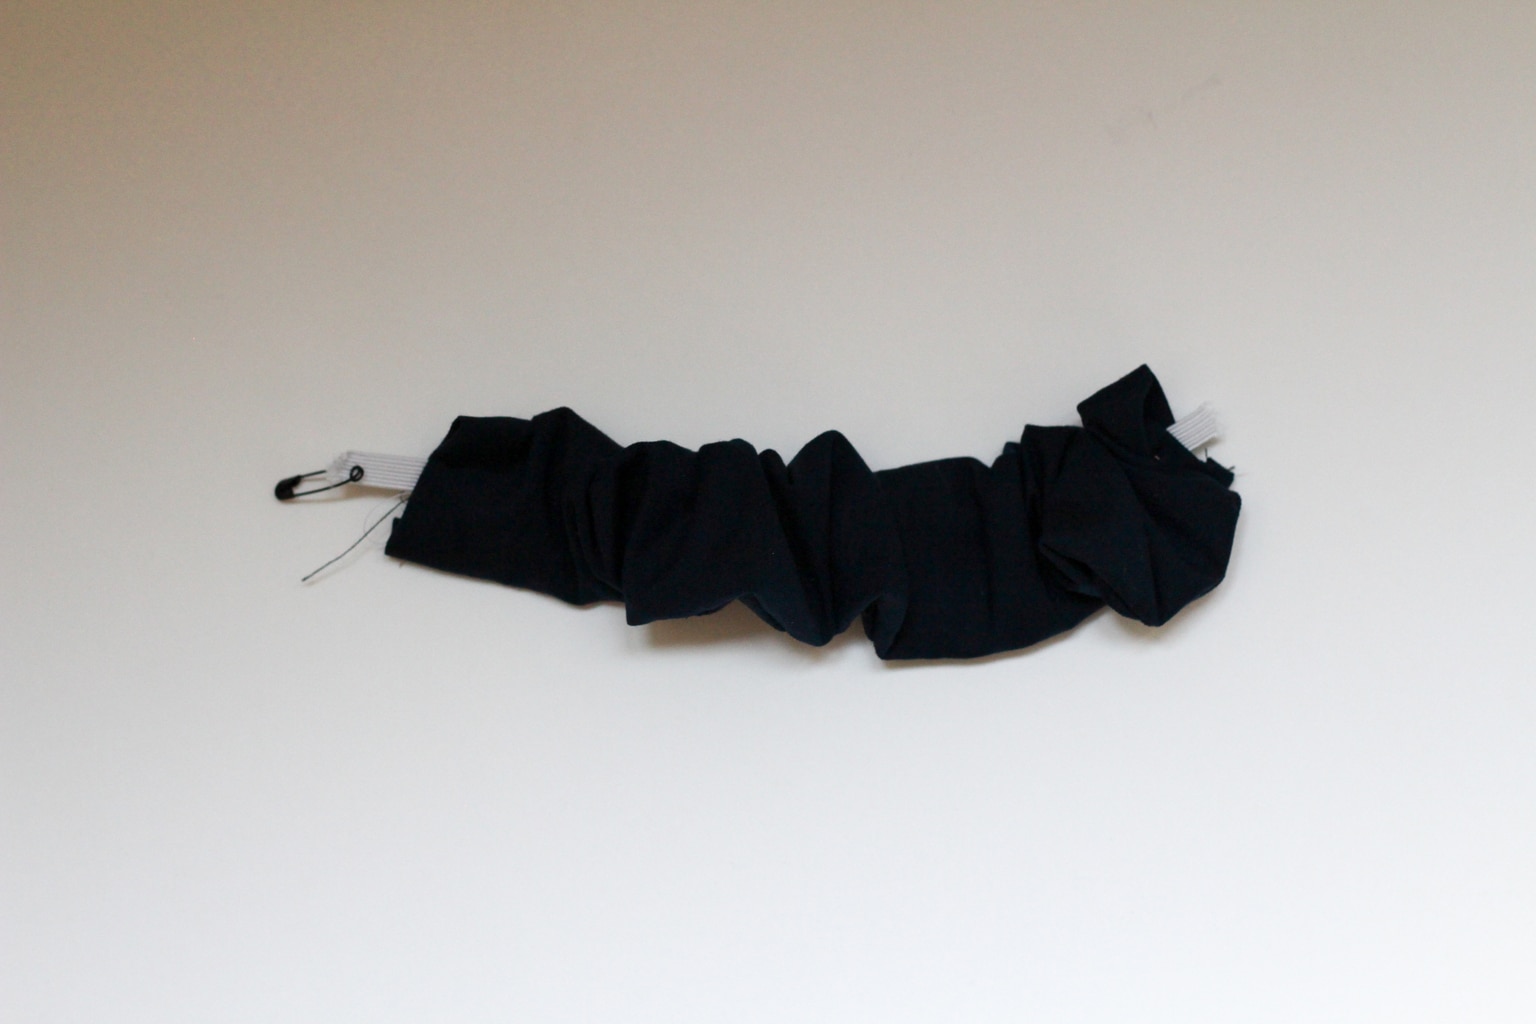
Step 3. Using a safety pin, thread the elastic through the tube. Then sew the ends of the elastic together. You want to make sure this is secure so the scrunchie doesn’t snap while you’re wearing it.
Step 4. With a needle and thread, use a weaving motion to sew the two ends of the tube together.
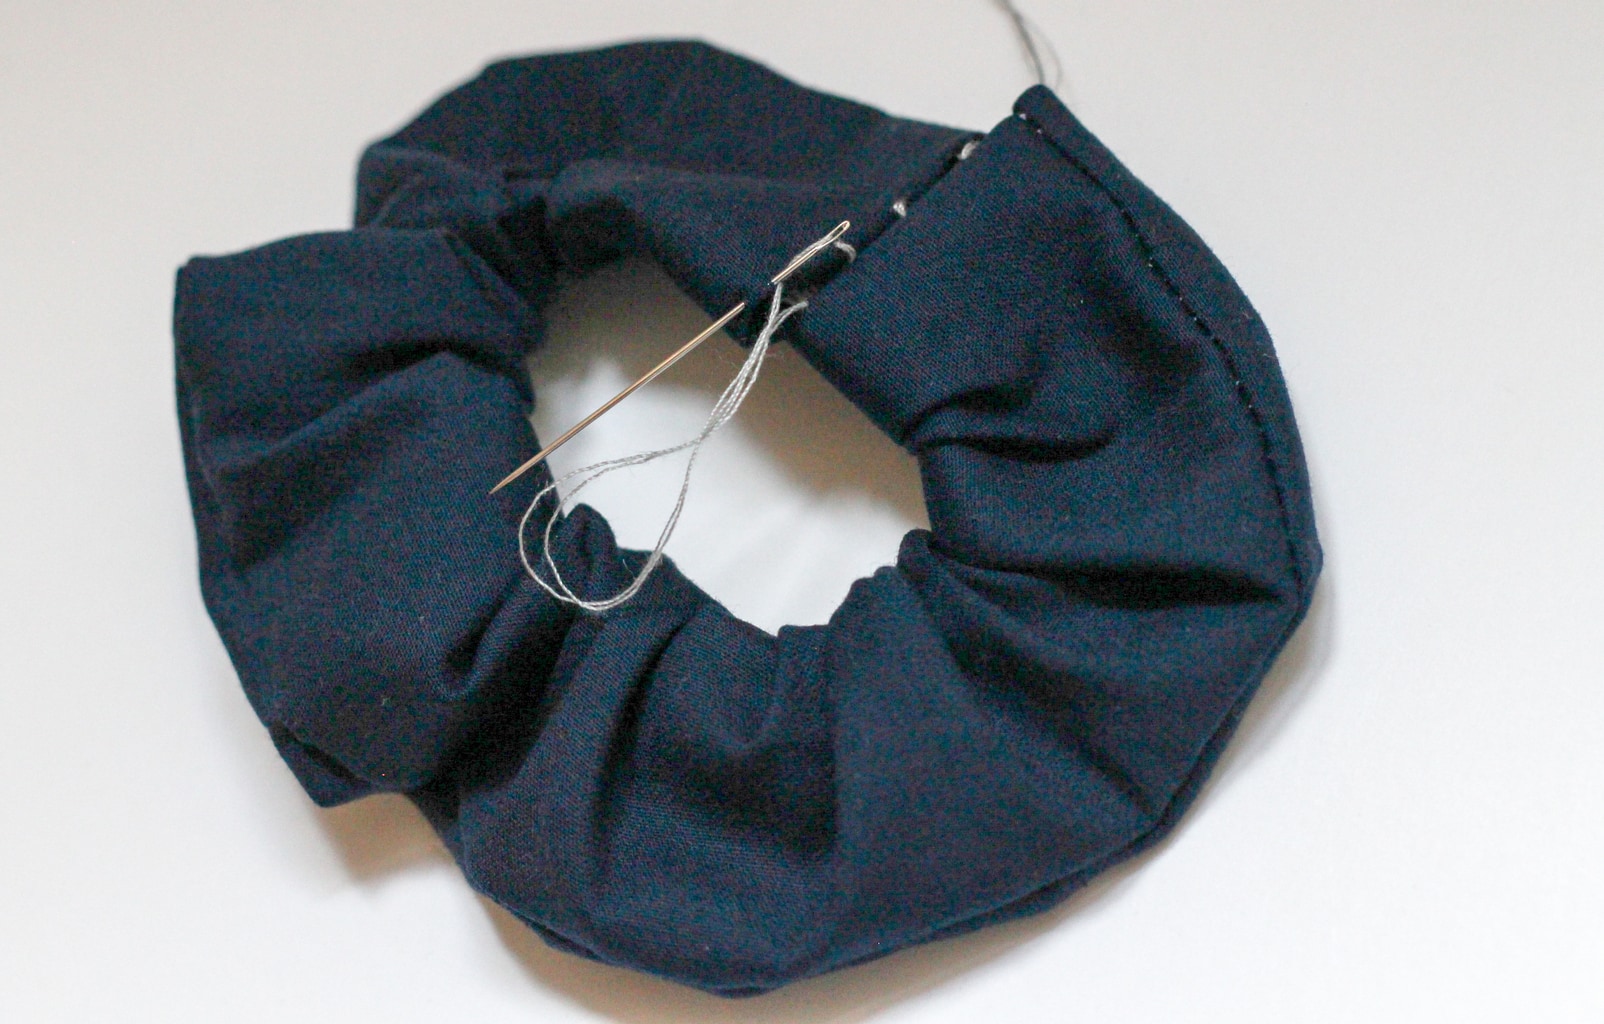
We’re done! Wasn’t that easy?
Online I’ve mostly seen scrunchies styled in full eighties fashion with a high ponytail or a space bun, but I’ve just bobbed my hair so I’m on the lookout for more ways to style these things.
Let me know down below how you plan on wearing these and if you make them, or any other DIY I’ll be showing you over the next few months, please show off your creations on #collegefashiondiy over on Instagram. (And be sure to tag us — @collegefashion!)
Bonus: Pattern for DIY scrunchies: