
I am currently writing to you from the glorious city of Paris, and if there is one thing that The City of Light is known for (other than the usual Eiffel Tower, baguettes and fromage, etc.), it’s the residents’ impeccable style. A mixture of classic elements with a charming twist, it would make any fashionista’s heart flutter.
I was overjoyed to find that the giant textile market (Marché Saint-Pierre) is located literally one block from my apartment. As soon as I arrived, I was in DIY-fashion heaven: small boutiques filled with trimmings and super-discounted clothing shops lined the area leading up to the market. To pay homage to the great Parisian couturière Coco Chanel, I decided to revamp a Little Black Dress for today’s DIY post.
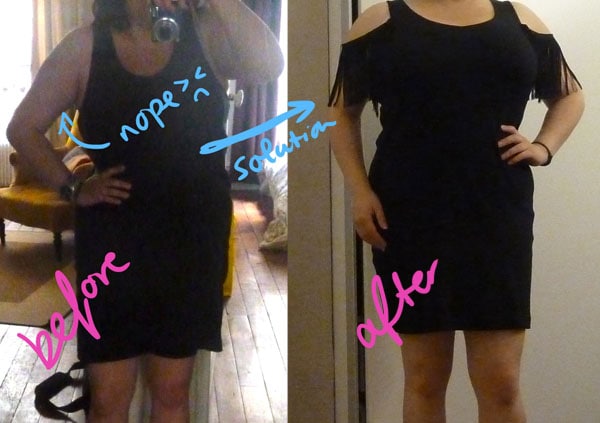
To capture that quirky Parisian look, I decided to adorn my classic LBD with a fringe trim, then go with a trendy cold-shoulder design. Read on to learn how to create your very own fringed cold shoulder dress. (Spoiler alert: it’s incredibly easy!)
Table of Contents
Materials
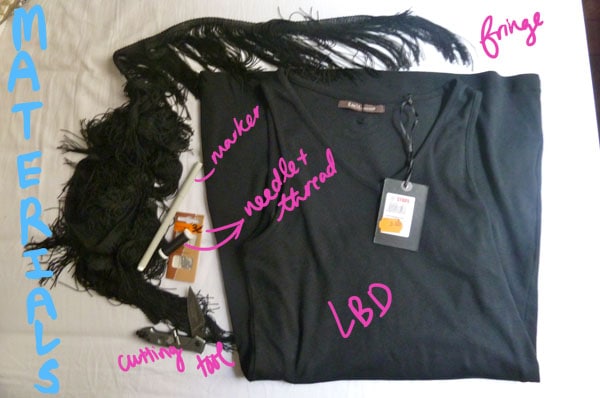
- Black fringe (mine is 10 cm long)
- LBD with straps
- Needle and coordinating thread
- Scissors (or if you’re BA like me, a knife!)
- Chalk pencil
Step One
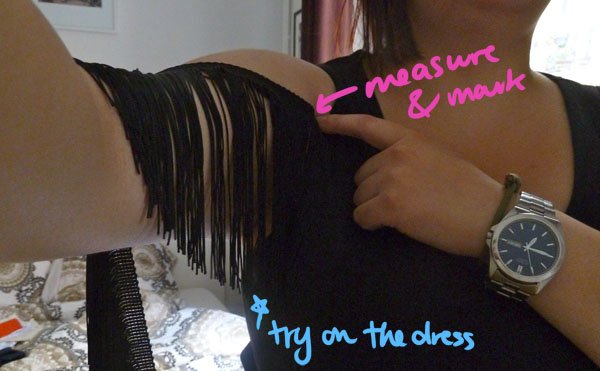
First, measure out and mark the placement of the cold shoulder sleeves. Find out how long you want them to drape – i.e. how much fringe to use and how far down the straps they should go. I recommend measuring and pinning while wearing the dress, so you can see exactly what the placement will look like.
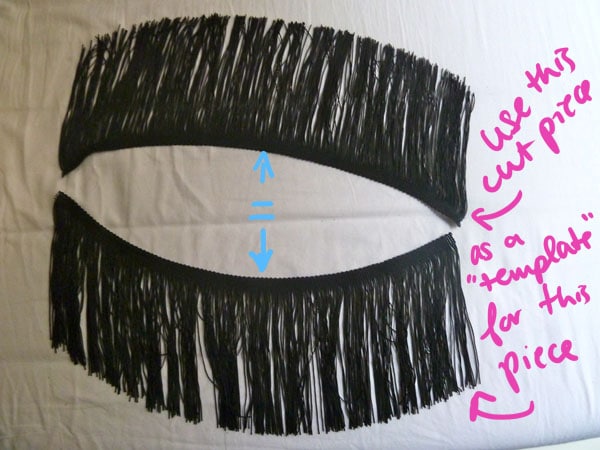
Step Two
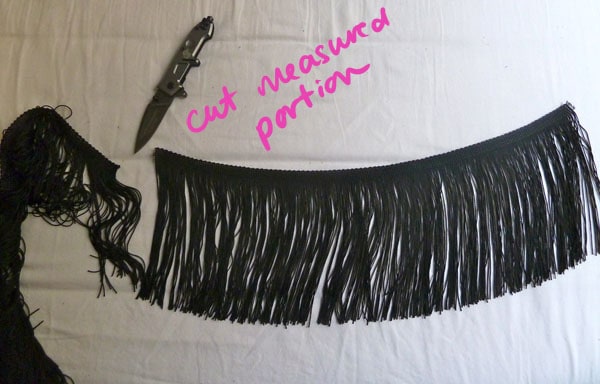
Cut the marked fringe; use the first marked piece to measure out the second piece. That way, both pieces will be equal in length.
Step Three
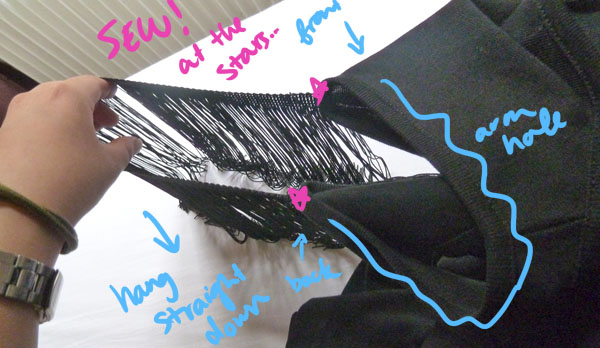
Sew the ends of the fringe onto the straps of the dress. Be super cautious about which direction the fringe points when sewing; you want to sew the ends of the trim so that the fringe points downwards.
I know this is obvious, but I can’t tell you how many times I’m accidentally left with a ribbon or something that’s inside out and all twisted!
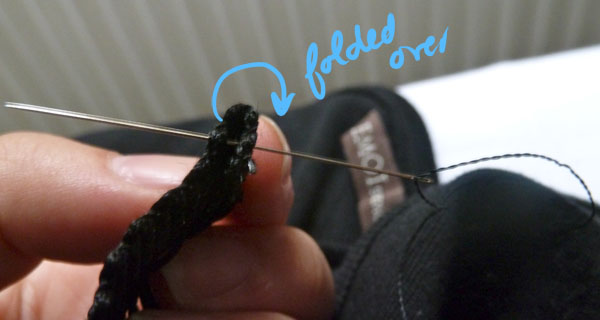
I like to fold in a tiny section of the end of the fringe so it doesn’t fray and unravel.
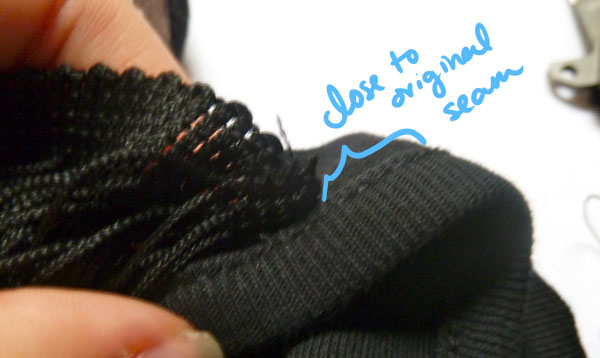
Try to sew the fringe as close as possible to any pre-existing seam lines for neatness. Also, be sure to attach the fringe on the outside of the dress, since it’s more comfortable that way!
Step Four
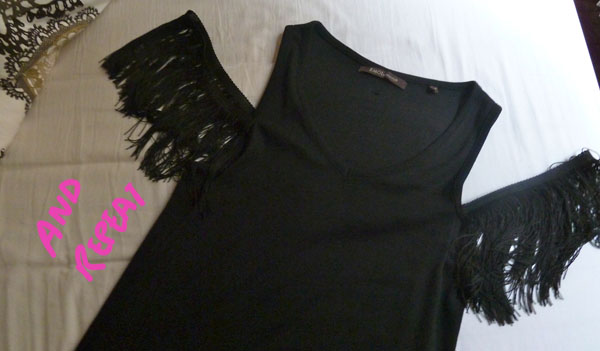
Repeat the process on the other sleeve.
Step Five
Try the dress on again, and if needed, make any necessary adjustments. I ended up hitching the fringe a couple of inches up because the final product was a little too low for me.
Finale
And that’s it! A freakishly easy update to an old standby that looks so effortlessly glamorous.
Feedback please:
Do you adore LBDs? How about fringe? What do you think of this DIY tutoria? Would you make your own fringed cold shoulder LBD? Are there any other DIYs you would like to see the tutorials for? Let me know in the comments!
Smart update, Gloria, that took a basic to beautifully unique (wish I had that it my wardrobe right now) and is more flattering for arms- style trick and d.i.y. in one!
I would also love to mention that next time you go to Paris, feel free to take me with you!!! So jealous….
I will definitely need to keep this in mind when I’m getting tired of something or want to update a cheap basic 🙂