
One of my closest friends has been experimenting with her style recently, and the best terminology we have come up with to describe her so far is “hipster grandpa.” She recently acquired a pair of suspenders and a bow tie, and slightly frustrated, complained to me about the lack of bow ties for purchase. I, of course, thought to myself, why not be a great friend and create a bow tie for her?
The bow tie making process is a tad more complicated than I expected, but in my efforts, I discovered a relatively easy way to create a bow from a small swatch of fabric. Read on to see the step-by-step instructions for how to create your very own customizable bow!
Table of Contents
Materials
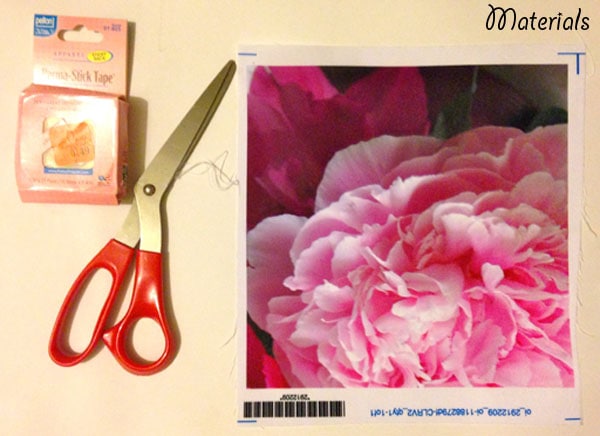
- Scissors
- Fabric swatch
- Perma-stick tape (available at craft stores)
Step One
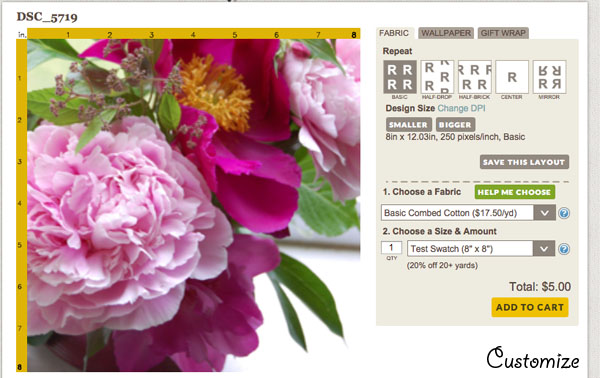
First, choose one of your favorite photos or create a print in any image-creating software (like Photoshop). Upload the file to a fabric-customizing website (I use Spoonflower). Use the in-site tools to position and design.
Pro-tip: Whenever Spoonflower introduces a new fabric, they will send you a test swatch of that fabric in whatever design you want for free!
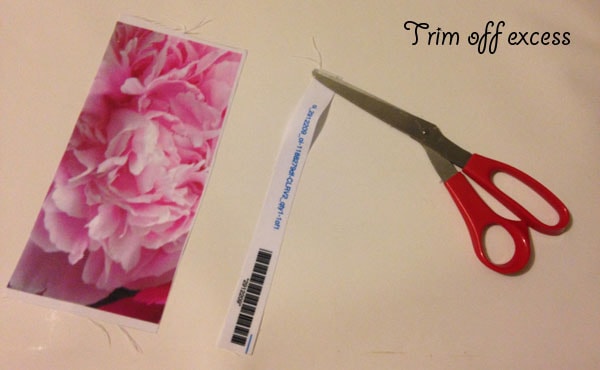
Step Two
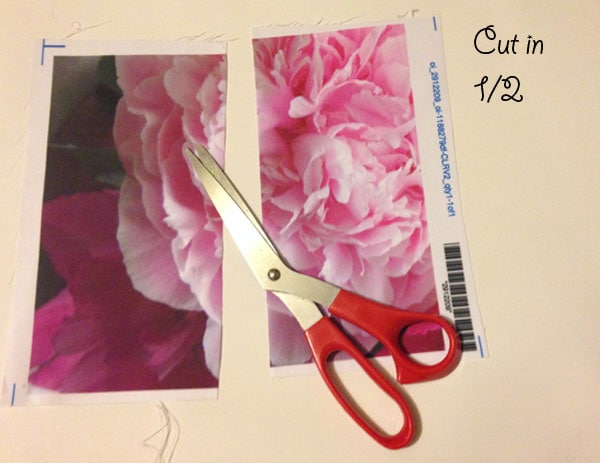
Begin by cutting the test swatch in half. Be sure to trim off any excess fabric that’s not part of your design.
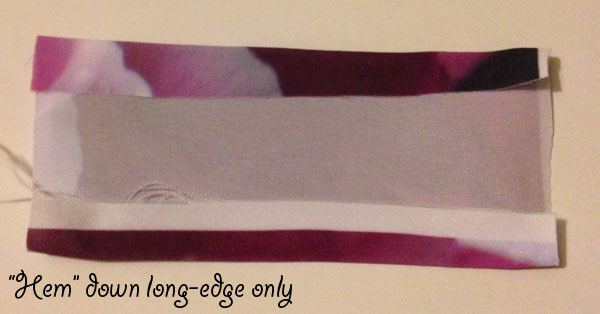
Step Three
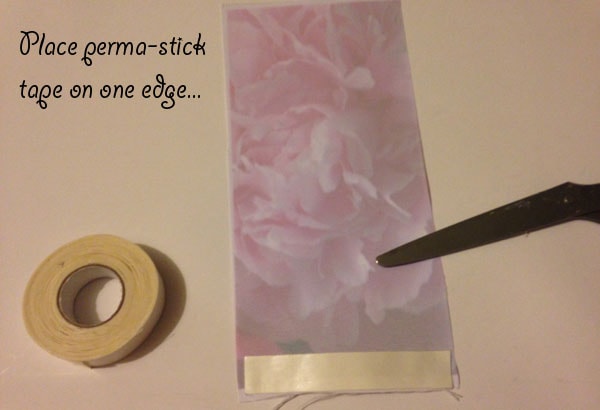
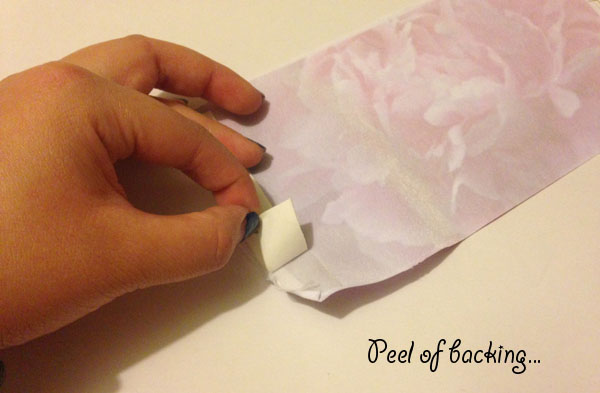
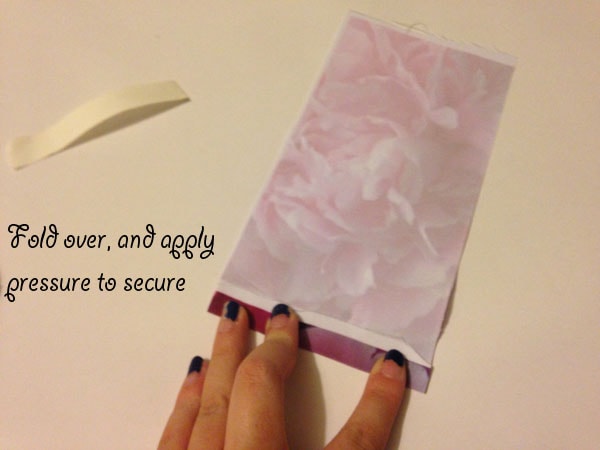
Flip the fabric so that the printed side is facing downwards. Place the perma-stick tape on one edge of the fabric, peel off the backing, and fold the fabric against itself to “hem” the edge. Then, create a permanent bond simply by applying pressure on the outside. Repeat this process on all four edges of the fabric.

Step Four
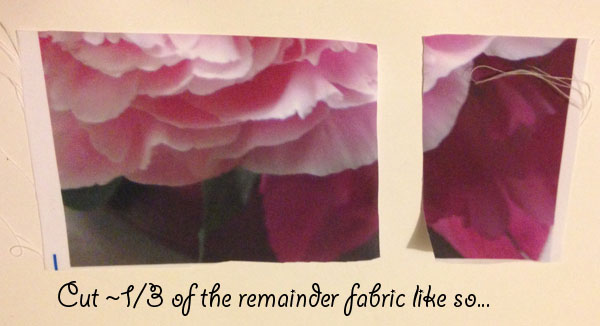
Take the other half of the fabric, and cut off a small rectangular section that’s about 1/3 of the fabric length.
Step Five
Repeat step three on this portion of the fabric, but ONLY fold over the two length-wise edges.
Step Six
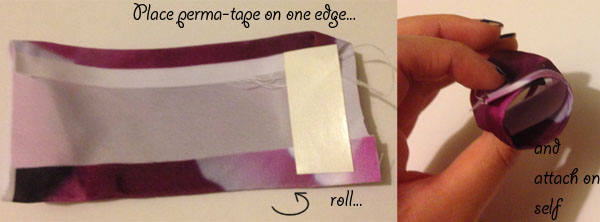
Place a section of perma-stick tape on one edge of the fabric, then roll it up like a tube and secure the ends.
Step Seven
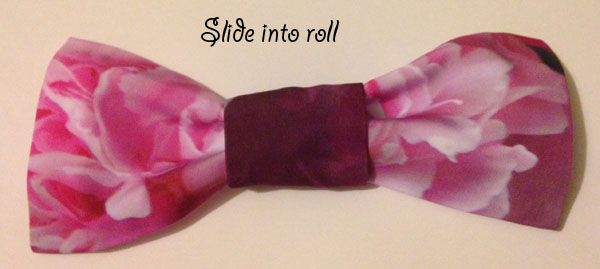
Slide the larger section of fabric into the small tube we just made.
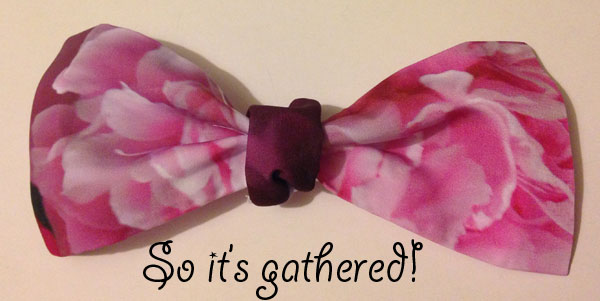
Step Eight
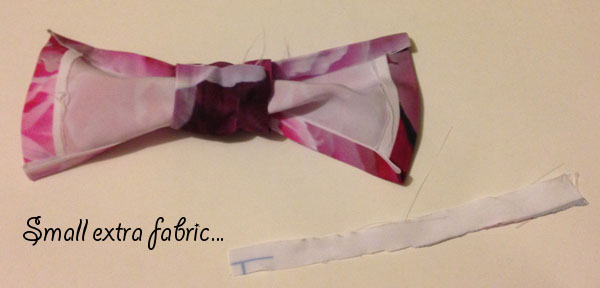
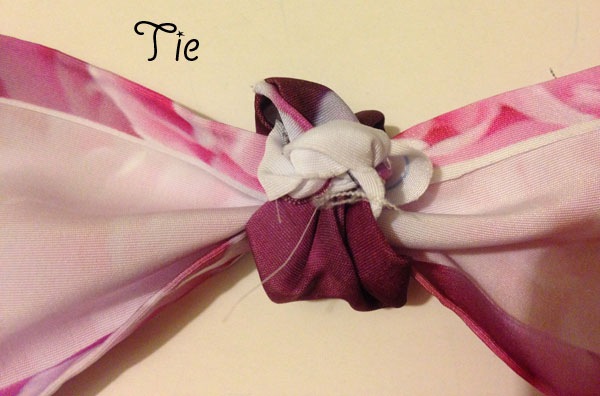
Take a small, thin discarded piece of fabric, and use it to tie the small portion of fabric in the back.
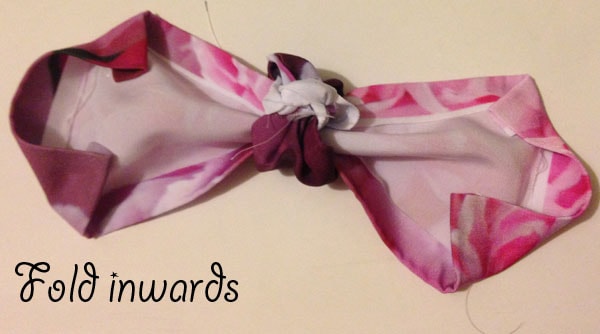
Step Nine
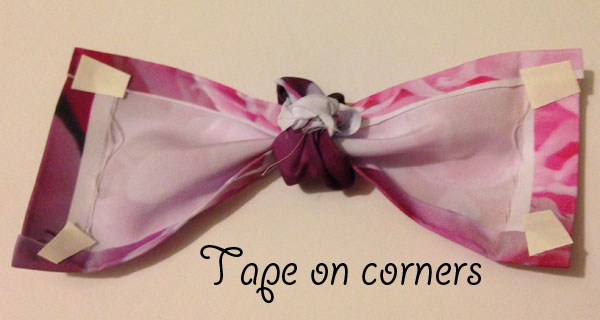
Lastly, place small sections of perma-tape on the corners of the large piece of fabric, then fold it inwards so that the edge of the bow is rounded and soft.
And that’s it! Attach a barrette to the back to turn it into a hair bow, or create a clip-on bow tie by gluing on a clip-on base.
Feedback please:
Would you customize your own bow? How would you use these customized bows? Are there any other DIYs you would like to see the tutorials for? Let me know in the comments!