
Remember that knitting tutorial from a few weeks ago where I showed you all how to make a scarf? Well now we’re going to be channeling those new skills to knit a beanie to keep your head nice and cozy for the coming winter.
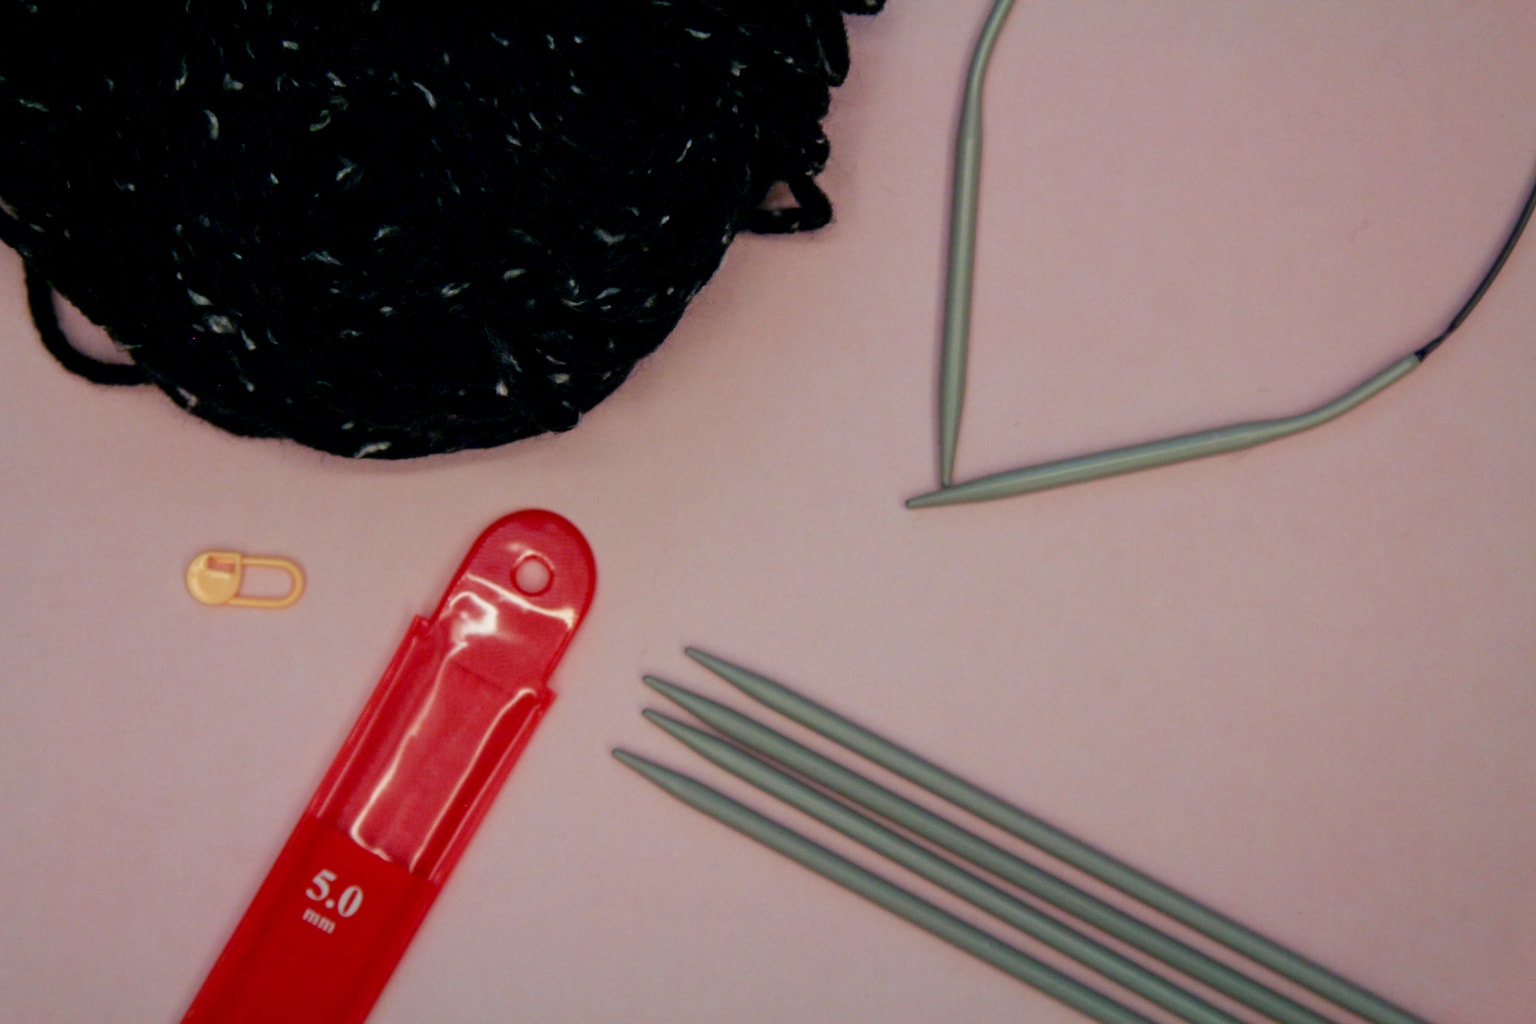
What You Will Need:
- Yarn (I used the rest of what was left after making the scarf, but if you’re starting a new project one skein should do)
- Circular needles in the right size (check the label on the ball of yarn)
- Double pointed needles (in the same size as the circular needles)
- Stitch markers
How to Make a Knit Beanie
Step 1. Measure the circumference of your head, then calculate the number of stitches according to the gauge on the yarn label.
For example, if your head is 21 inches around, and your label says 4 in. x 18 stitches, then you would need about 76 stitches for the hat to fit, as (18/4)x21=76. In this case, 76 does go into four, but if your number doesn’t, round it down to the closest multiple of four.
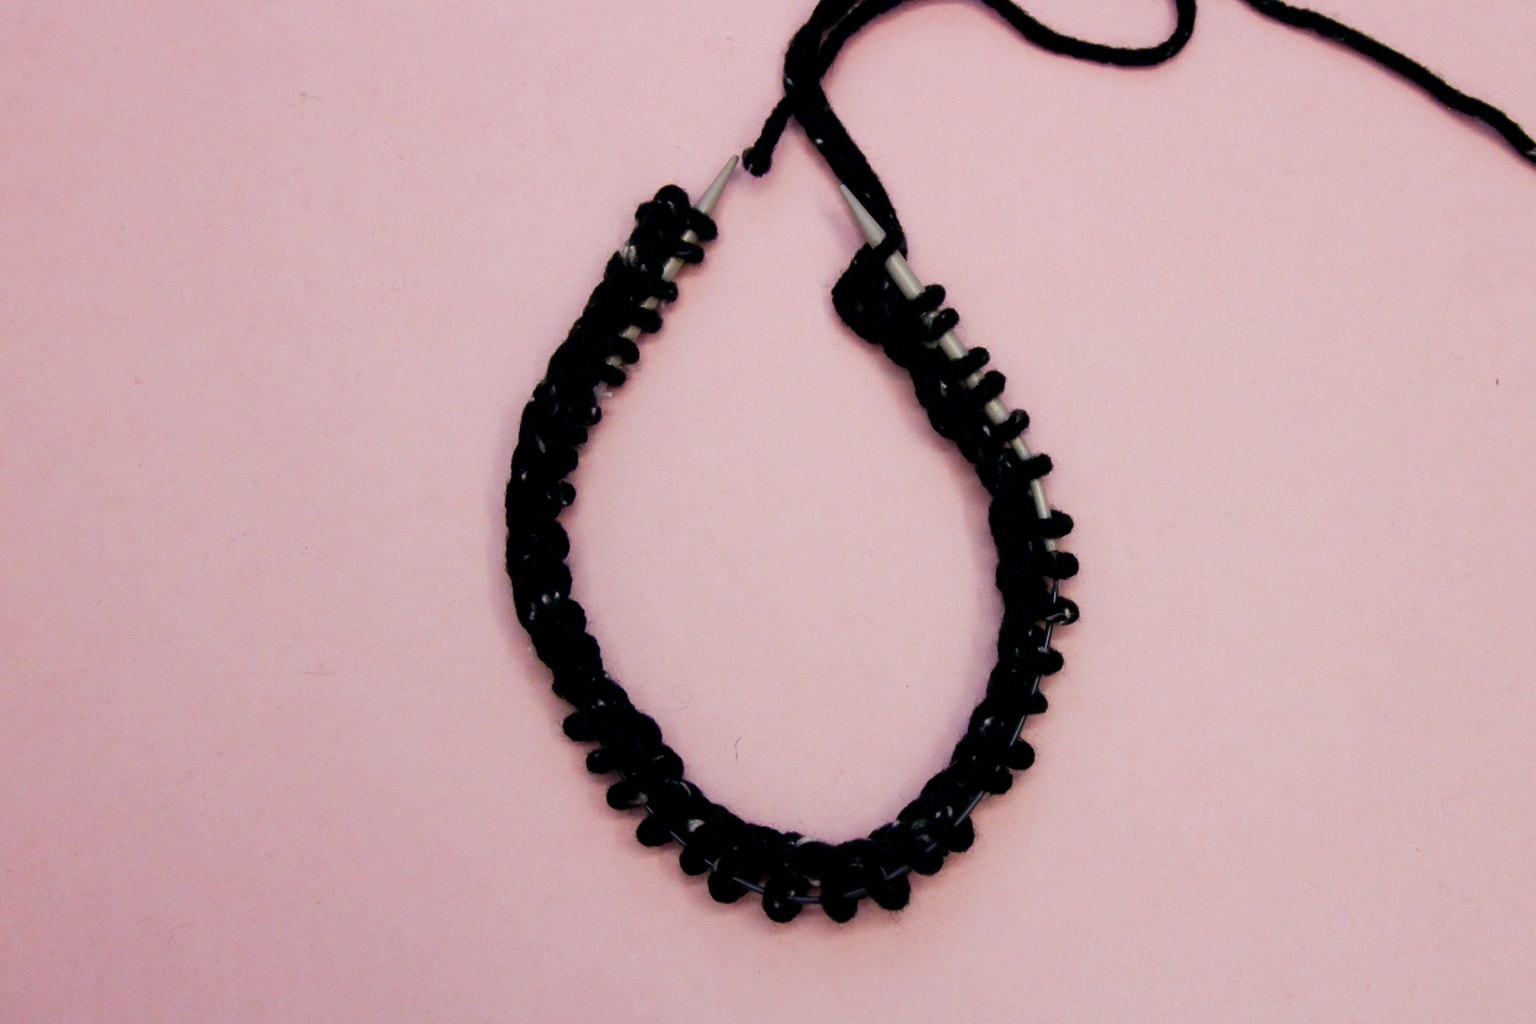
Step 2. Then, cast on that number of stitches onto your circular needles. Circular needles are attached at the ends so that you are able to make cylindrical shapes without having to put in a seam.
Step 3. Arrange your stitches so they all face inwards, making sure that nothing is twisted. A twist will mean that your knitted piece will be twisted and you’ll have to start over.
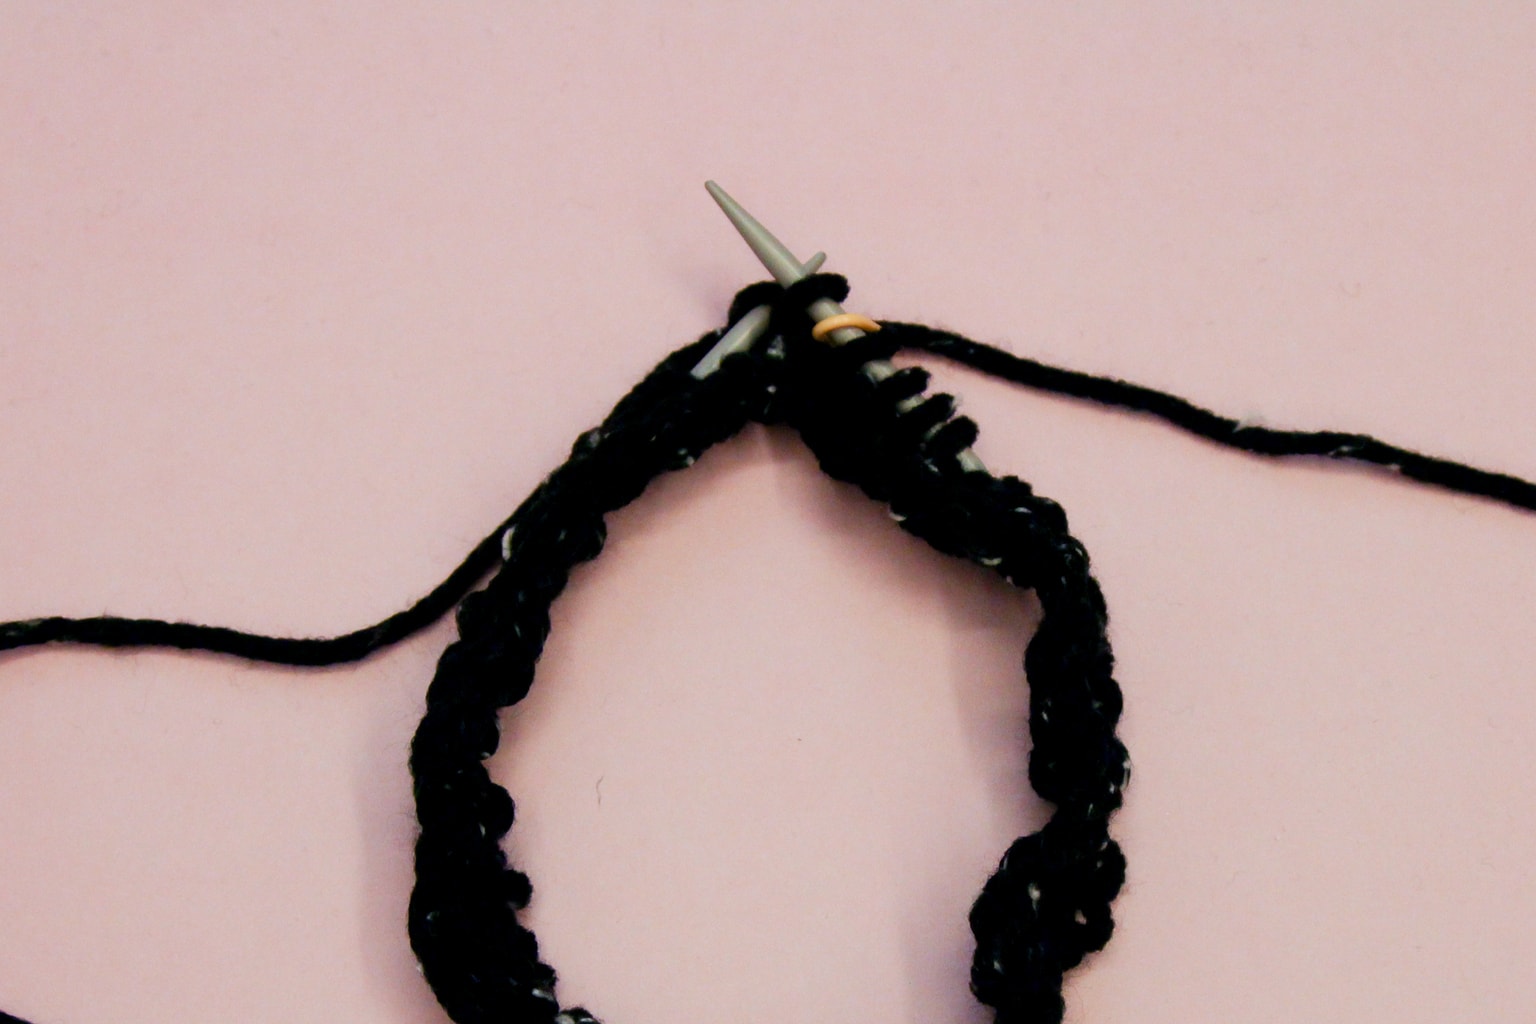
Step 4. Place a stitch marker on the right needle, and knit into the stitch on the left needle. Continue knitting rows in this way, simply transferring the stitch marker onto the right needle on every round. You should have a cylinder forming. The stitch marker indicates where the row of stitches begins.
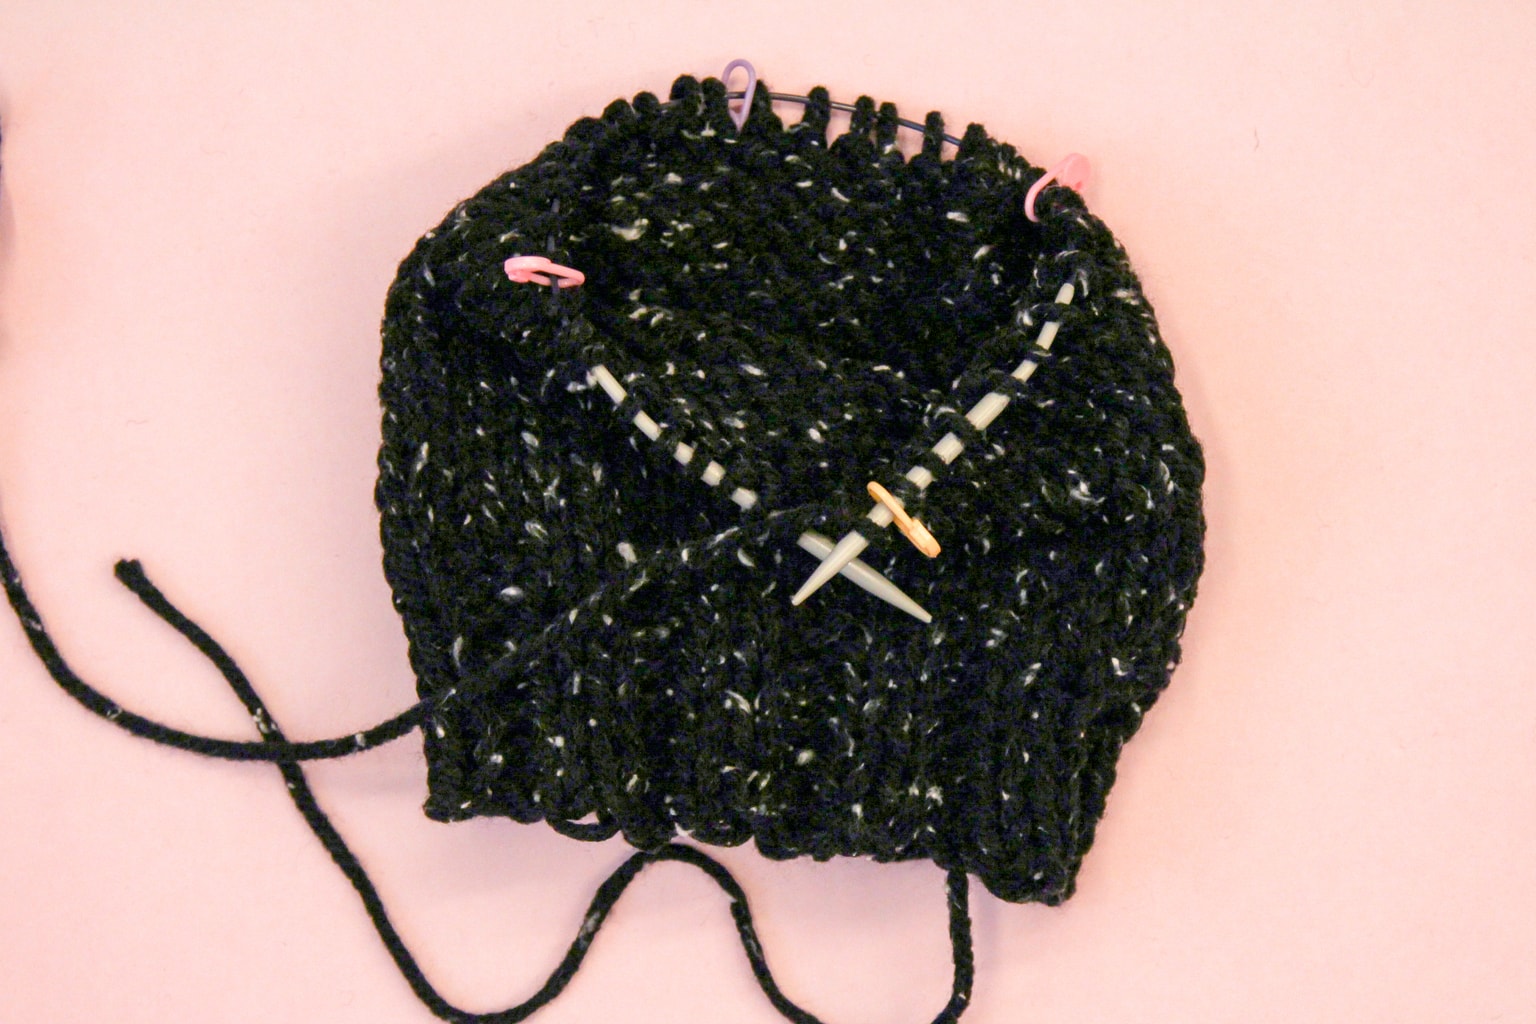
Step 5. When your tube has reached about six inches long, knit one final row and place three more stitch markers evenly around the row.
Following the example mentioned in the first step, 76 divided by four is 19, so I placed a stitch marker at every 19th stitch.
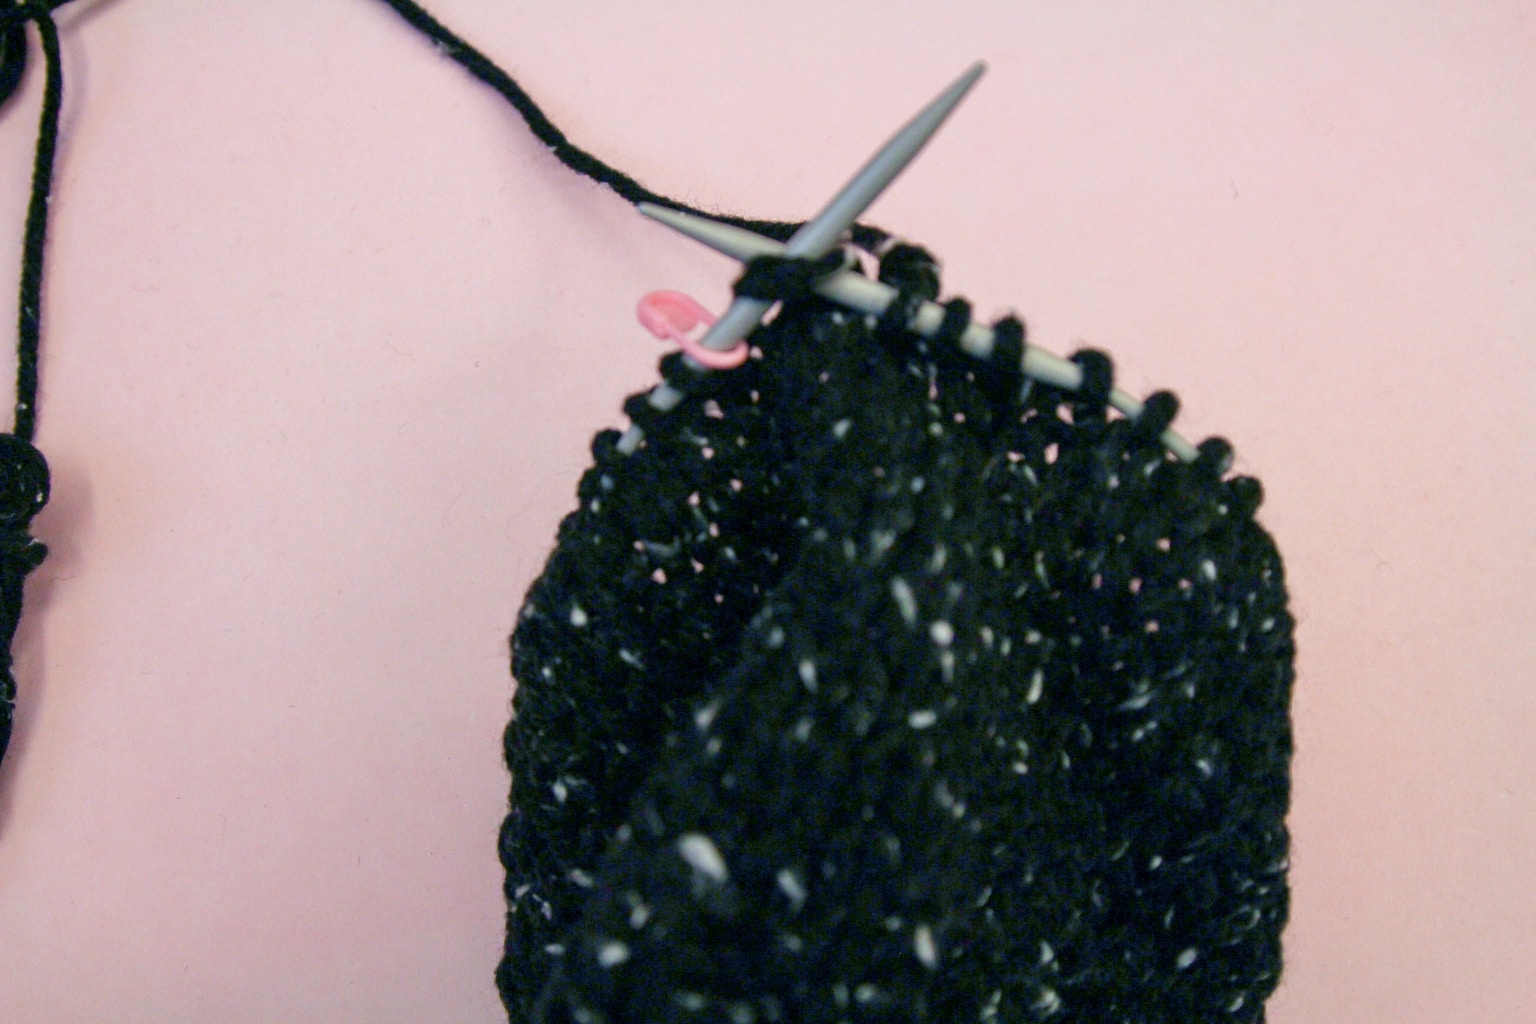
Step 6. Do a knit two together at every stitch marker, knitting regularly on the other stitches. For a knit two together, pick up two stitches instead of one on your right needle and treat it as a normal stitch. This will make the circumference of the cylinder shrink, forming the top bit of your beanie. Continue this until the stitches do not fit on the needle.
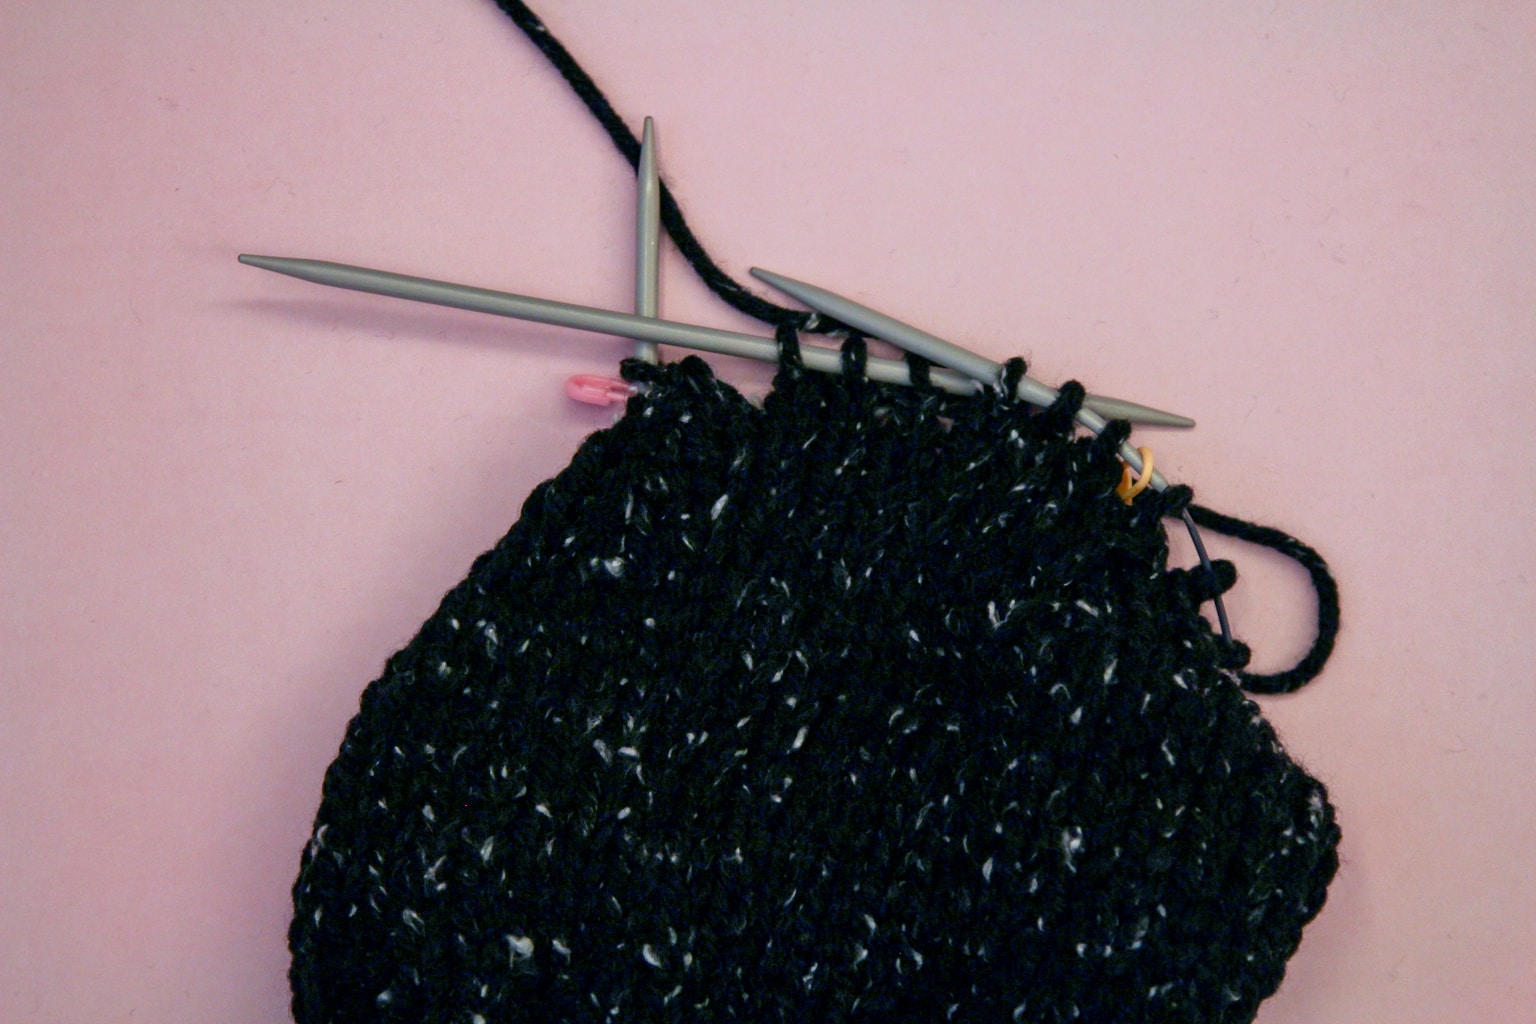
Step 7. At this point, you will have to switch over to double pointed needles. These come in a set of four and are pointed on both ends. The process is quite confusing, so check out this video guide if you’re a visual learner.
To use them, instead of using the right needle on the circular needles, use one double pointed needle instead, and stitch a third of the stitches onto it. Then pick up the next double pointed needle and do the same, until all the stitches are on the double pointed needles. Don’t forget to knit two together at the stitch markers.
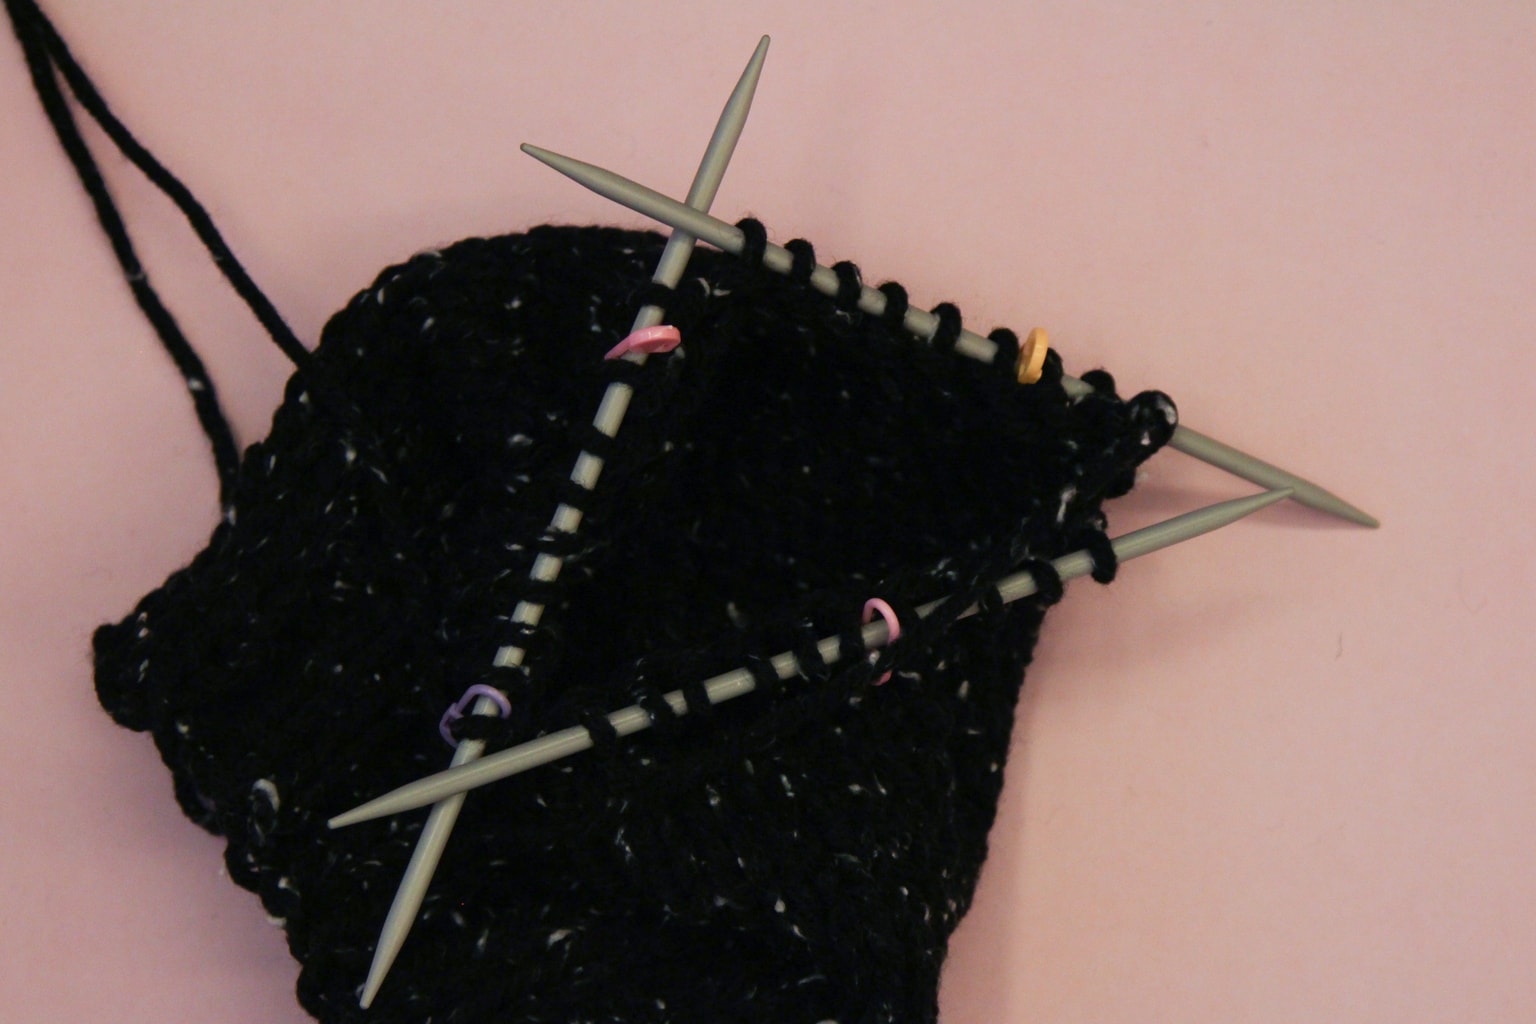
Step 8. You should have one needle free, so use this to knit the stitches on the needle until that one is free. Continue until you you have eight stitches left on your needle.
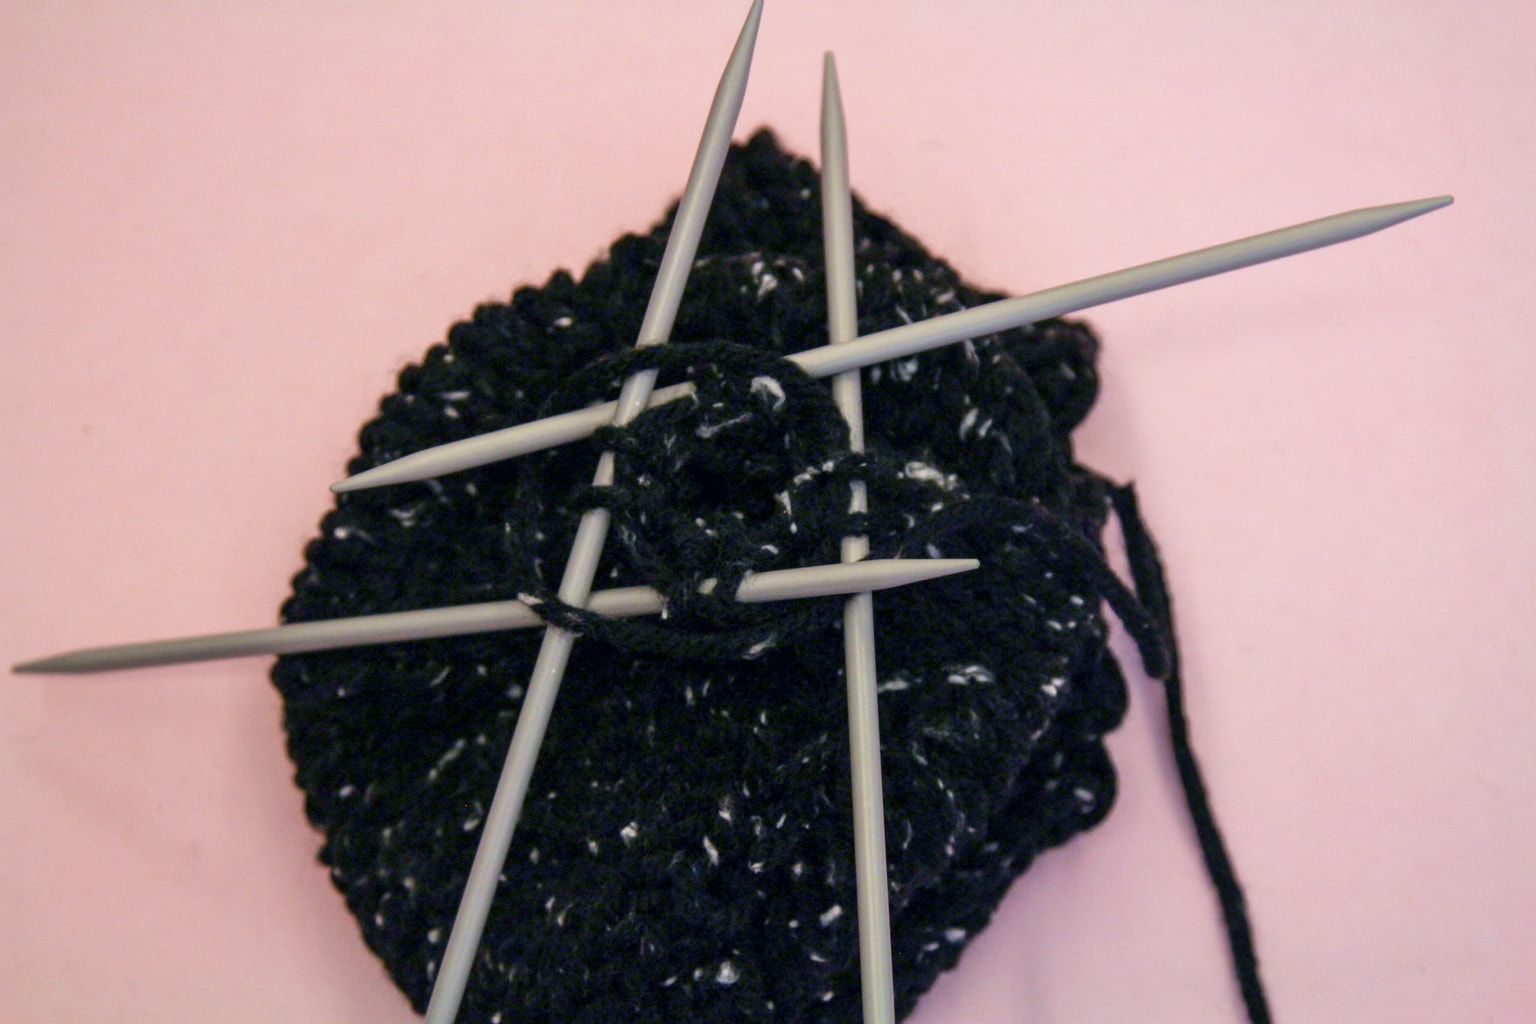
Step 9. Cut the yarn with about five inches excess, take out the needles, and thread the yarn back through the loops to secure the ends. Make sure you are going back through the loops in the right direction, or else your stitches will come undone.
The Finished Beanie:
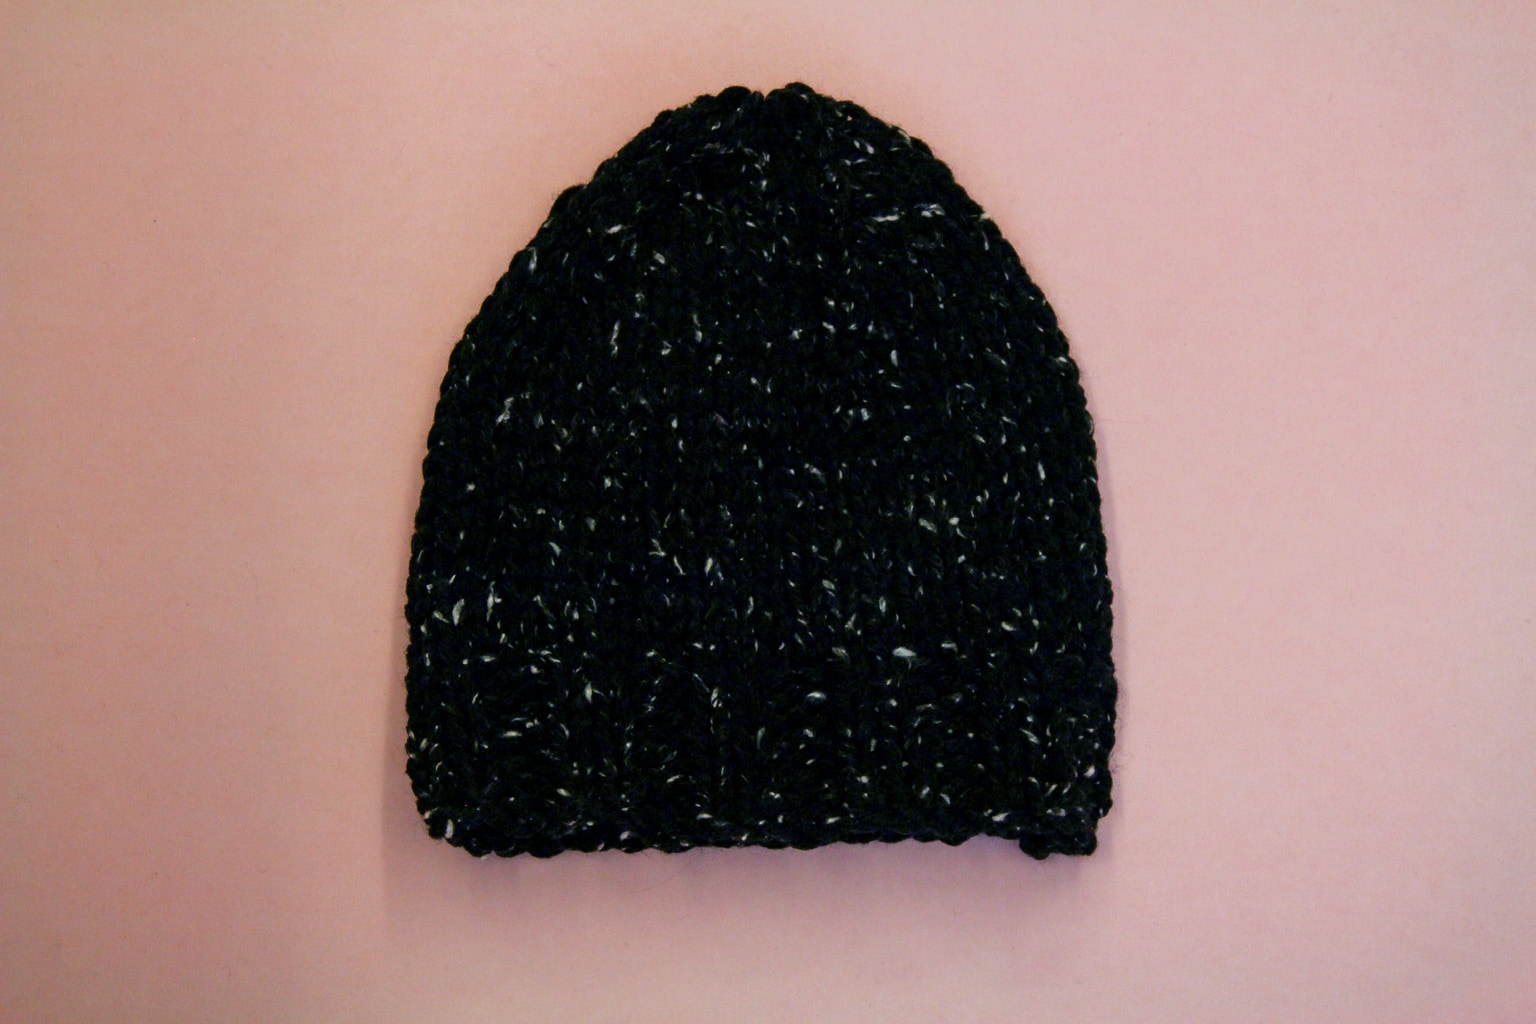
Ta-da! You’re done. For those of you who have knitted the scarf, you’re in luck, because this baby comes together in a fraction of the time. It’s also perfect for that bit of yarn you have left after knitting another project. Happy knitting!
A video would be much more helpful for something like this (and the scarf tutorial). I can already knit scarves just fine but had a hard time following this without a video.
Terps – Good point; this was an old post from CollegeCandy that they had re-posted, hence the incorrect date. Just thought it was still applicable today so that’s why I re-blogged it here.