
Hey everyone, I hope you all are bundled up warm now that the weather’s cooling down! If you aren’t, then today’s tutorial will help with that.
I’m going to show you how to make a cozy knitted scarf that you can wrap yourself up in this fall and winter. I’ve also included a bonus tutorial about making a fringe, which you can find at the bottom.
Things you will need:
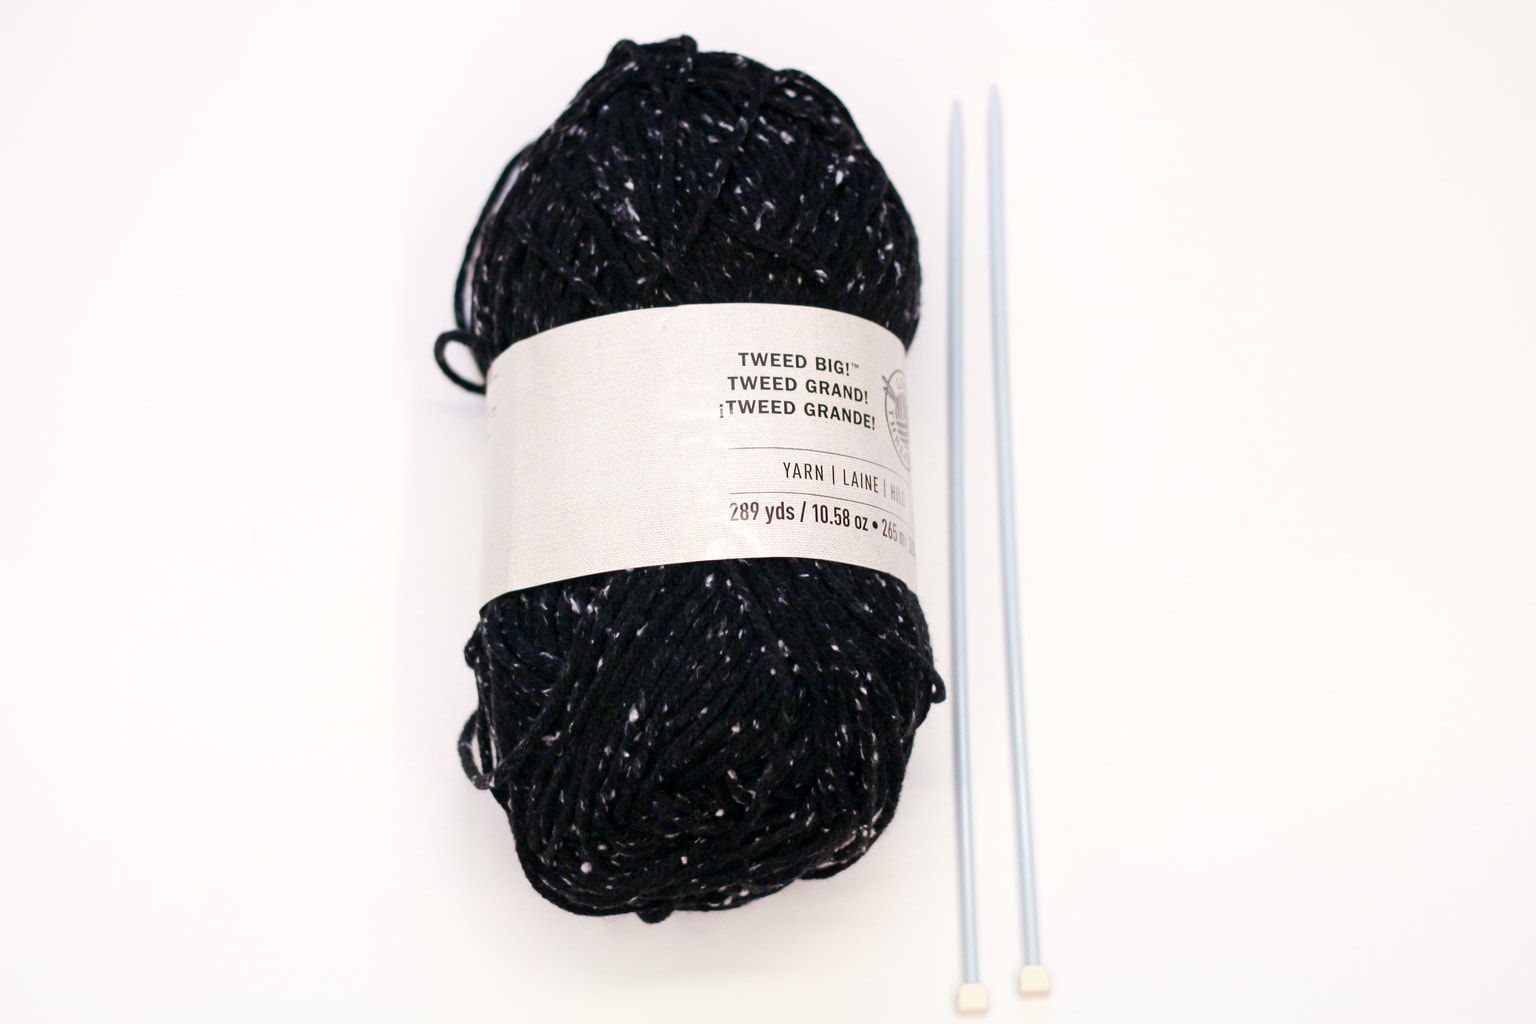
Yarn
How much you need will depend on a few things, namely the length and thickness of the yarn and the width of the scarf you’re making. If you’re using a jumbo roll, like I did in this tutorial, one is enough. But thin yarns will need three or four skeins. If you’re not sure, check the label on the ball of yarn, or ask someone at the shop.
Knitting needles
Again, this will depend on the yarn, and the size you will need will be written on the label of the ball of yarn. I recommend straight needles for beginners (these are the kind that look like chopsticks).
Table of Contents
How to Make a Knit Scarf

Start out by making a slip knot (this is just an ordinary knot) on one of the needles, leaving about four inches of loose yarn on the end.
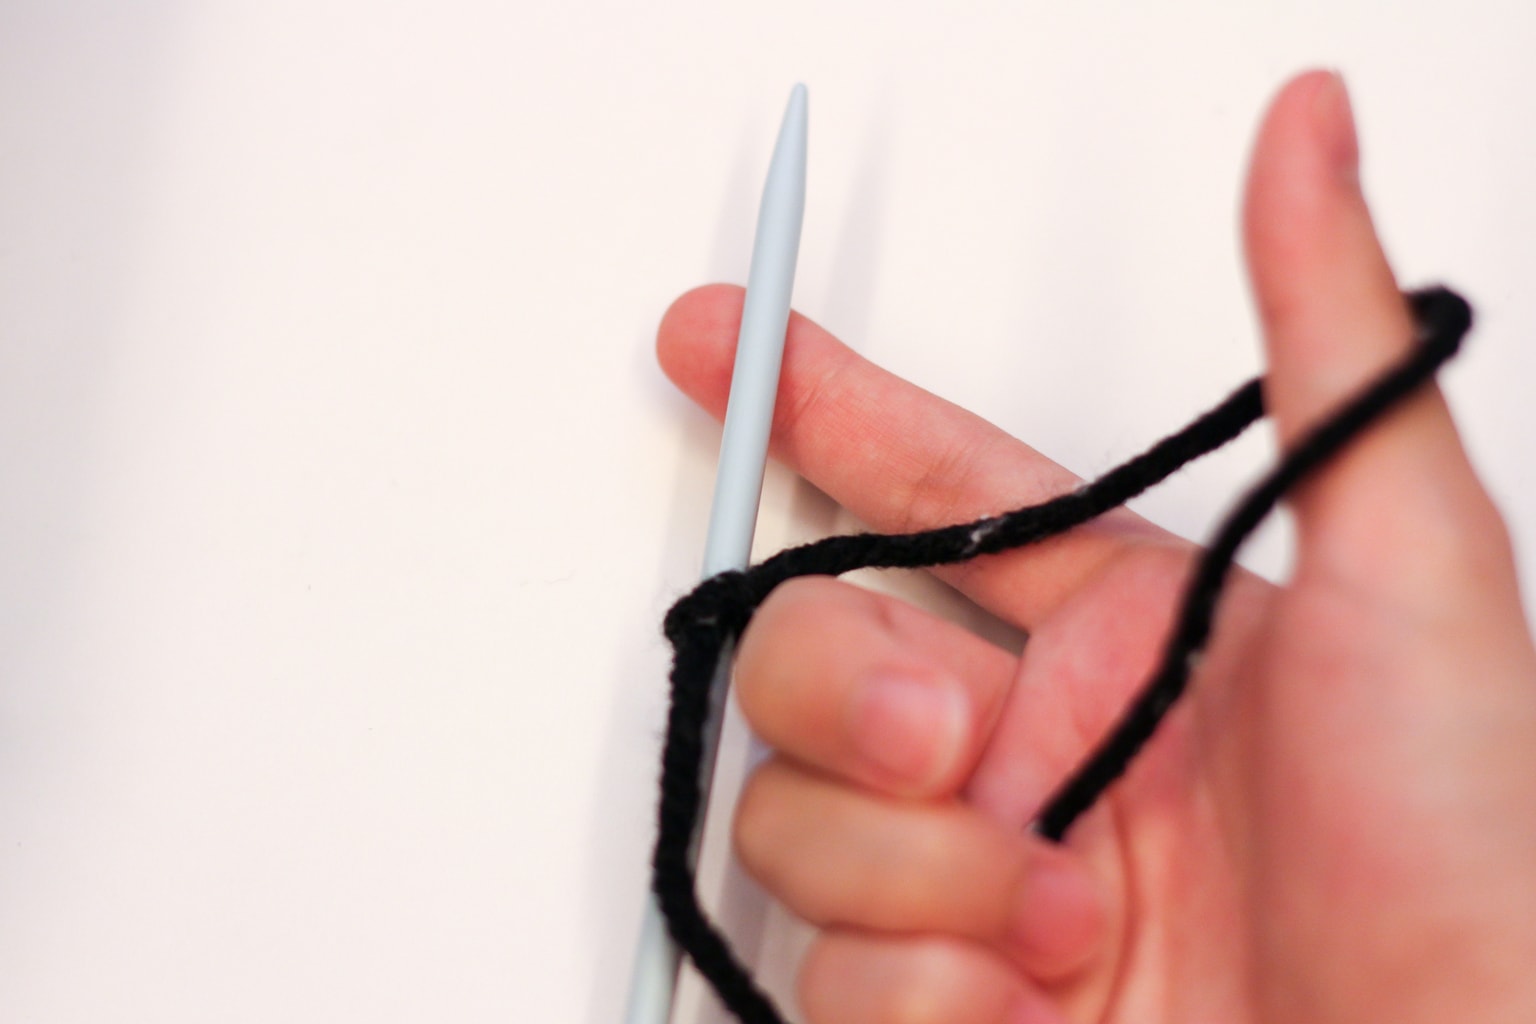
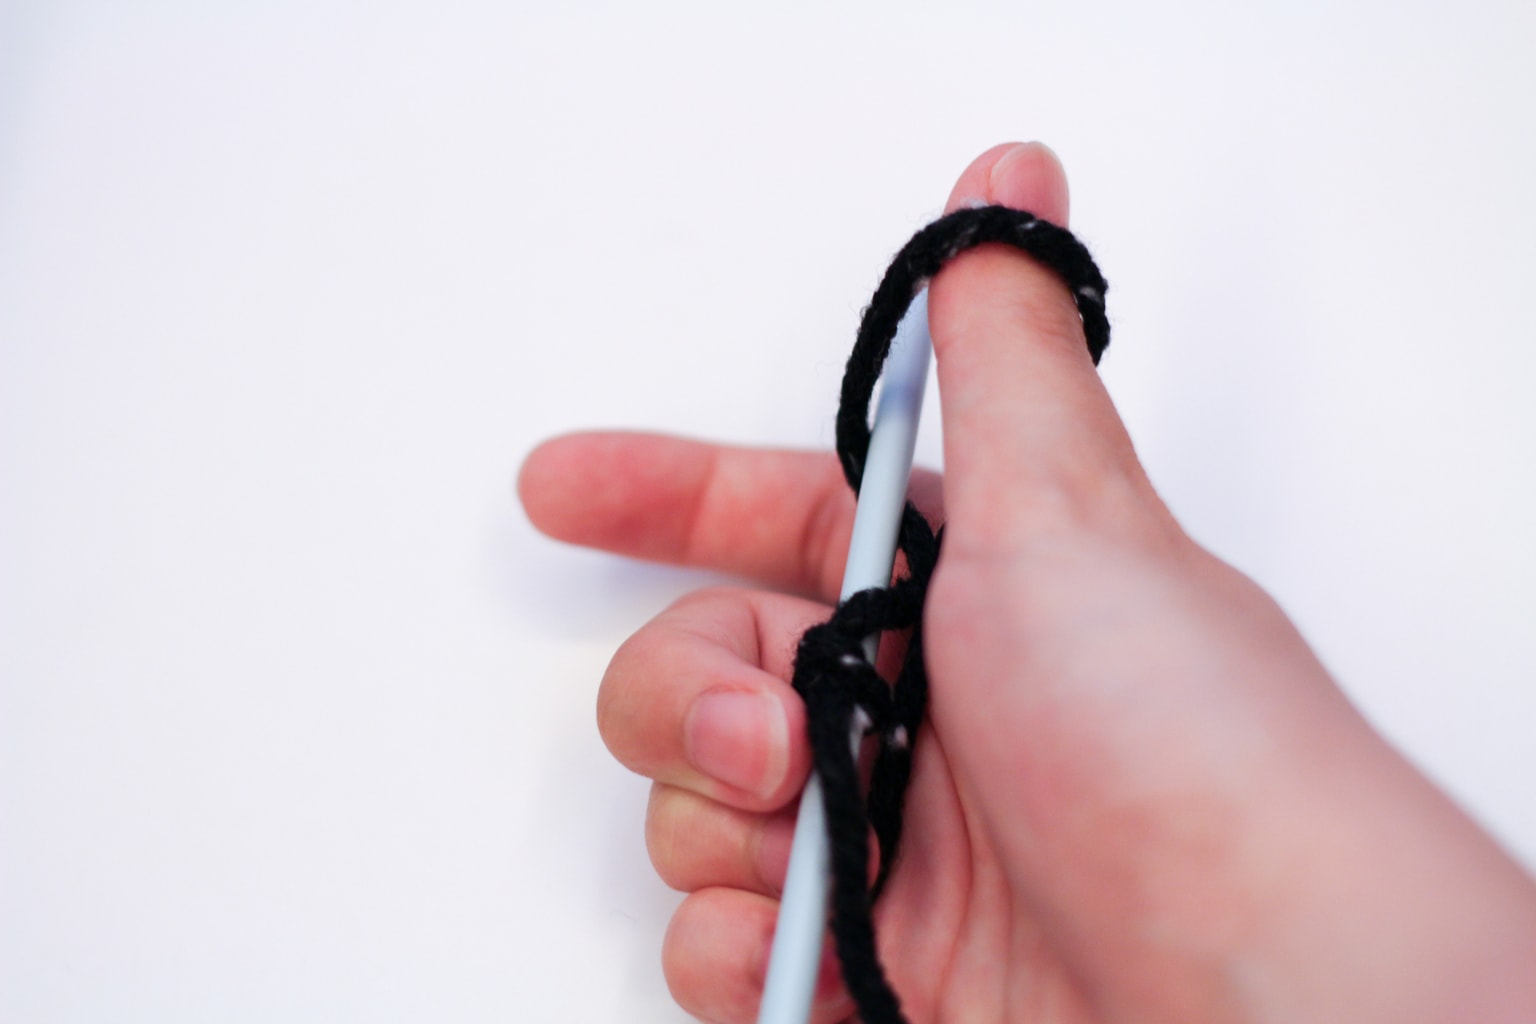
Then, begin casting on. To do this, loop live yarn (the end that is attached to the ball of yarn) around your thumb, then transfer the loop over the knitting needle, pulling to tighten the cast on.
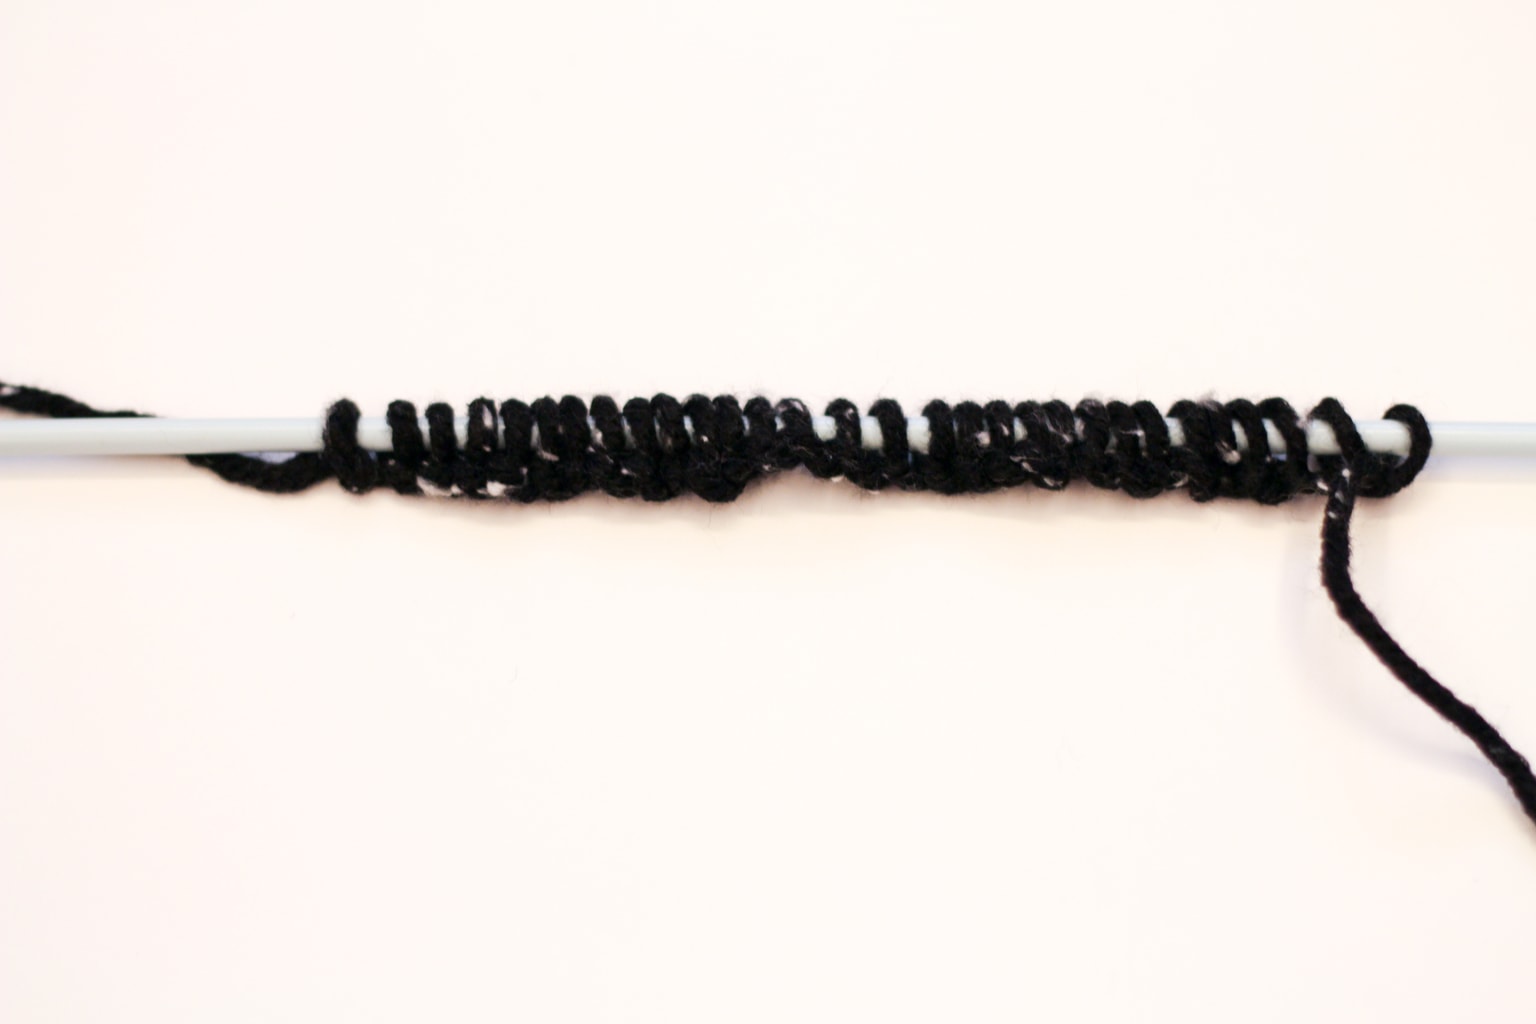
Keep doing this until you have reached your desired number of stitches. I did 25 stitches, but for a thinner yarn, 40 would give you a similar-sized scarf.
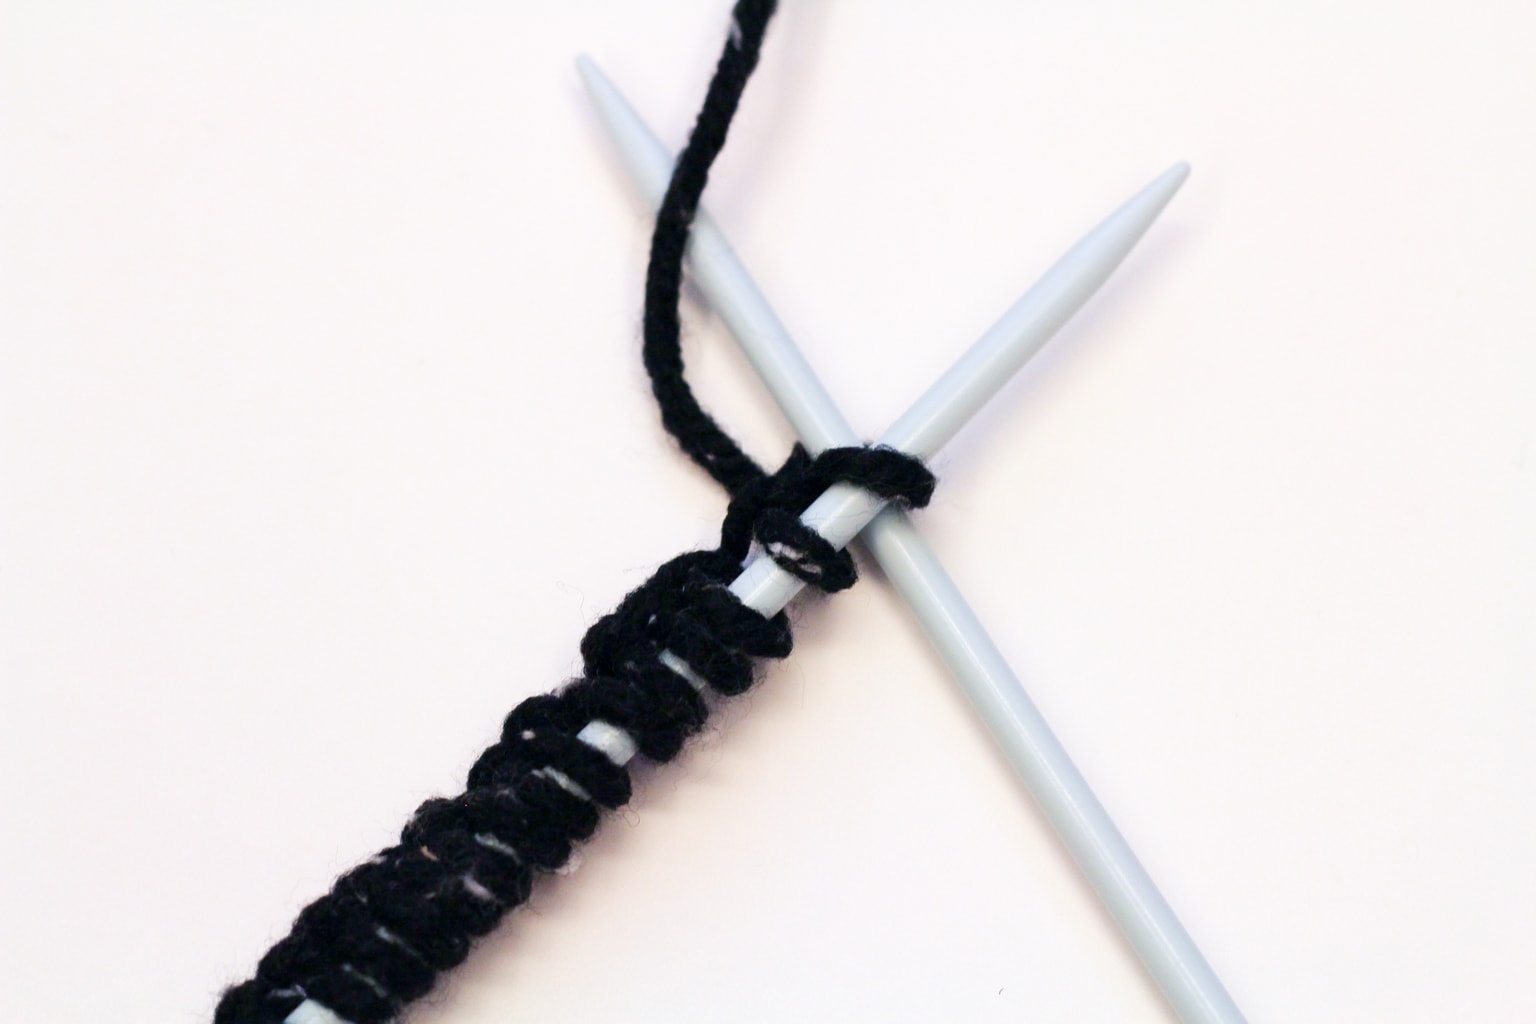
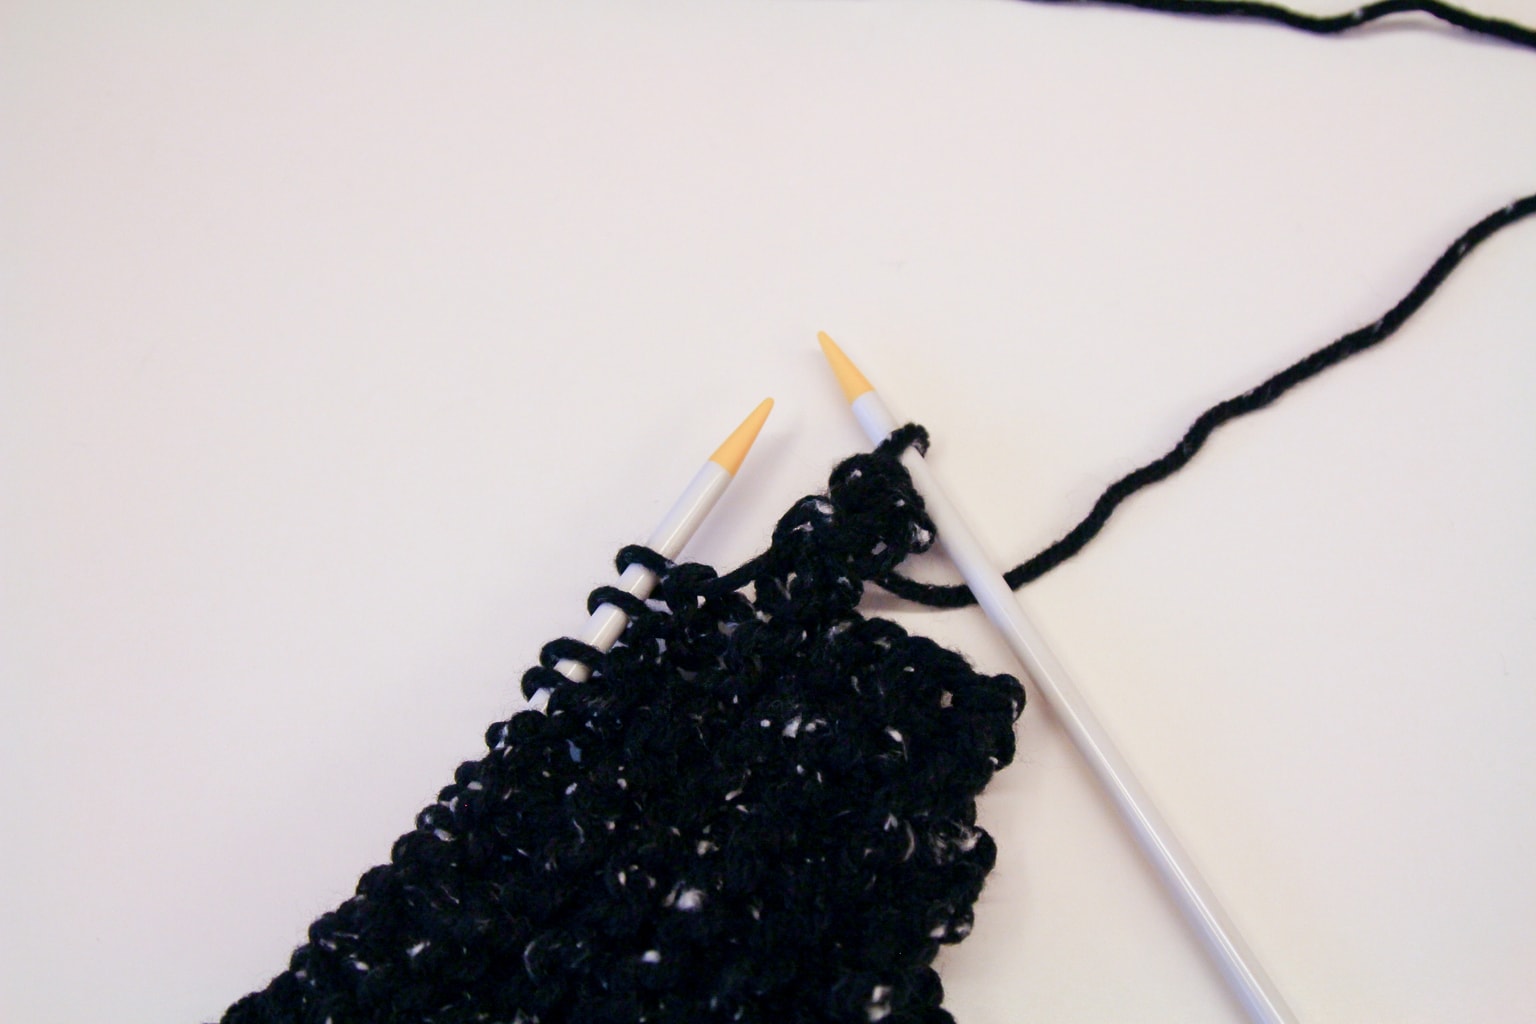
To start your first row of stitches, put the second needle through the back of the first stitch, and loop the live end over the the second needle.
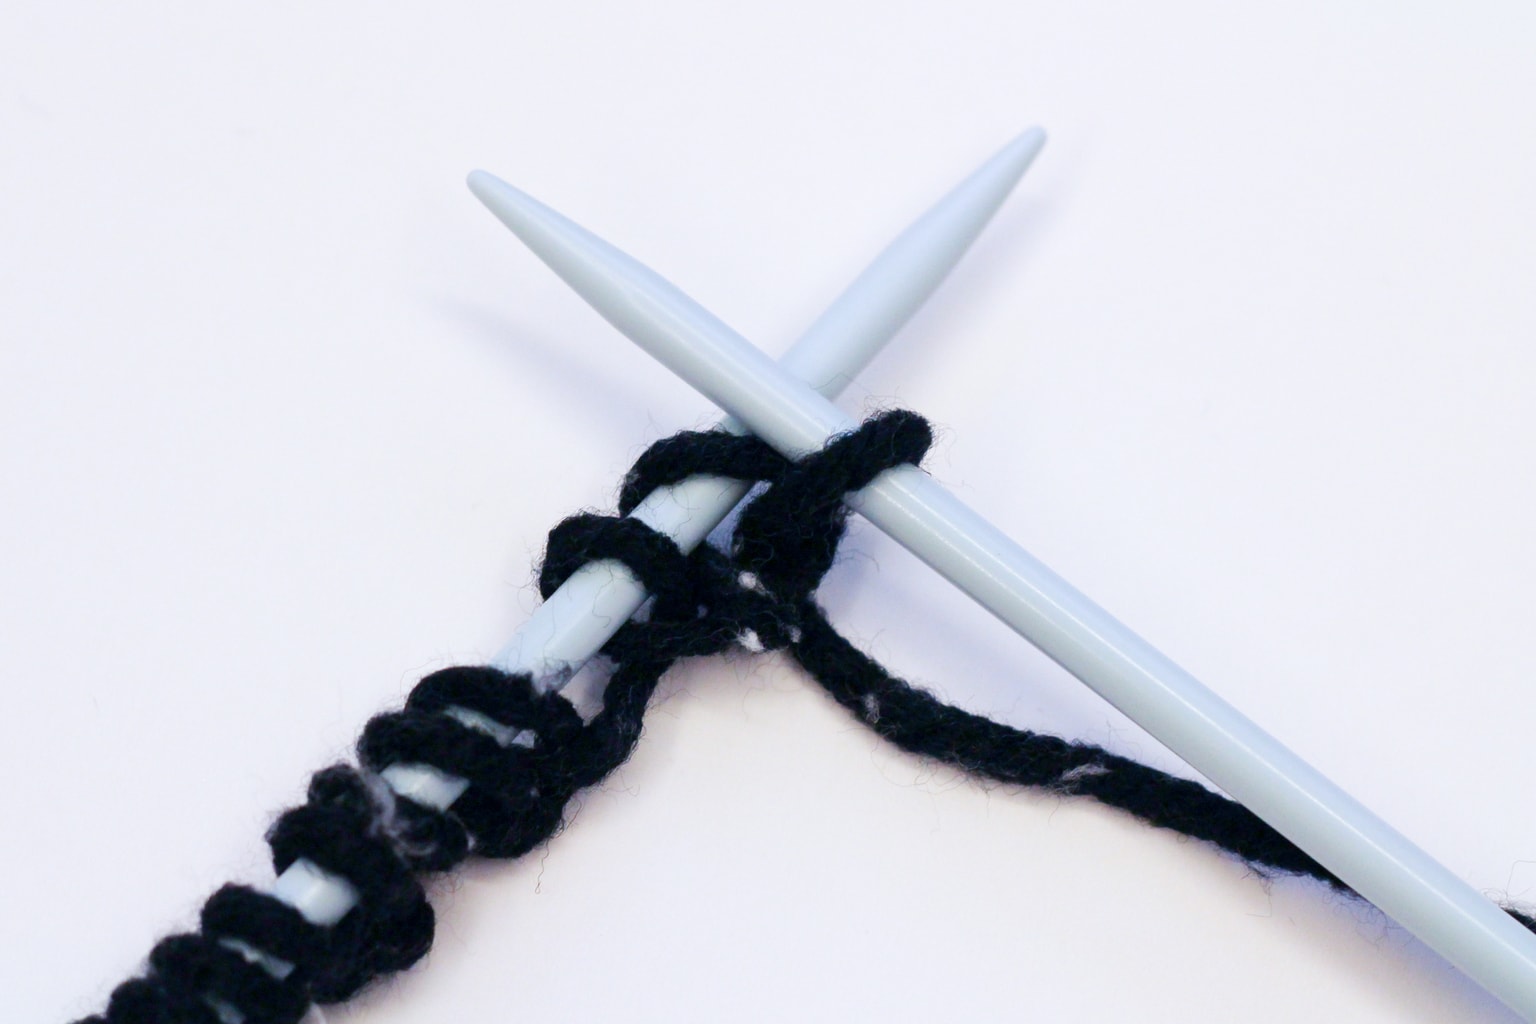
Pull the looped live end through the first stitch.
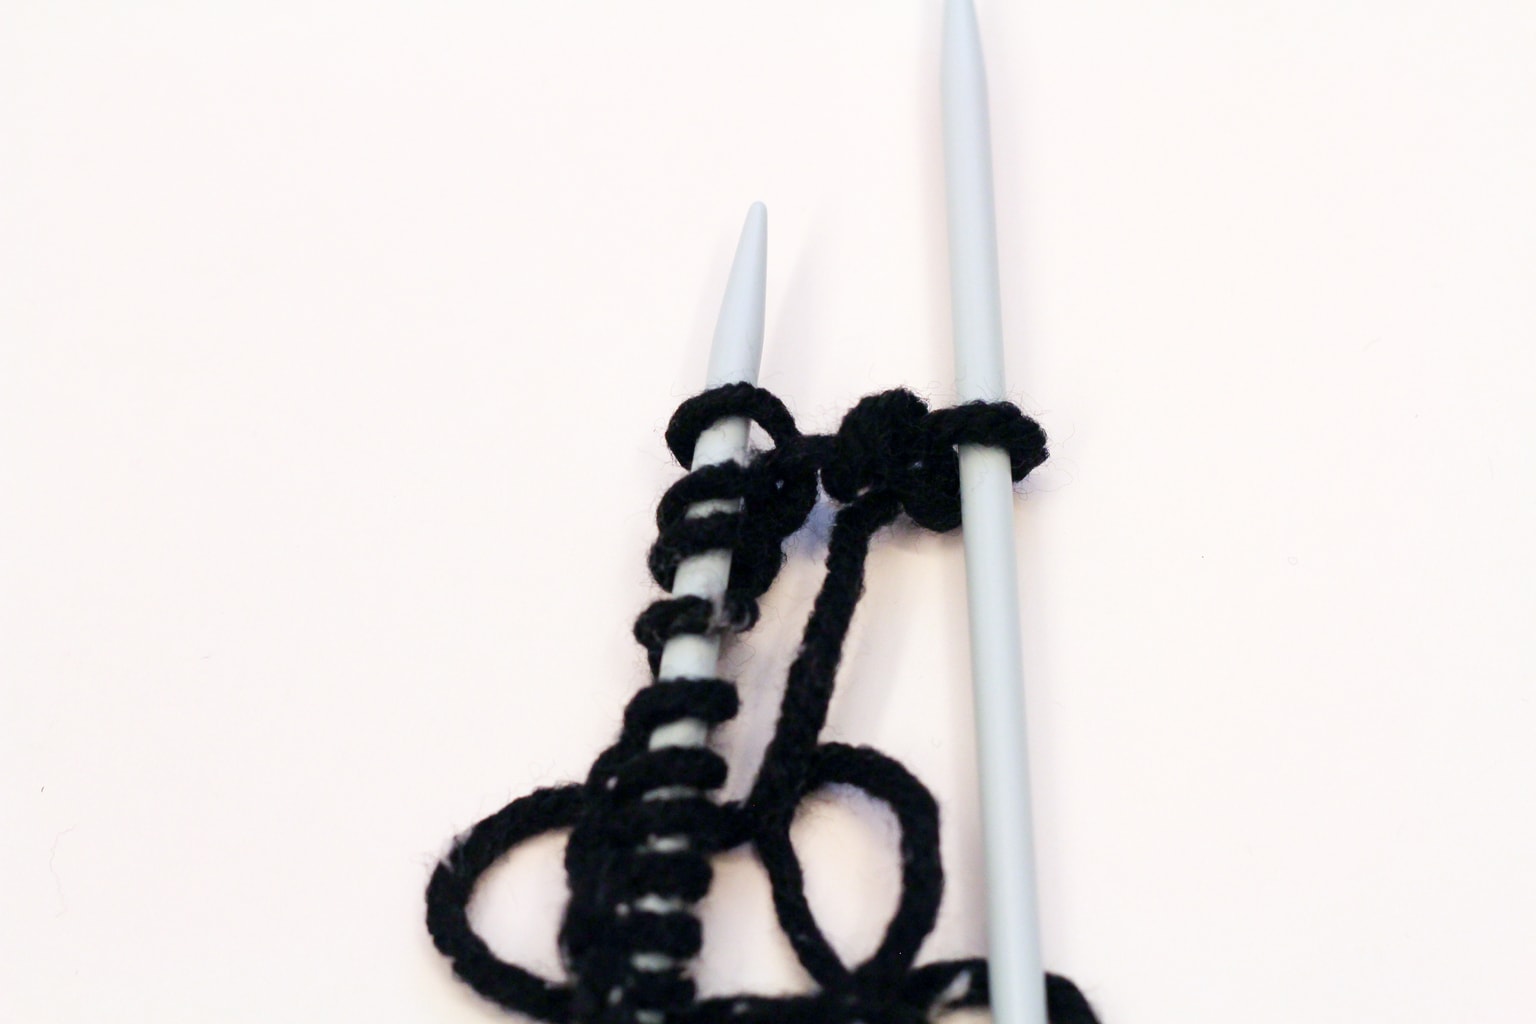
Finally, pull the first stitch off the needle. You’ve now completed your first stitch!
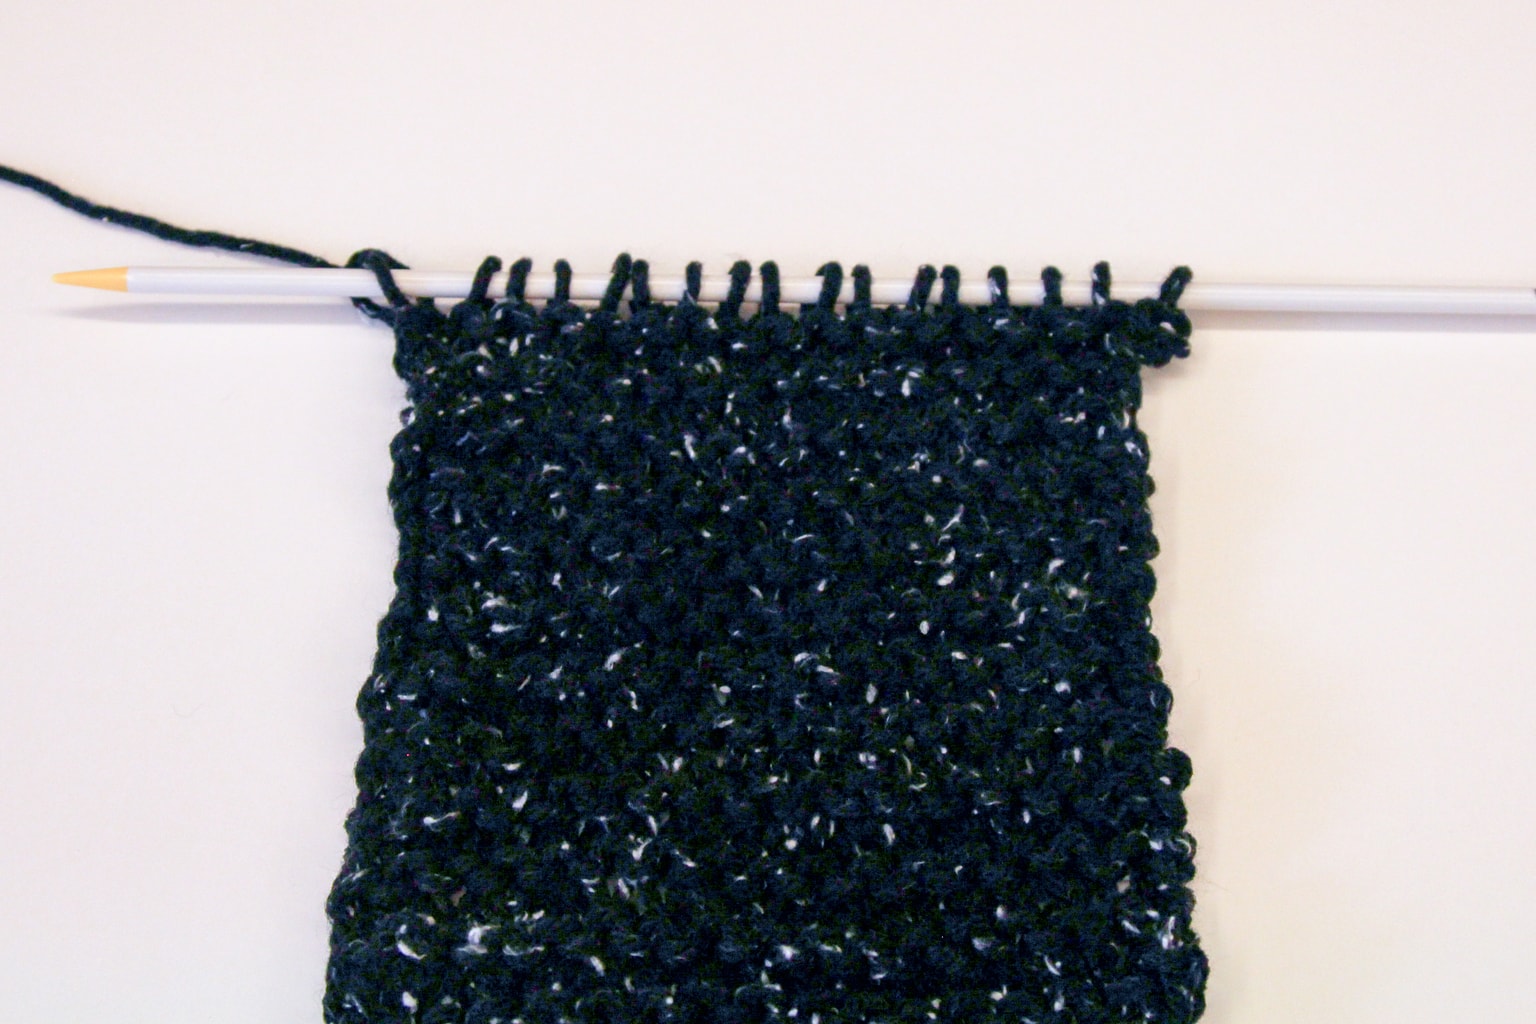
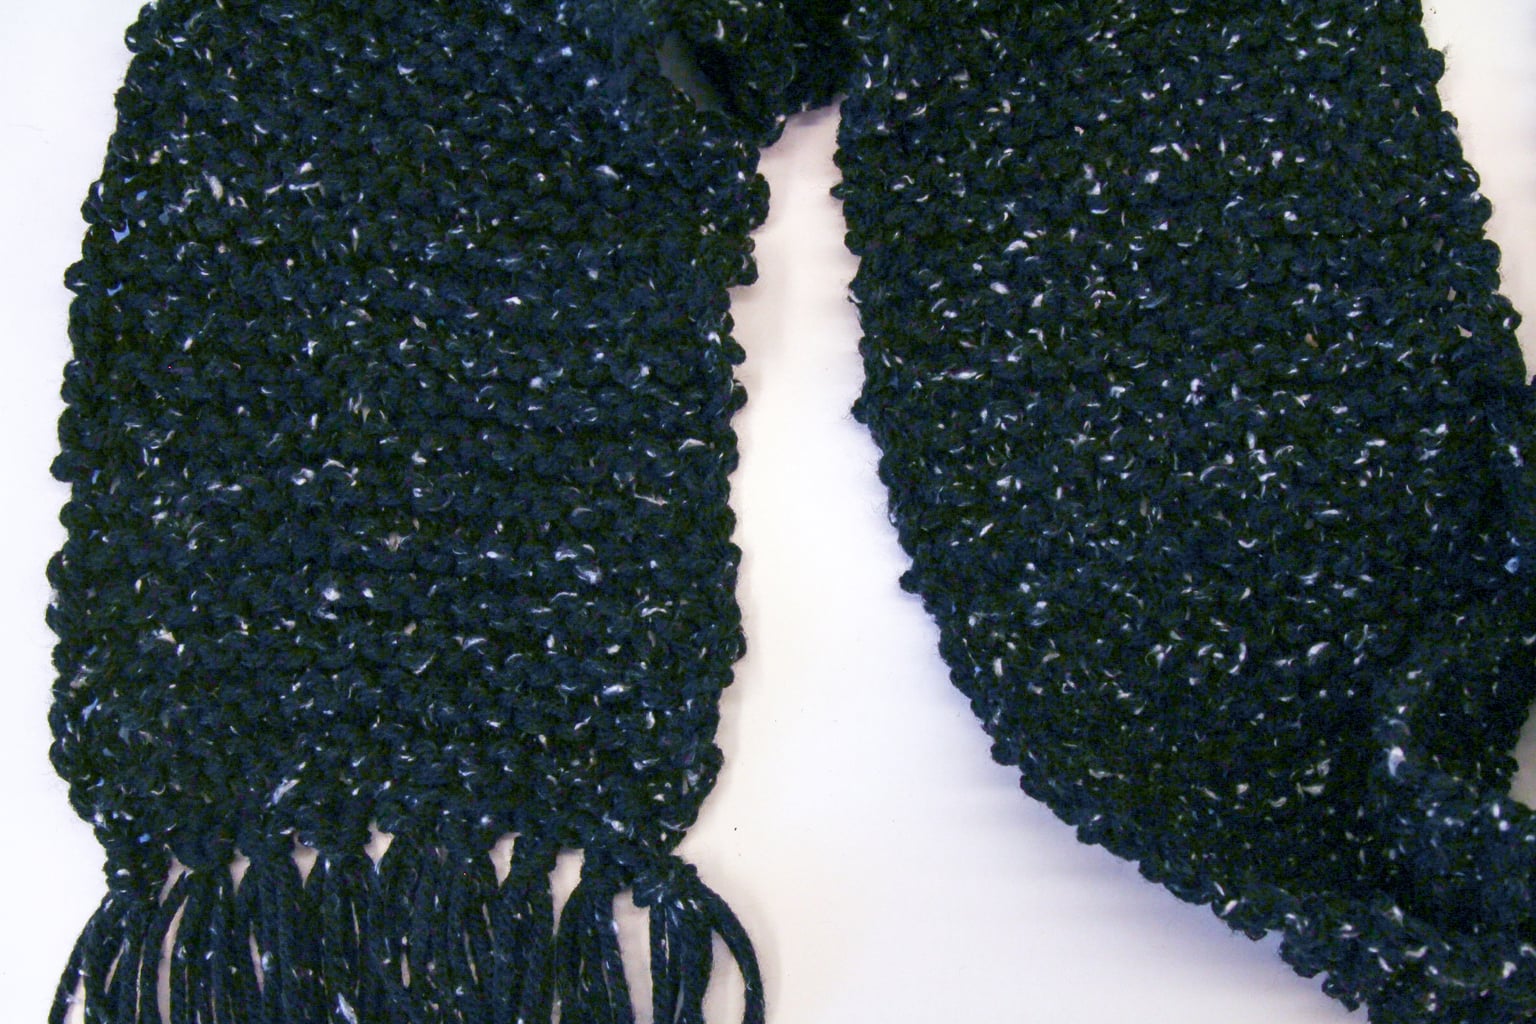
Keep doing this until you reach the end of the row. Then switch the full knitting needle to your other hand and keep going! A good rule of thumb is that the length of a scarf should be approximately your height.
Now that we’re mostly done with the scarf, we will begin casting off. First knit two stitches. Then, pull the first stitch over the second. Continue doing this until you have reached the last stitch.
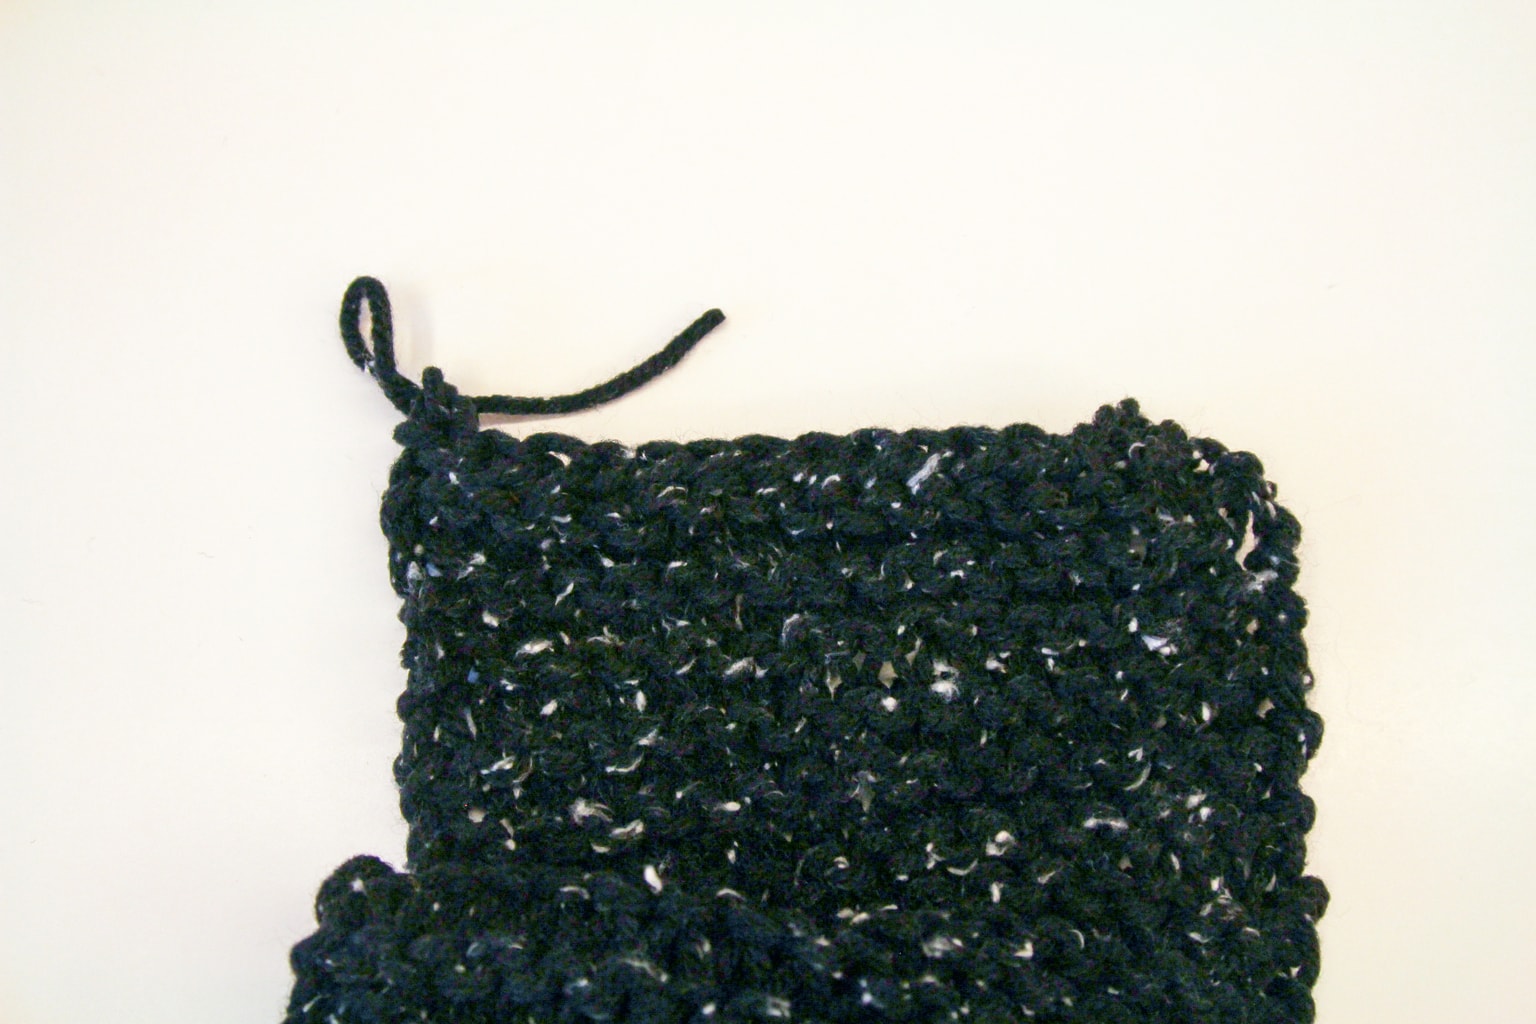
When you reach the last stitch, take your needle out and cut the yarn with about four inches of excess. Then pull the loop out to secure the end.
Bonus! How to Make Fringe
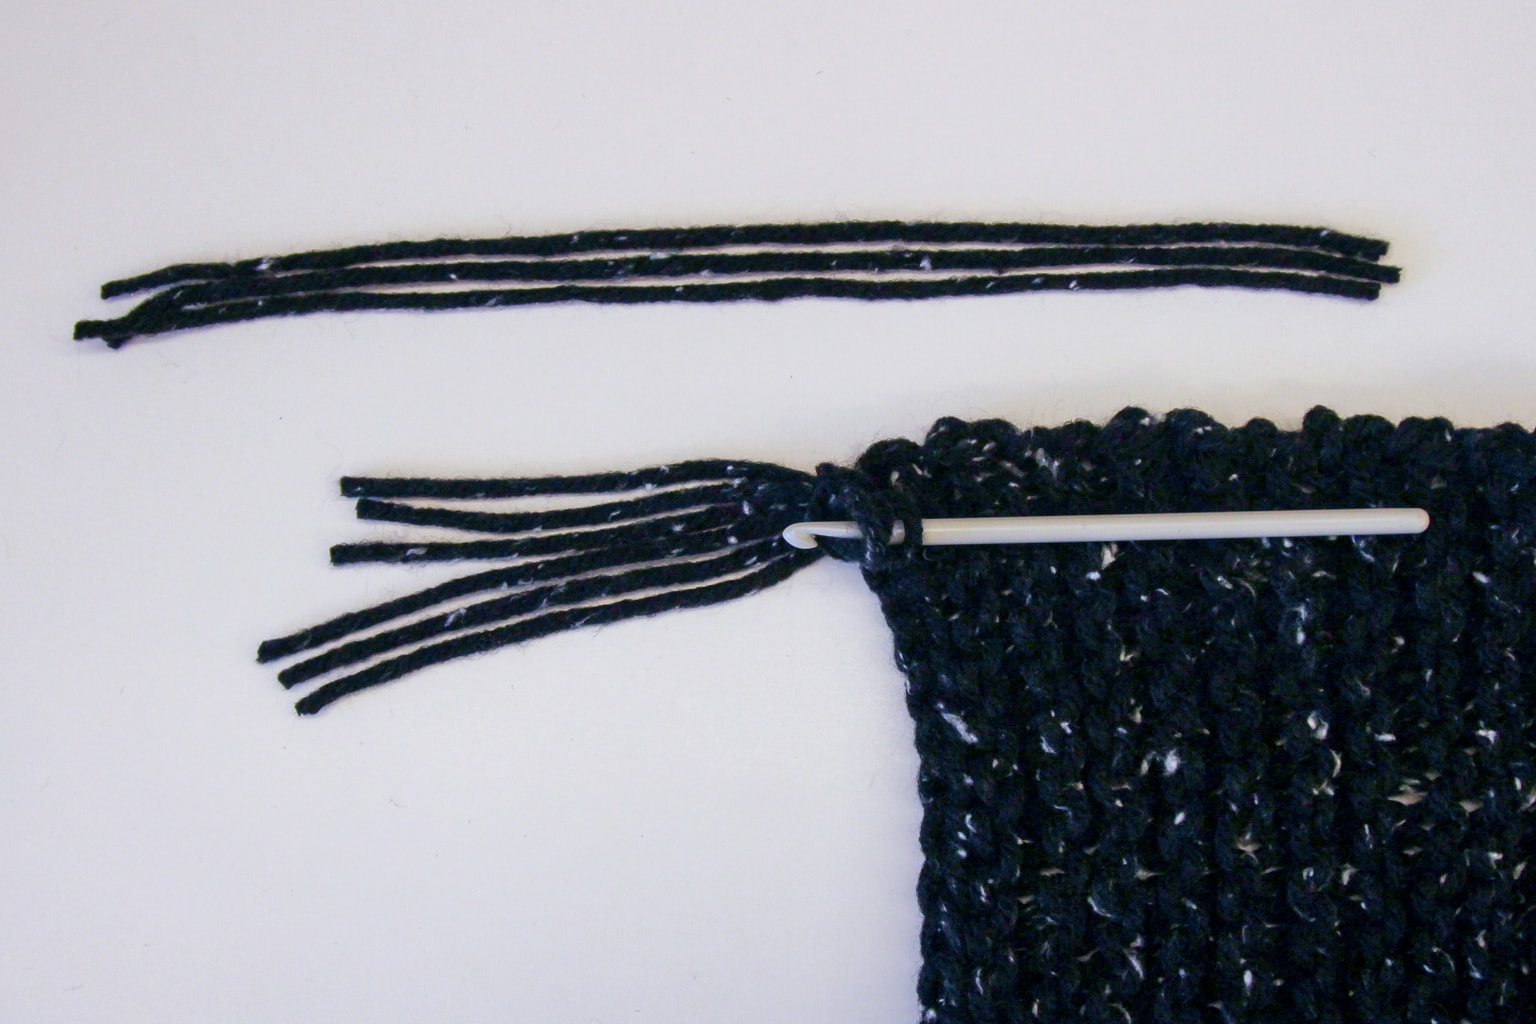
To make the fringe, cut off lengths of yarn that are 12 inches long. This will create a fringe that is about six inches long. Put three lengths together and fold them in half, then pull the strands partway through one stitch.
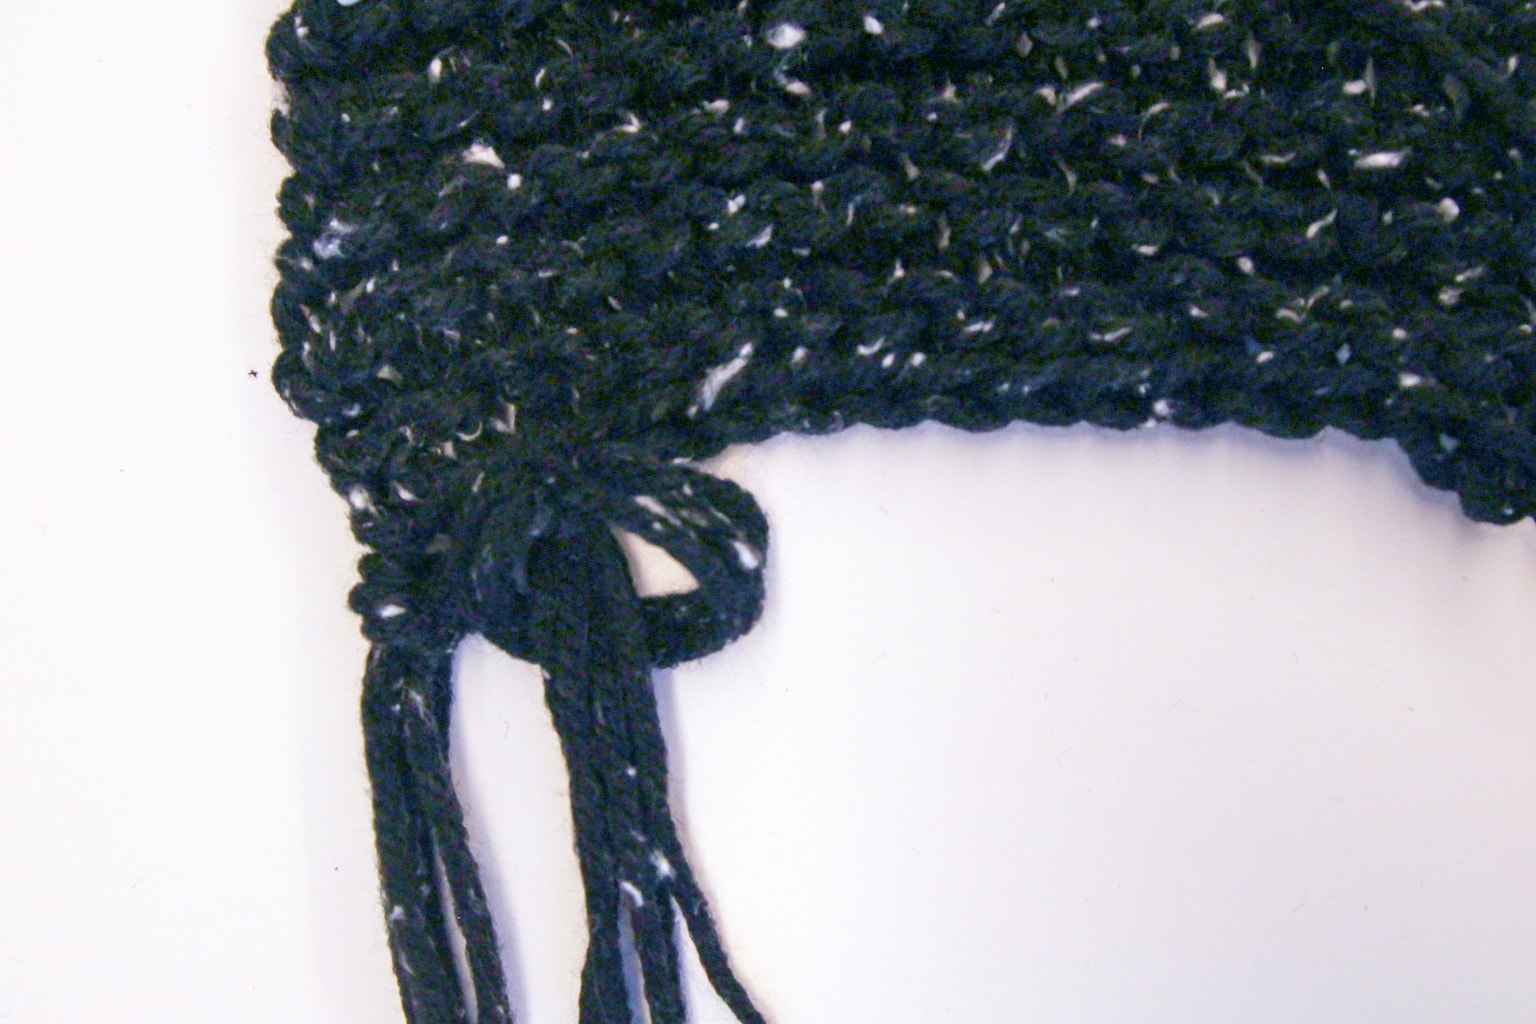
Then pull the end of the strands through the loop.
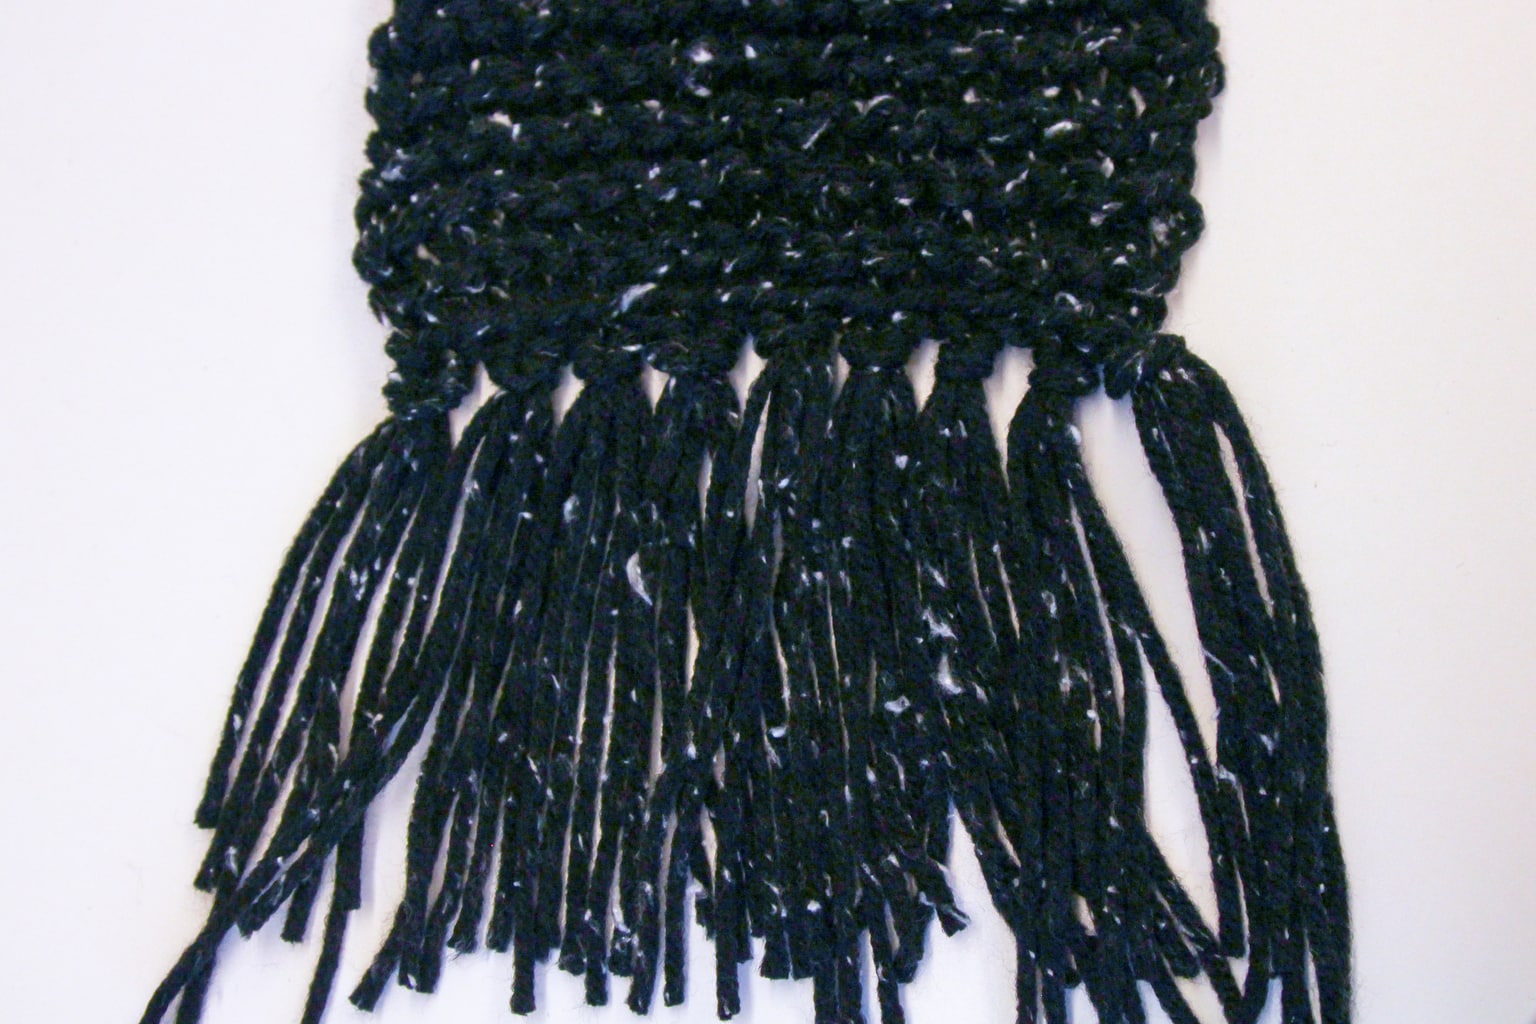
Keep doing this every other stitch until you reach the end of the scarf. You’re done!
Any questions?
This was a complicated tutorial, so I hope that everything was clear and easy to follow. Knitting will be in my next DIY project as well, so practice your knitting skills by making this scarf, and keep an eye out for the next tutorial!
As always, share your creations by tagging @collegefashion on Instagram.