
For this week’s nail art post, I thought I’d experiment with two different methods for how to do watercolor-inspired nail art. These two techniques, using a sponge and using saran wrap, have been rather popular, with tutorials using it for ombre or marbled effects respectively popping up everywhere.
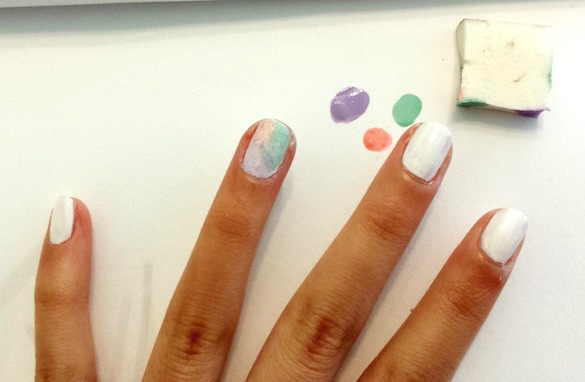
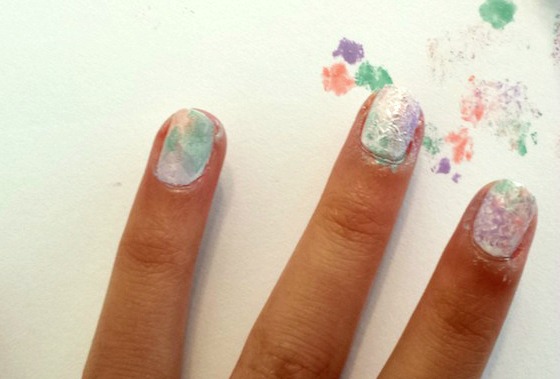
I tried both to see which would be closer to what I wanted, but since they give off different looks when finished, I was satisfied with both. In the picture above, the top two fingers used the saran wrap technique while the bottom two were sponged on. Let’s get right to the tutorial:
Table of Contents
What You’ll Need:
- A white polish – mine was China Glaze’s White on White
- Three or four polish colors of your choice – for a watercolor effect, I went with pastel colors; Essie’s Tart Deco, and Nicole by OPI’s Am I Making Myself Claire? and Alex by the Books
- Saran wrap
- Sponge-tip applicator or makeup sponge
- A top coat
Step 1:
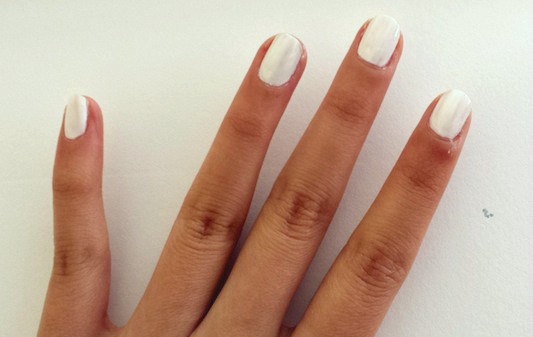
First off, paint on a white base – sort of like a canvas the colors will be going on. Once that’s dry, unscrew all the lids to your colors for easier access.
Now, the tutorial splits into two parts – you can either choose to use a makeup sponge (directly below) or saran wrap (which is further down the page).
Sponging:
We’ll start with the sponging technique, which I used for my ring and pinky finger. For this, you can use a makeup sponge or a sponge tip applicator. Keep in mind that with a makeup sponge, the surface area allows you to sponge on all four colors at once, while with the sponge-tip applicator, you would need to do one color at a time.
Step 2:
For the makeup sponge, it apparently works better while a bit damp, so it doesn’t soak up the color as quickly. However, I skipped this part and it turned out fine for me. Apply each color generously, making sort of a rough 3-part square or oval on the sponge.
Step 3:
As quickly as you can, sponge the pattern on your nail, patting it in slight left-right, up-down motions. If you find the color too light, feel free to do another layer.
Step 4:
Once you’re satisfied with the result, seal it with a top coat to even out the surface and blend everything together! Of course, there will be a fair bit of cleaning up to do around your nails, so take a q-tip or brush with some remover and clean up on the sides.
If you’re using an applicator, you have more control of what colors go where, but you would have to do one color at a time. With an applicator, you can create a more free-style look, as I’ve previously shown, or you can stick to the 3-part (or 4) square idea.
Saran Wrap:
Now, the saran wrap technique produces a different effect depending on the colors used. I chose to use lighter, pastel colors to reflect the “watercolor” look I wanted, but if you use contrasting colors, it would certainly produce a more marbled effect.
Step 2:
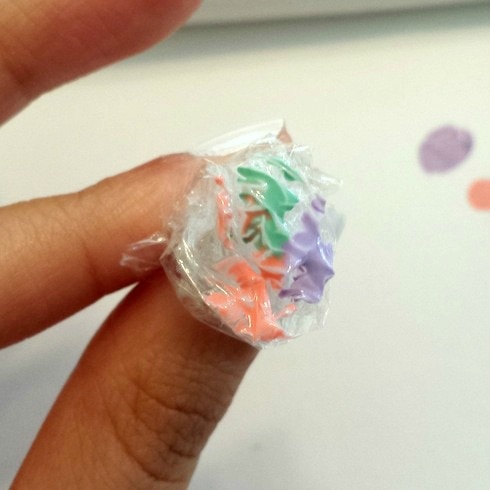
With a small piece of crumpled saran wrap, place each of the four colors, again in a 3-part fashion.
Step 3:
I had to dab off some excess on a piece of paper before putting it on my nail, but you can try with a few practice dabs to see how you’d like it.
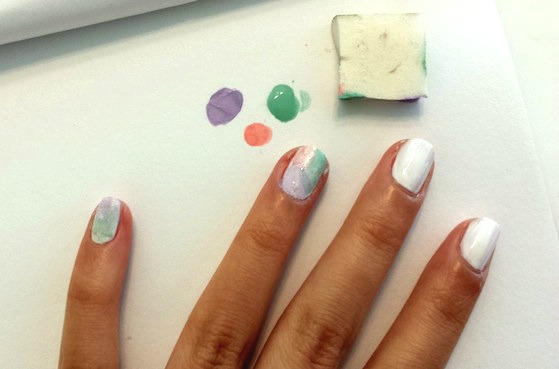
With this technique, there isn’t much need to dab a lot, since that would only make the surface more uneven, as you can see in the photo above. Two or three dabs should suffice to cover the surface.
As you can see, I over-did the dabbing and it left me with some unevenness. I think, if I were to try it again, I would paint the polish on my nails first, and then use the saran wrap to dab some off.
After that, put on a top coat and clean up around the edges to get your watercolor-inspired nails!
Have you tried any of these techniques before – which one do you prefer?
I personally preferred the sponging technique after trying both, but I’d definitely try both out with different colors in the future. Which look do you prefer?
Now I want to hear from you – what do you think of the watercolor nail look? Will you be trying out this tutorial? If there are any comments, questions or suggestions, feel free to post them down below!
Wow, horrible timing for this post; I just painted my nails lol
I think this watercolor effect would look cool with brighter colors, too. I have seen other tutorials where you use the plastic wrap to take the color off of your nails. I guess my next mani will involve some experimentation 🙂 Thanks for the ideas!