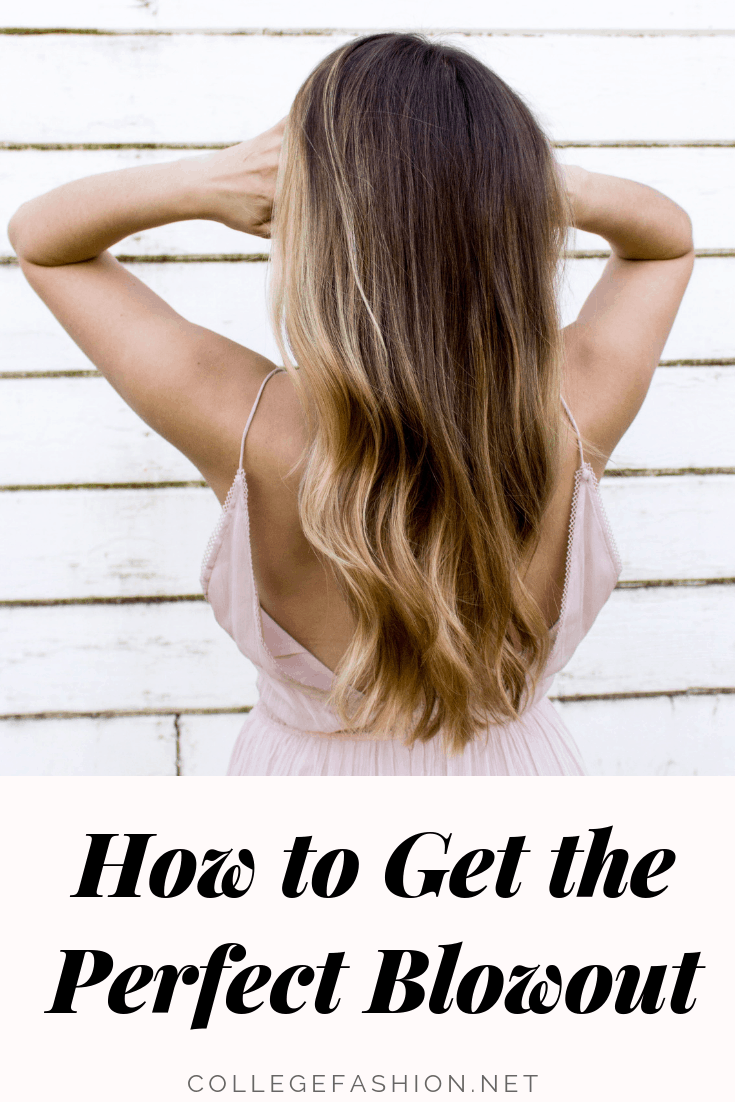
The perfect blowout can be tricky to obtain. I’ll be honest and say that it might require some practice to master the perfect blowout for your hair, but with this practice, you’ll get it the hang of it in no time.
Today, I’ll be sharing my best tricks and tips, so you’ll be able to get fresh-out-of-the-salon blowouts right at home.
Let’s start with some of the basics. First, let’s go over some of the tools you’ll need.
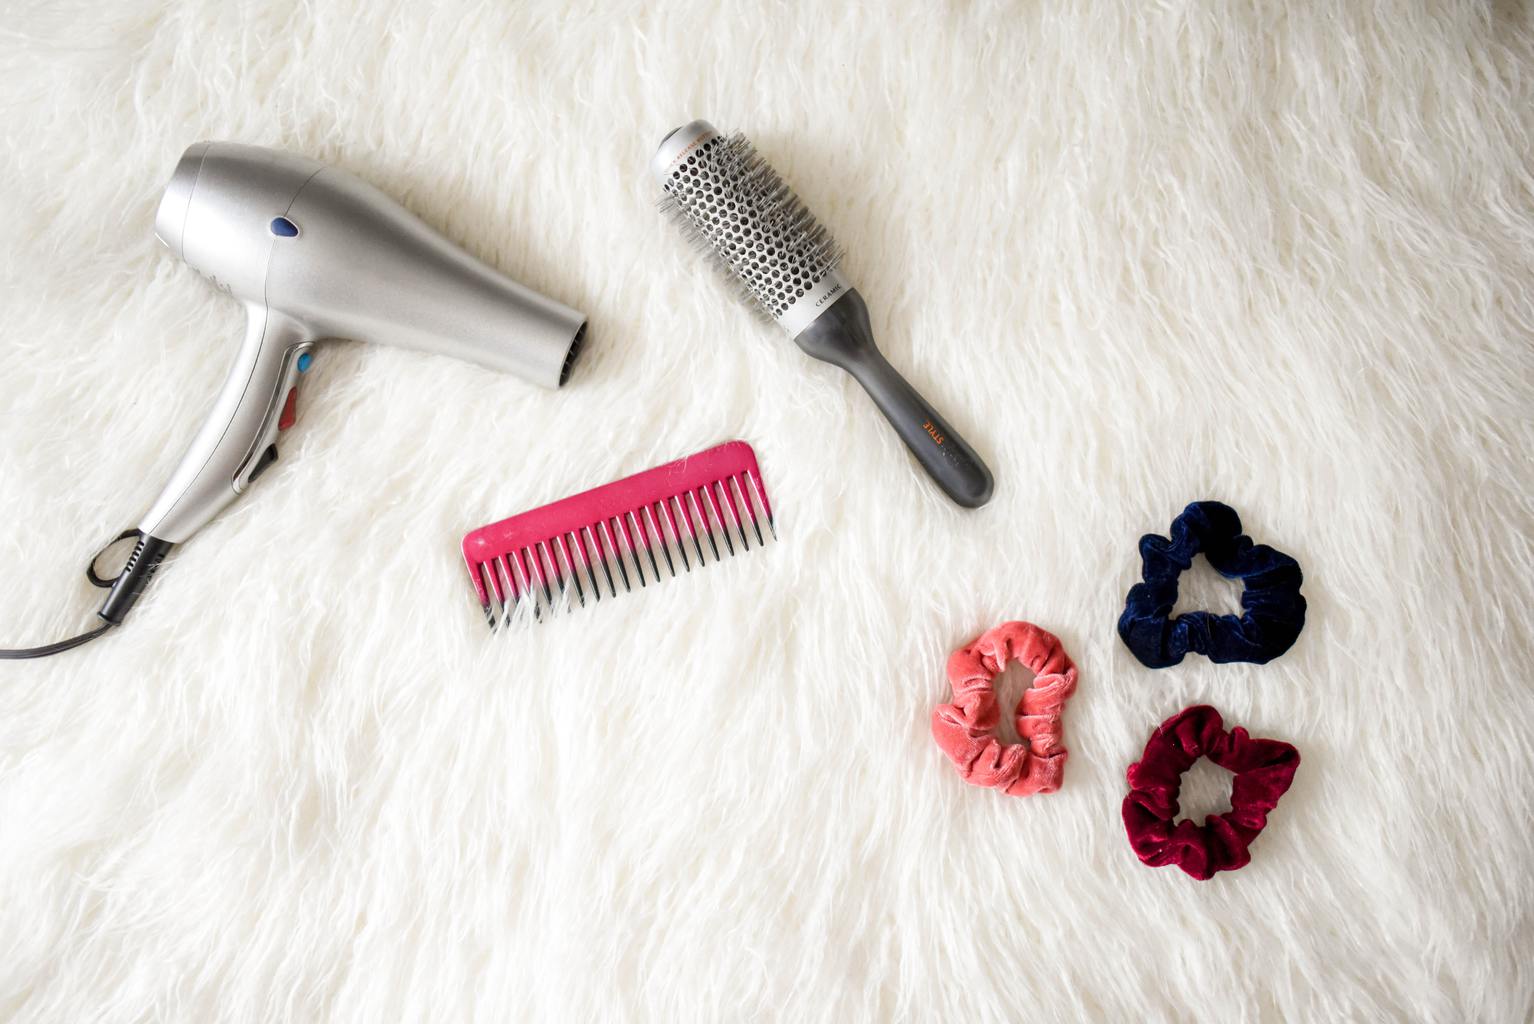
Table of Contents
The Tools Needed for a Perfect Blowout
1. A quality hair dryer
You don’t necessarily need to spend hundreds of dollars on a new hairdryer in order to get a perfect blowout, but you should definitely try to find something that suits your hair. You’ll also want one that comes with a concentrator nozzle for blowouts, a.k.a. that little attachment that gives the air more precision so you can aim and straighten as you go.
2. A good, round brush
You want to use a round brush, and I would personally choose either boar bristles or soft synthetic bristles. With all the pulling and tugging at your hair, you definitely want something that will do the least amount of damage possible.
3. The heat protectant product of your choice
I cannot stress this enough: protect your locks! While blowouts may look great, you want to make sure that your hair stays healthy, so protect it from heat damage. Check out your local drugstore or beauty supply store to see what would be the best product for your hair type.
The Steps
Step 1. After you take a shower, I recommend drying your hair with a cotton t-shirt instead of a towel in order to minimize damage and frizz.
Step 2. Now that your hair is damp rather than soaking wet, apply the heat protectant product throughout your hair. Really make sure that you rake it in well, and that no section of your hair is unprotected.
Step 3. Twist and clip the front section of your hair up. Some may argue to begin with the front sections. However, I usually start with the back and work my way forward. My advice is to do whatever you think works best for you. Experiment with your hair and learn what works and what doesn’t.
Step 4. With a round brush, begin blow drying your hair into sections, starting from under your hair and finishing off at the roots. This can be the most difficult step, especially if you’re new to creating your own blowouts. I know it can be difficult to try to brush your hair while blow drying, but just remember, it’s a process and it will get easier with practice. Repeat this process throughout the rest of your hair.
Step 5. Straighten your hair as needed if you want a sleeker look. Finish off with some serum and hairspray to maintain the look and prevent flyaways. You’re all set!
What do you think?
Believe me, I know that blowouts can be a frustrating process, but with time and practice, you will be saving tons of money and will always have great hair at hand.
Have you ever given yourself an at-home blowout? Any tips or tricks you’d like to share? Tell us your thoughts in the comment section.
Tension is my number one tips for blow outs. My hair is also pretty thick so I air dry in a microfiber towel for 30 minutes before I start my blow out. I always do the pieces in the front before the back because for me these personally dry faster than my other hair and will dry frizzy if I don’t do them first