
This post will show you how to do a flawless, salon-quality at home manicure.
With all the time we’re spending in virtual classes and working from home, it’s hard to ignore these hands of ours typing away on our keyboards.
There’s just something about having your nails done that increases one’s drive to type up a paper or scroll through emails.
Whether your issue is sheltering in place, financial worries, or you’re simply uneducated in the world of manicures, this list is made for you.
Welcome to a step-by-step guide in achieving a salon-grade manicure from the comfort of your own home.
Table of Contents
Step One: Invest in the Essentials

You do not have to break the bank with the market’s top-grade products. Trust me, the at home manicure essentials below are not just necessary but very budget-friendly.
Both your nails and wallet will thank you!
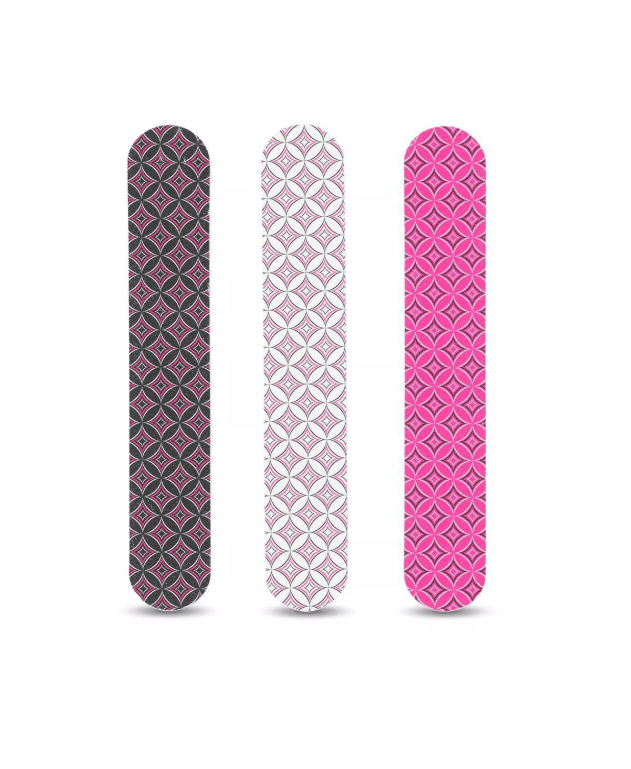
Nail File
Glass and crystal nail files are making a huge appearance on the market right now, but they are wicked expensive. Emery boards will be your best bet, as they are affordable and effective.
You can typically find these at your local drug store, but this one from Target is both well-reviewed and won’t break the bank.
Buffer
This product is essential when it comes to achieving shiny and healthy-looking nails.
This three-way shine buffer block is sure to make your nails feel smoother and give them a dreamy, long-lasting shine.


Clippers
To keep nails healthy, it is important to trim them. A good pair of clippers will go a very long way during an at home manicure.

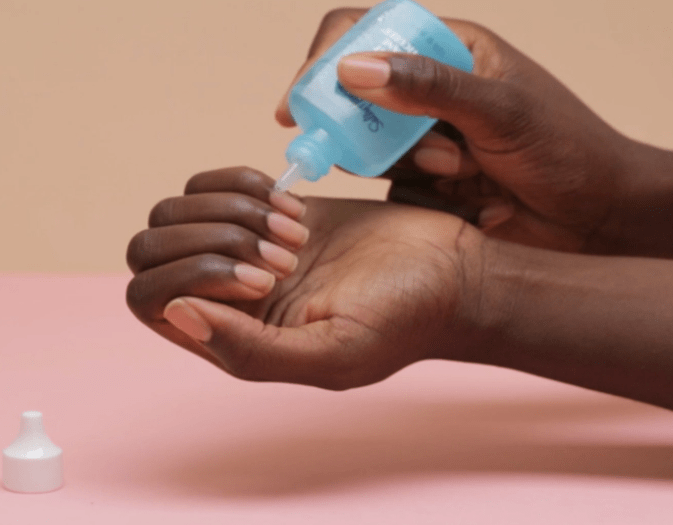
Cuticle Remover
Taking care of your cuticles is just as important as painting your nails, so this instant cuticle remover is essential.
It is extremely easy to use and you won’t need to go through the hassle of cutting your cuticles, which can be tricky if you’re not a professional.
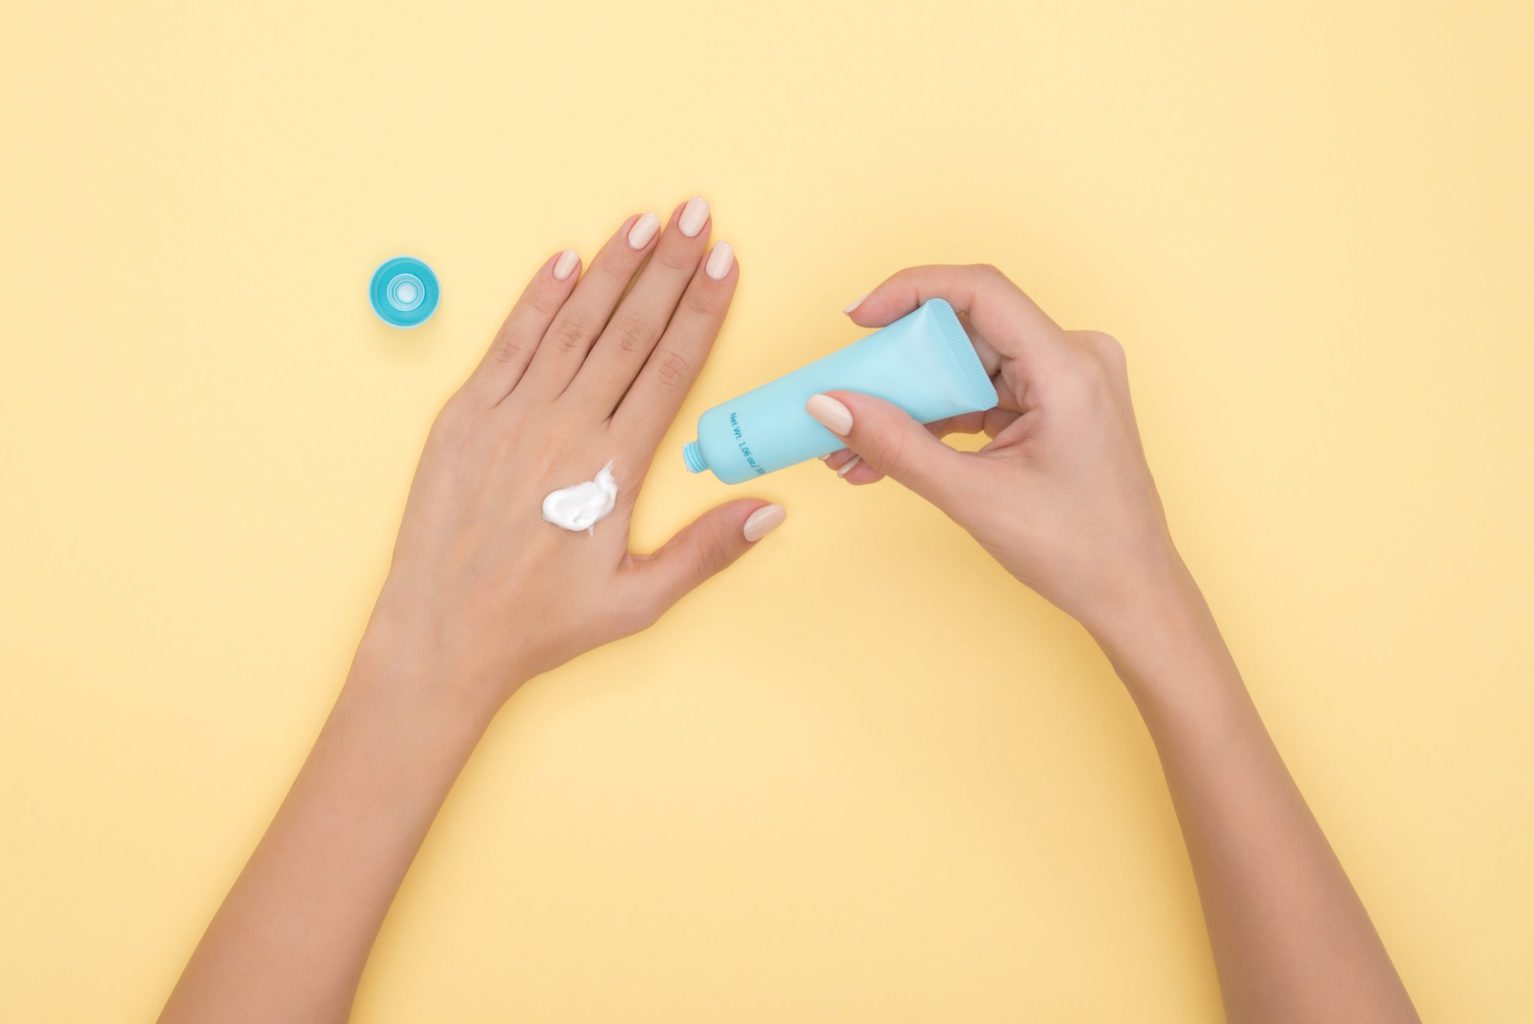
Hand & Cuticle Cream
Even if you’re not interested in perfectly-painted nails, it is still important to moisturize your cuticles and hands to keep them healthy and hydrated year-round.
This hydrating coconut cream is a lifesaver for at home manicures, as it’s effective and affordable.

Base Coat
While it might seem counterproductive, adding a layer of this natural nail base coat to your at home manicure is recommended.
This product is the simplest and most effective on the market right now. For a good price, you can ensure your nails are going to stay clean and protected.

Top Coat
This top coat is just as practical as luxury topcoats and a fraction of the cost.
It dries quickly and keeps your polish shining and lasting for a long time.

Step Two: Prep + Paint
Start With Clean Nails
For this step of your at home manicure, if there is any remaining polish or base coat left on your nails, it could affect the quality of the paint.
You will want to start with a (preferably) non-acetone nail polish remover, which will be less harsh on your skin.
Quick tip: Swab your nails with remover even when you’re not wearing polish to get rid of dirt and grime.
Clip, Shape, and Buff
After all polish and dirt has been removed, trim your nails to your desired length and buff them to create a smooth surface. This only takes a few seconds and is immensely important if you’re planning on polishing.
Decide how you want to shape your nail with the file. You might want to stick with your personal favorite or try something new.
Quick tip: Round or almond nail shapes elongate the nail bed and will help your nails appear slimmer.
Check Out Those Cuticles
Cuticle care is necessary for a professional-looking manicure for several reasons. As much as it may be dreaded or even ignored, pushing or cutting your cuticles will make your nails look much cleaner and more elongated.
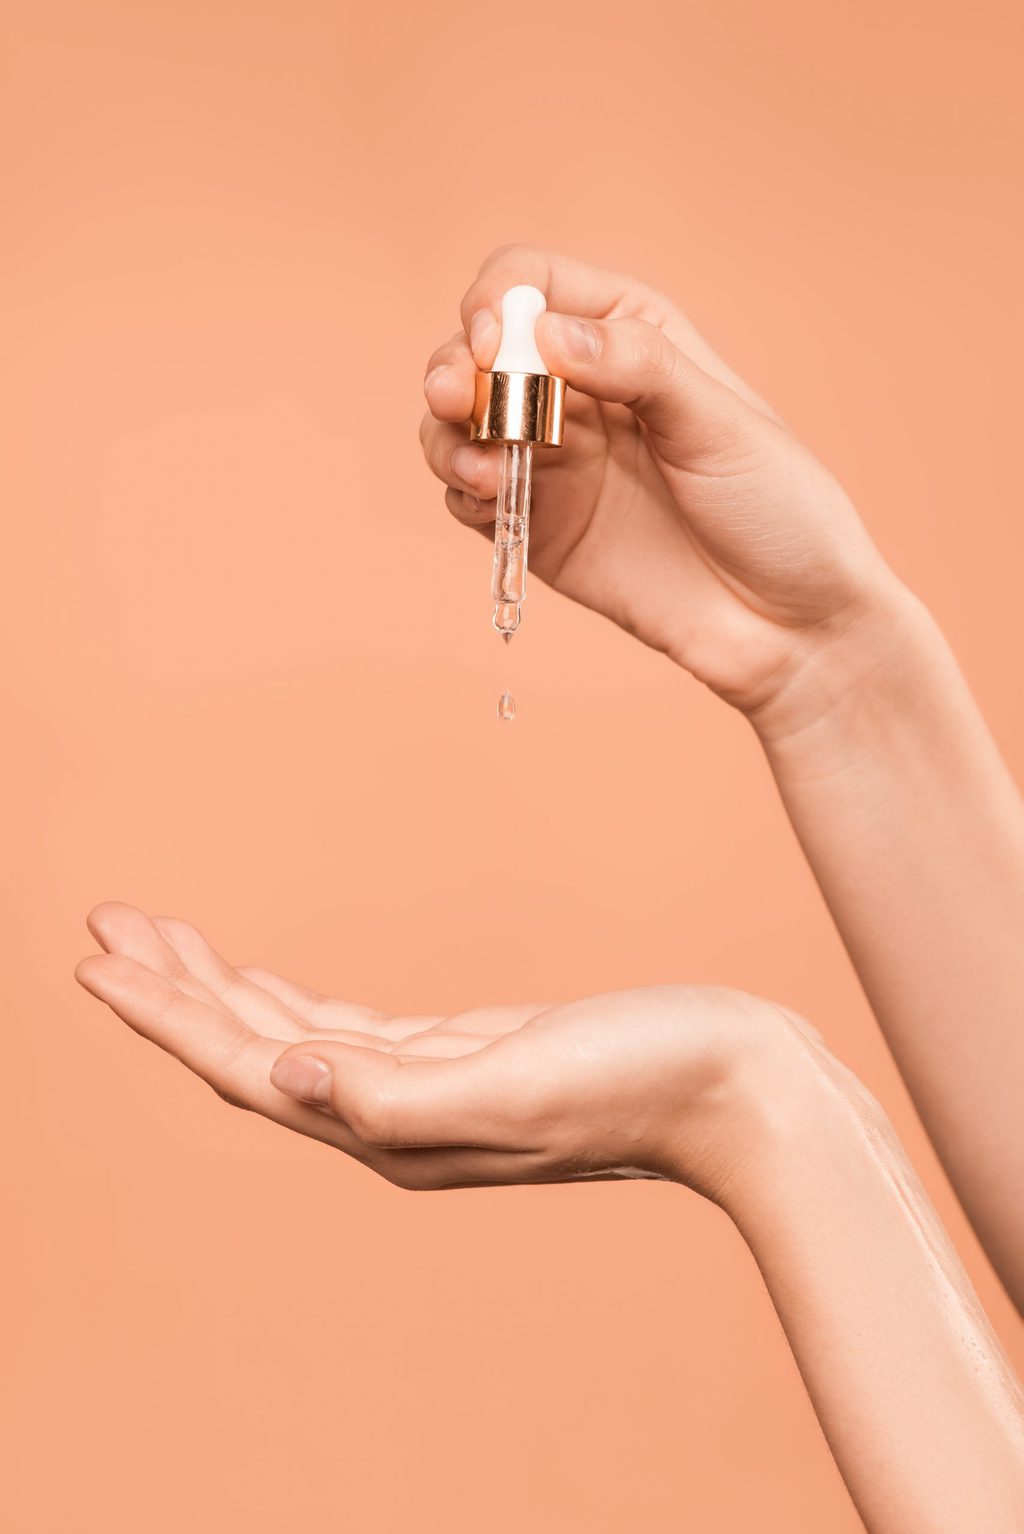
However, many manicure experts emphasize the difficulty of cutting your cuticles properly at home. So if you’re against the idea entirely, remember to keep them hydrated regardless!
Using cuticle oil to help moisturize your nail beds will prevent dreaded hangnails and ugly splintering.
Prep For Polish
Once you’ve washed away and removed excess oils, it’s time to get everything ready for painting. Applying your regular moisturizer will keep your hands hydrated throughout the process.
Need help deciding a paint color? We rounded up our top 10 favorite polish colors of all time.
Quick tip: Wipe off any residue with a cotton ball prior to polishing.
Painting Process
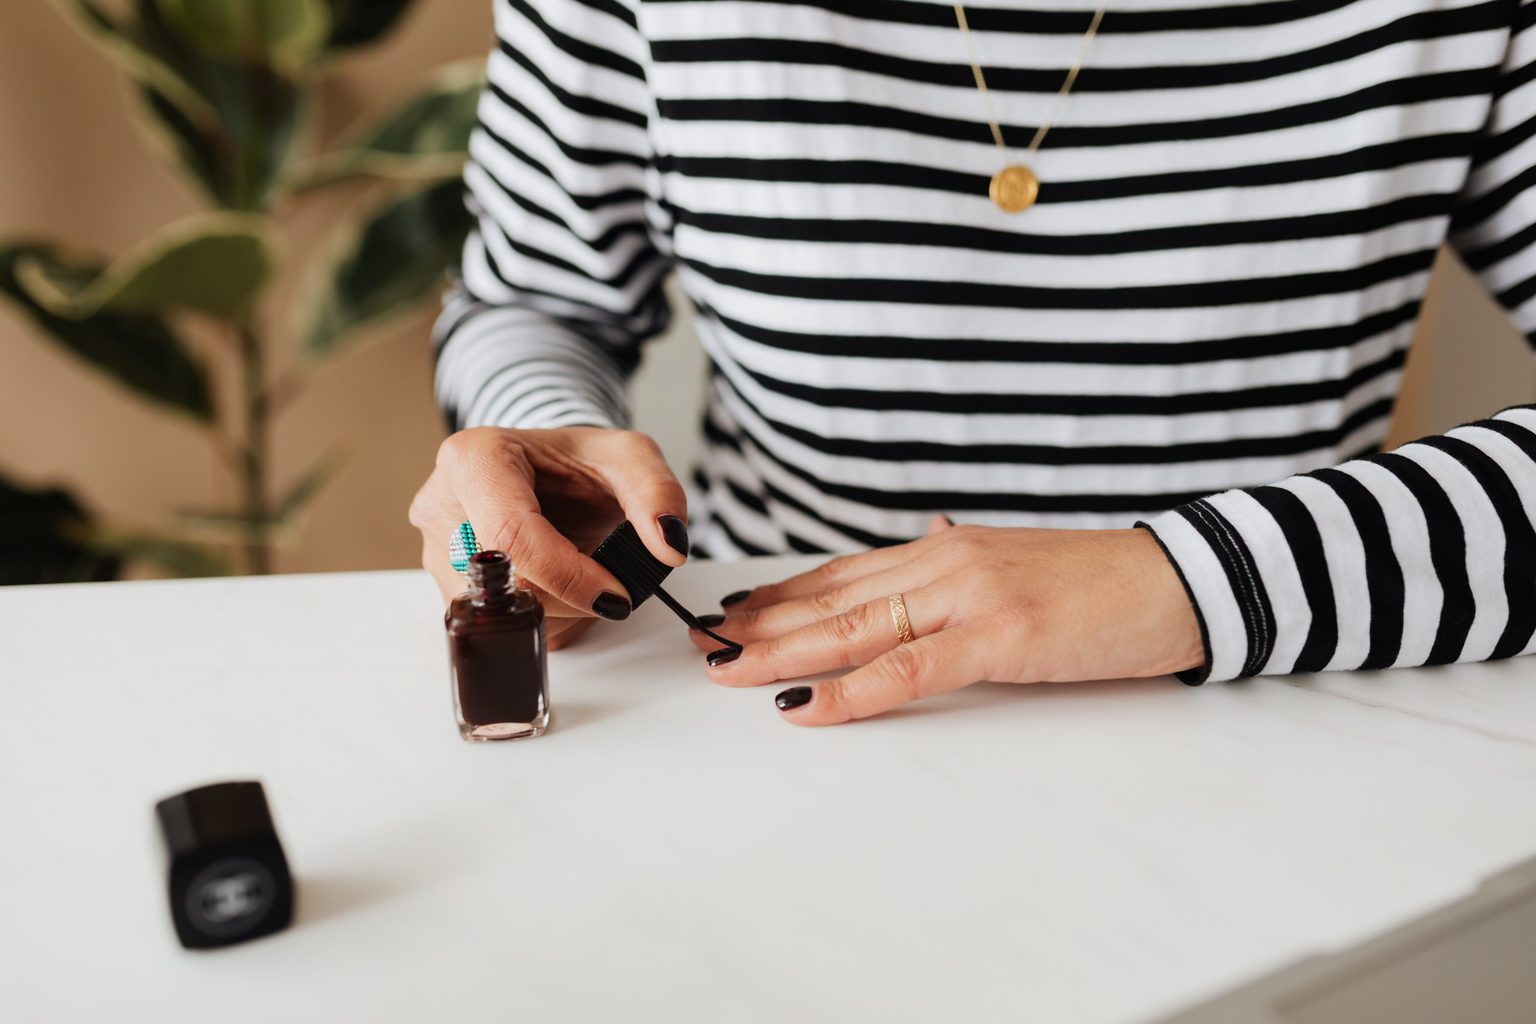
A base coat makes for a clean set of nails. It prevents chipping and protects your nail, so this step is crucial to the process.
Timing is everything when it comes to polish. While you might want to rush through the process, give each layer a couple minutes to dry before putting on another. Thin layers are key.
Quick tip: Touch up your at home manicure every other day with the same topcoat to make the manicure more durable.
Finishing Touches

It is important to clean up any rough edges or any mistakes you made along the way, which is simple to do with a cottonball dipped in acetone.
You’re done! Now it’s back to work, but with a proper manicure to get you through the day.
Tell us about your at home manicure!
I hope you found these tips helpful and keep them in mind for your next spa day. I’d love to hear your thoughts on this guide in the comments below!
Editor’s note: This post was originally published in 2009; it was completely updated and revamped in 2020 with new photos and information.
I recently read that you should hold the brush more parallel to your nails instead of straight up and down. I think it’s supposed to go own more evenly that way. I haven’t tried it yet, so who knows!