
Shower jellies are one of Lush’s bestselling products and it’s easy to see why. Shower jellies are anything but your typical boring bar of soap. They have a fun, semi-firm consistency and can give off a wonderful cooling sensation, especially when used on blistering hot summer days.
The best part? They are absolutely easy to make! Read on to learn how you can make your own custom shower jellies.
Table of Contents
What you’ll need:
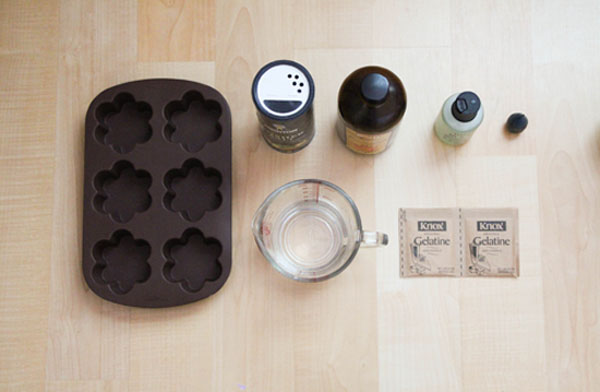
- 2 packets of Knox Unflavored Gelatine OR for an animal-friendly/vegan jelly, 5 tsp. powdered Agar-Agar or 2 packets Natural Desserts Unsweetened Jel Mix, available at Whole Foods and natural foods stores.
- 3/4 cup boiling water
- 1/2 cup shower gel (I used Philosophy’s Message in a Bottle Shower Gel)
- 3-5 drops essential oil (optional; I chose to use eucalyptus essential oil)
- 2-3 drops food coloring (optional; I used 2 drops of green food coloring)
- 1 tsp salt
- Silicone mold – available at craft or kitchen supply stores
How to:
Step One
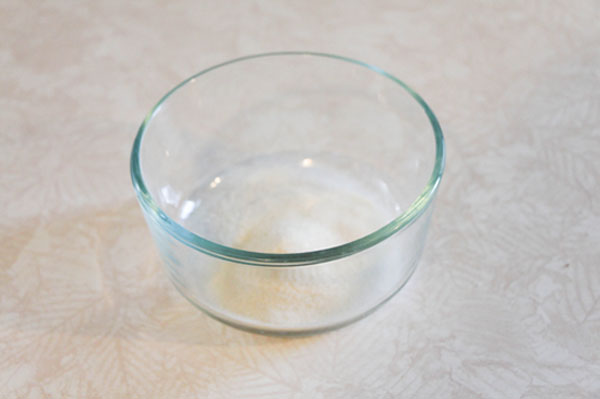
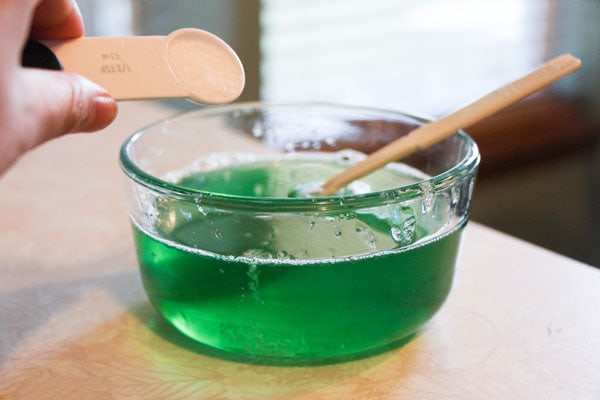
In a mixing bowl, first add the gelatin powder and then the water. (It’s important that you add the powder first!) Stir until the gelatine powder is completely dissolved.
Step Two
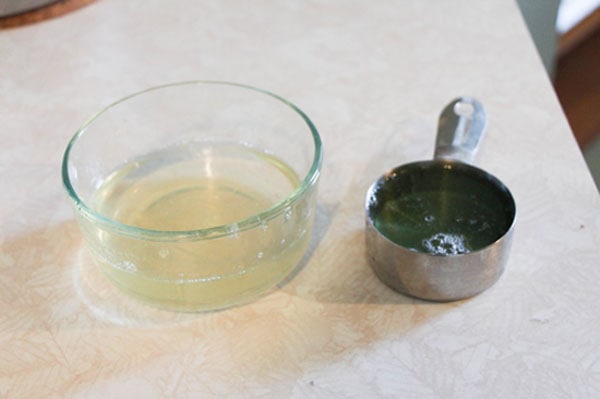
Add the shower gel to the gelatine mixture. Stir until thoroughly combined.
Step Three
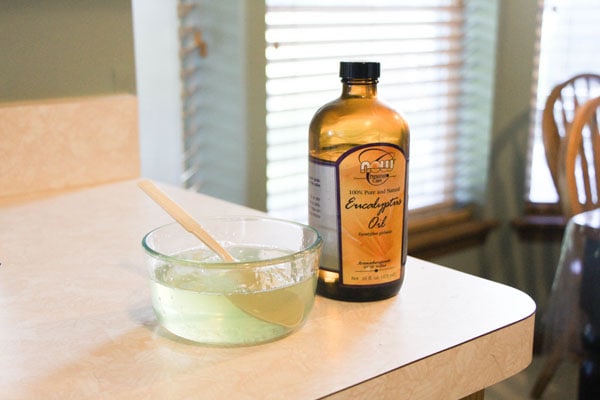
Add an essential oil of your choice and/or a drop or two of food coloring, if desired. Mix well.
Step Four
Mix in the salt.
Step Five
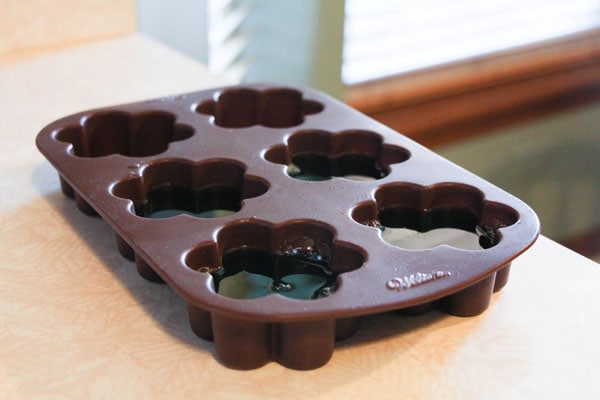
Pour the mixture into the silicon mold, then put the mold in the refrigerator. Let it cool in the fridge forat least 3-4 hours, or until firm.
The Finished Product:
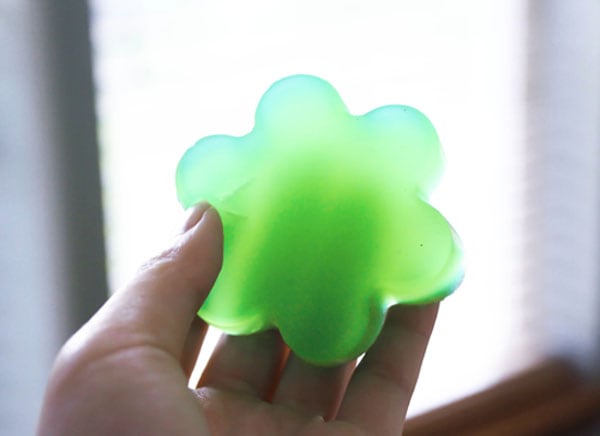
To use, simply cut off a small chunk of jelly, lather, rinse, and repeat if desired!
Some Things to Keep in Mind:
1. These shower jellies must be kept in the refrigerator in a plastic container or bag. If you leave them out at room temperature, they will revert back to their original liquid state.
2. These jellies also have a short shelf life, so it is best to use them within a week or two.
What Do You Think?
Do you like this DIY? Are you going to try and make your own shower jellies? What’s your favorite scent? Any other DIY requests? Let me know in the comments below; I’d love to hear what you think!
Does it have to be shower gel? Can it be shower wash as well?
I wouldn’t exactly call gelatin “cruel,” though I understand it is not vegan-friendly. It is actually proteins, which happen to be separated from animal products because (though not very healthy or ethical) people consume a lot of meat, and leftover bones become a resource rather than waste. Animals aren’t killed strictly for gelatin anymore. This blog tries to appeal to all people, and though it is smart to add a vegan alternative to the ingredient list, I find it funny that people have a problem with the tutorial featuring the most widely used collagen product. Most people that want to make this DIY are going to buy that same product without a second thought. Thanks for the edit with more options though! and I agree with steering away from products tested on animals.
p.s. gelatin is used in coating paper such as playing cards, making many types of juice, and in almost ALL film photography. If one finds the product repulsive, good luck getting away from it.
Isn’t this exactly the same tutorial as the youtuber anneorshine made?
I wanna eat those, lol.
Rham, Sarah, and Shimmy- Let me know how they turn out! 🙂
Mimi and Kyrstin- Thank you so much for your input and please accept my sincere apologies. I’ll make sure that any future DIY Beauty articles feature only animal-friendly, cruelty-free ingredients!
Thanks for weighing in on the gelatin thing, guys – as a strict vegetarian myself, I don’t consume or use gelatin and I always use vegan gelatins from Whole Foods as substitutes. But I totally dropped the ball on making sure this tutorial talked about that! I’ll update it to include the vegan products.
Kyrstin – I totally understand where you’re coming from, as I prefer cruelty-free and vegan brands myself. We have done many posts on vegan and cruelty-free beauty in the past (here are some) and will continue to make them a priority! (Also, we always talk about faux leather as a substitute for real, we don’t advocate real fur, etc.) It’s nice to hear that readers care about these causes. I appreciate you speaking out! I will update the tutorial with vegan options and keep this in mind for next time.
It disappoints me to see that CF has created a tutorial for a vegetarian Lush product and made a non-vegetarian tutorial. Glycerine could easily have been used in the recipe instead of gelatin, as another blog post I found at a blog called “Real Women Do It Themselves” did. I’m irritated as a reader that CF does not seem to show any preference for cruelty-free items, as drugstore brands that test on animals, as well as higher-end ones that do, are often featured in make-up tutorials (Covergirl, Maybelline, etc). As a leading online beauty magazine, you should be making a commitment to change rather than reinforcing old habits.