
After arriving in Paris, I quickly learned that market bags are absolutely necessary. In order to cut down on the number of plastic bags used, many places either charge you for the small plastic sack needed to carry your groceries, while others forgo the plastic sacks entirely. (Which resulted in me stuffing my baguettes, croissants and fresh-squeezed fruit smoothies into my purse!)
Parisians all carry their own market bags (a.k.a. reusable shopping bags in the States), however most of them are cheap, plastic, and make me cringe a little. So, I decided to DIY my own! Keep reading for the for the step-by-step instructions on how to create your very own chic market bag:
Table of Contents
Materials
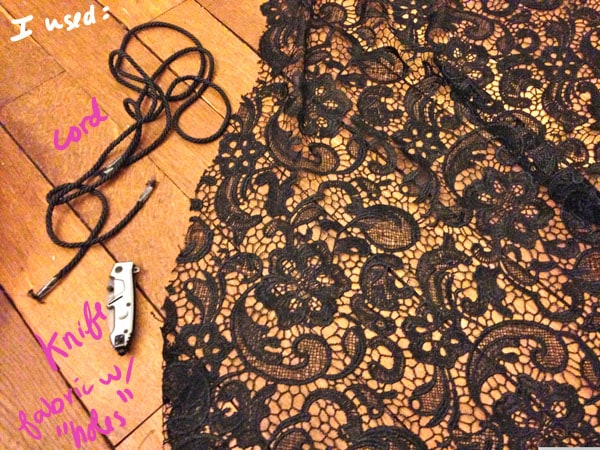
- A “holed” fabric; I used crochet lace (left over from this DIY), but any fabric with holes works. (Example: athletic mesh)
- Cord or ribbon (I simply repurposed material from this DIY); the diameter must be small enough to loop through the holes of the fabric.
- Scissors (or another cutting tool, like my pocket knife that I am in love with)
Step One
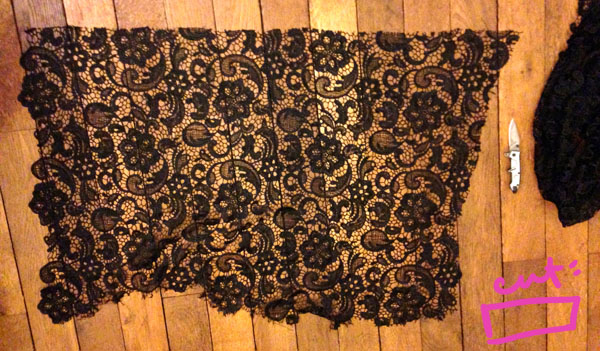
Cut a large rectangle out of your fabric.
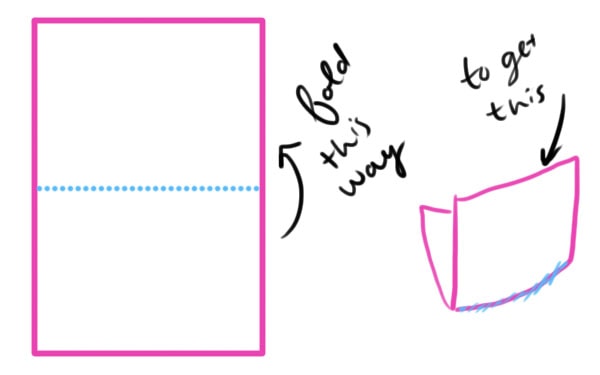
Step Two
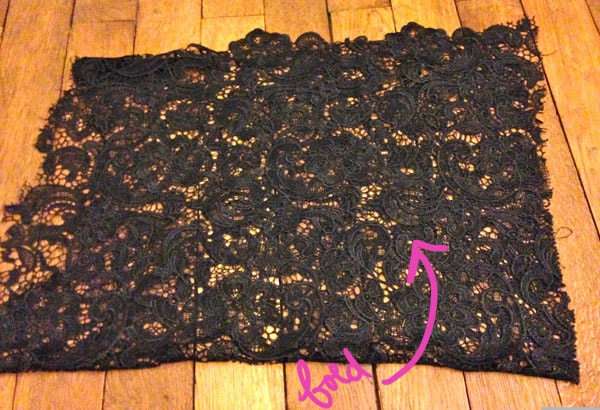
Fold the rectangle in half, like so.
Step Three
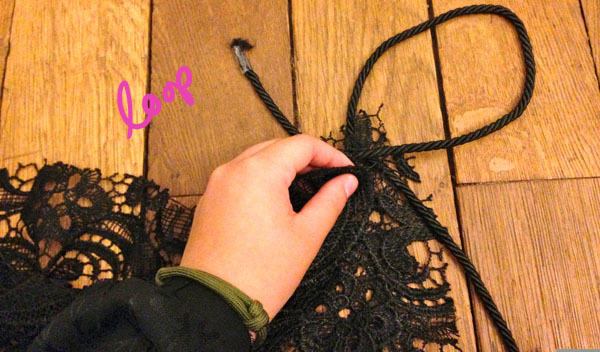
At the opposite corner of the fold, thread both ends of the cord through holes on both sides of the fabric. Make a loop for the handle, as shown in the diagram below:
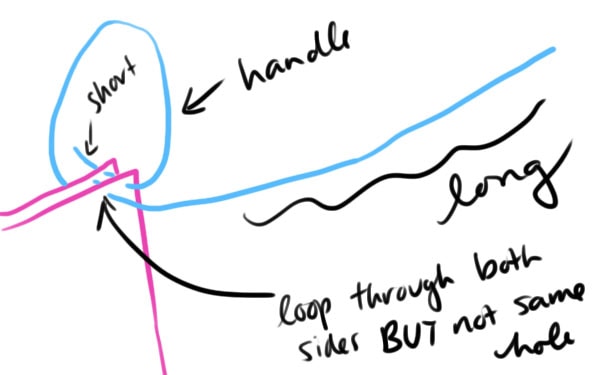
Note: When creating the “handle,” try and position the rope so that one tail end of the loop is MUCH longer than the rest.
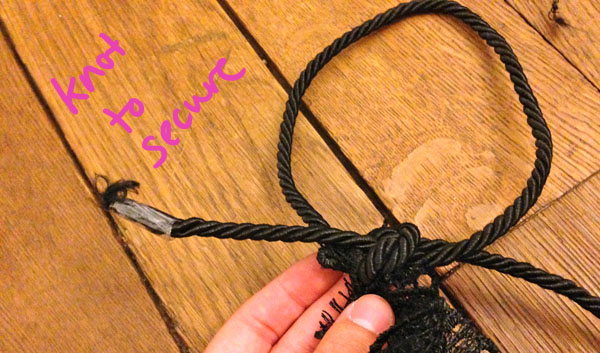
Double knot to secure.
Step Four
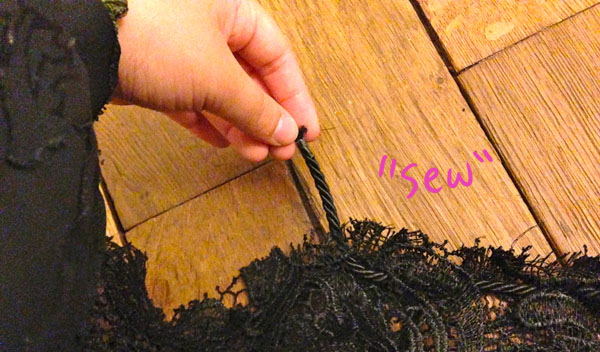
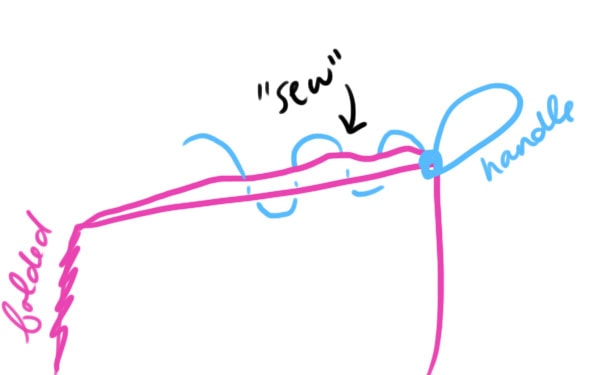
Take the longer end of the tied loop and “sew” the two edges of the fabric together. This can be achieved by looping the cord through the holes, as you can see in the above diagram.
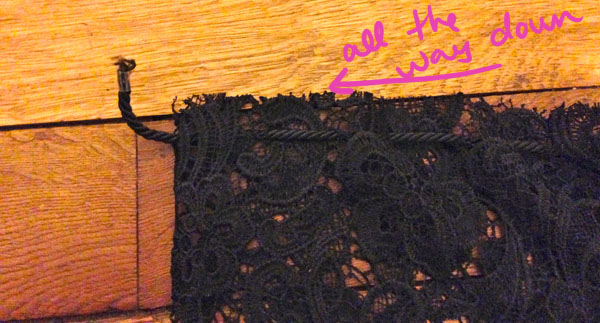
“Sew” all the way down.
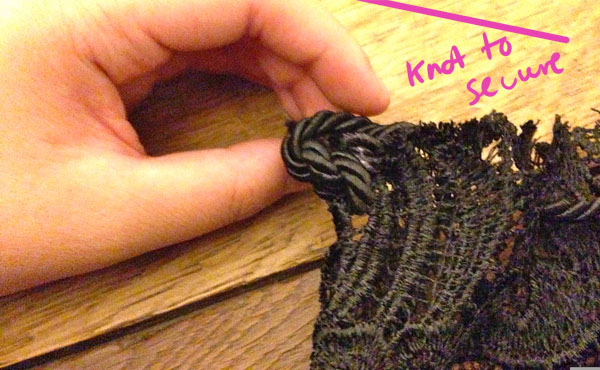
At the end, create a double knot to secure the cord.
Step Five
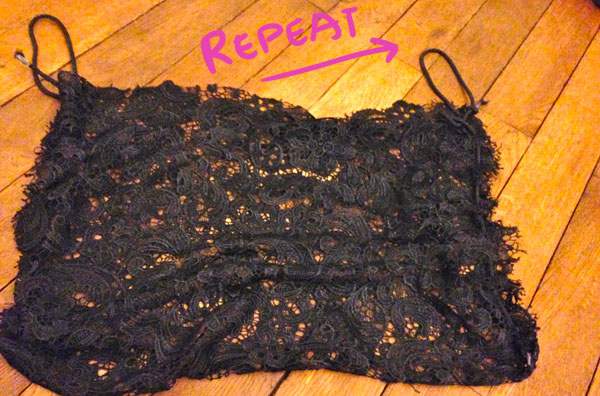
Repeat the process on the other side.
Step Six
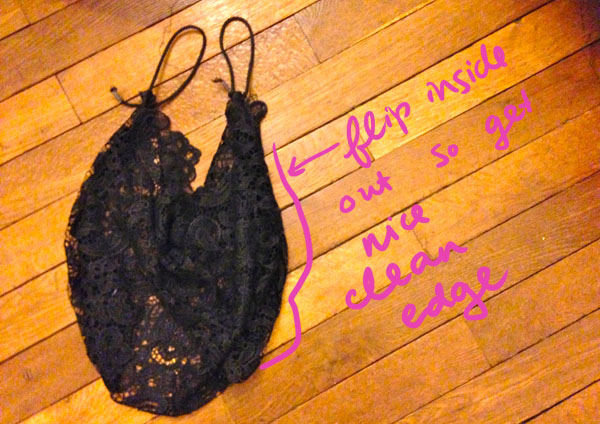
Turn the bag inside out. That way, you’ll get a nice clean seam line on the outside.
And that’s it! You can easily fold up this bag to make it a teeny tiny stowaway in your purse, but it can also be expanded to fit many things. In the header image, mine is holding a water bottle, a Tupperware container, and a shoe box, and it’s still quite roomy!
I wouldn’t recommend trying to use this bag for really heavy duty items, like 5 gallons of milk (but then again, no bag can really support that weight…). This is the perfect bag to hold your lunch, mail, or various items you might accumulate while out shopping or running errands.
Feedback please:
How do you prefer to carry your groceries: a DIY market bag like mine, free University paraphernalia from Welcome Weeks, a store’s re-usable shopping bag, or just traditional paper or plastic? Would you make your own chic market bag? Are there any other DIYs you would like to see the tutorials for? Let me know in the comments!