It’s only a matter of time until everything we loved growing up in the ’90s comes back into style. Flared jeans, jelly shoes, and the flannel grunge aesthetic are already making major comebacks, and I’m sure it won’t be long until we’re all rocking denim mini skirts and platform sandals, just like the good old days.
I love the ’90s, and I’m a huge fan of older decades coming back into style. They say fashion is a pendulum, and I’m excited for everything I grew up with to become new again. (Except Furbies. They can stay in the back of my closet forever.)
For this week’s DIY project, I thought it’d be fun to create a few quick, easy-to-make choker necklaces, which are popping up in magazines and on cool girls everywhere. Instead of seeking out the ubiquitous “tattoo choker” on Etsy, spend a bit of your own time creating a one-of a kind necklace. Your inner Cher Horowitz will thank you!
Below, I’ll show you two different ways to create your own choker necklace. Read on to learn more:
Table of Contents
What You’ll Need:
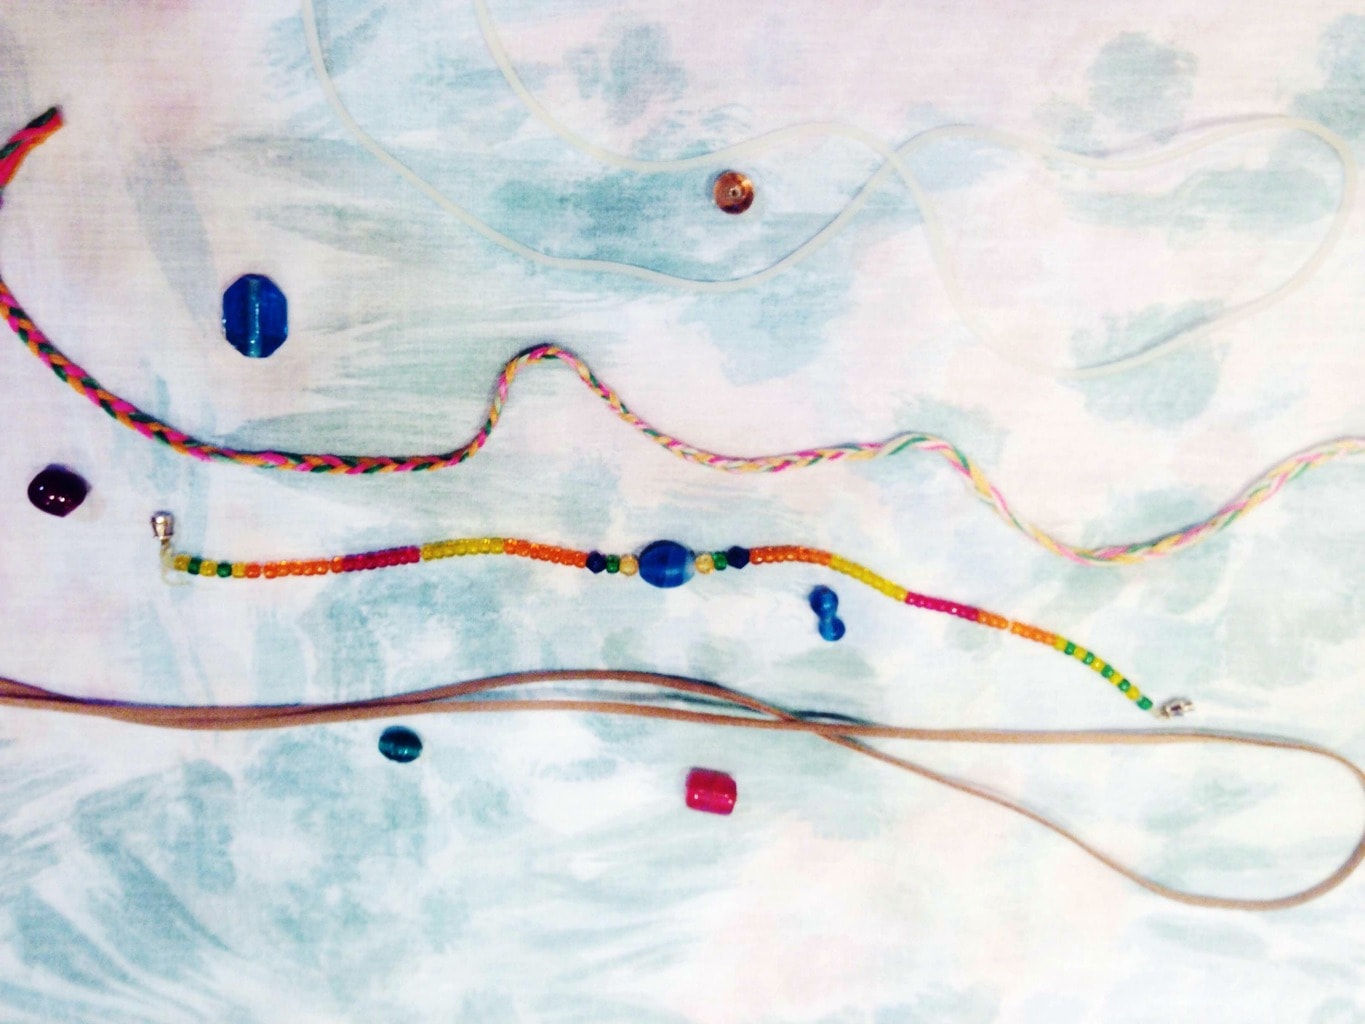
- Embroidery Floss
- Letter Beads
- Barrel Clasps
- Hook Clasps
- Leather Cord
- Hot Glue Gun
- Wide-Holed Beads
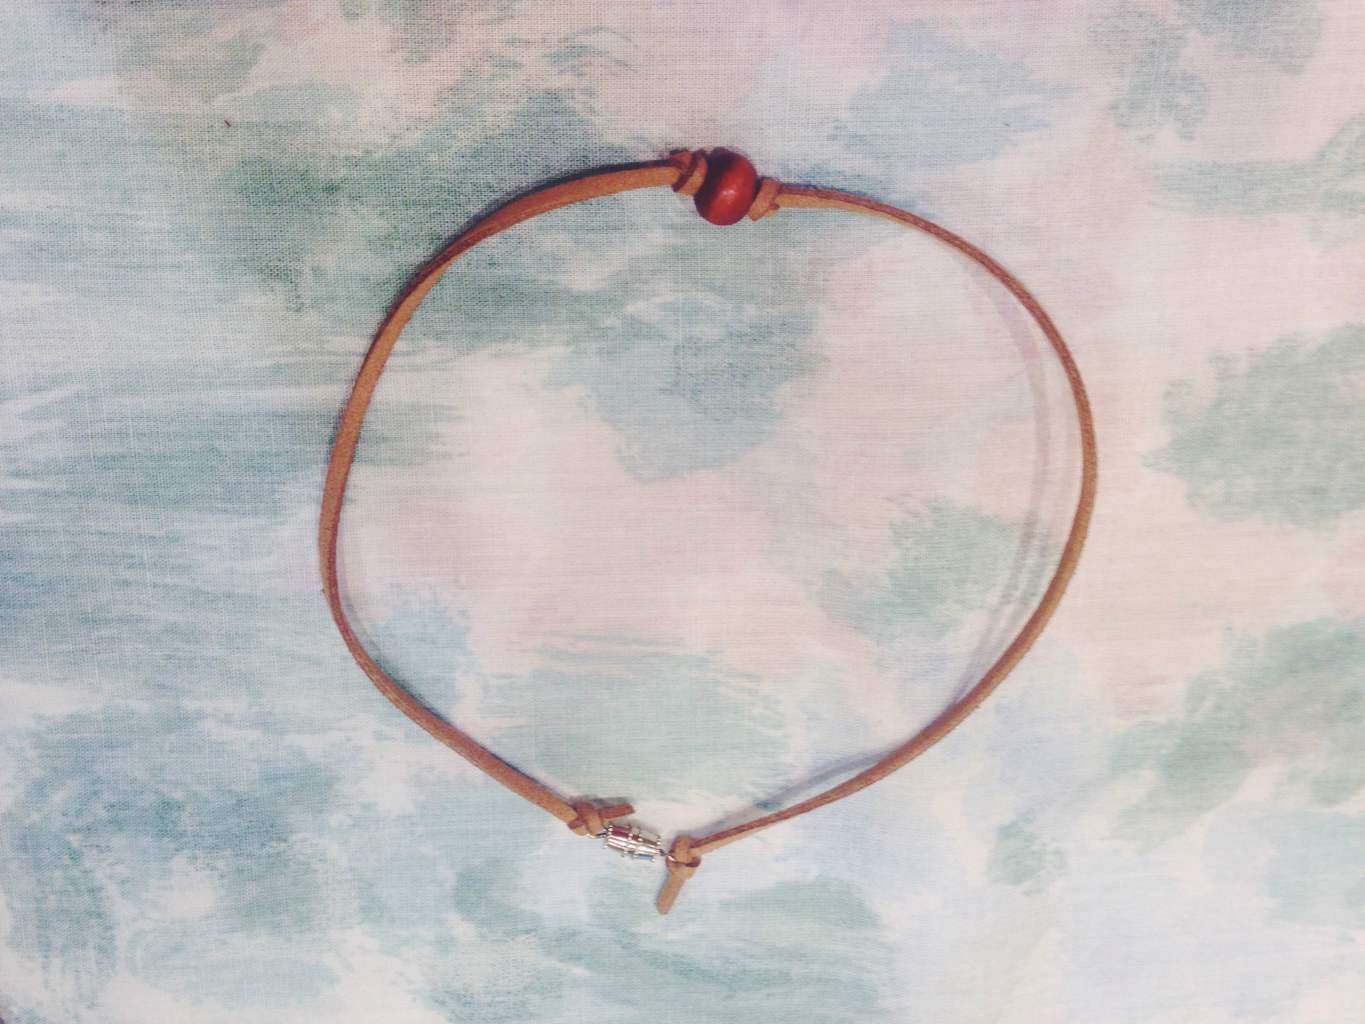
Minimal Leather Beaded Choker
How-to:
Measure out a length of leather cord that will rest comfortably around your neck. Leave about 3-4 extra inches for knotting the bead and tying the clasp.
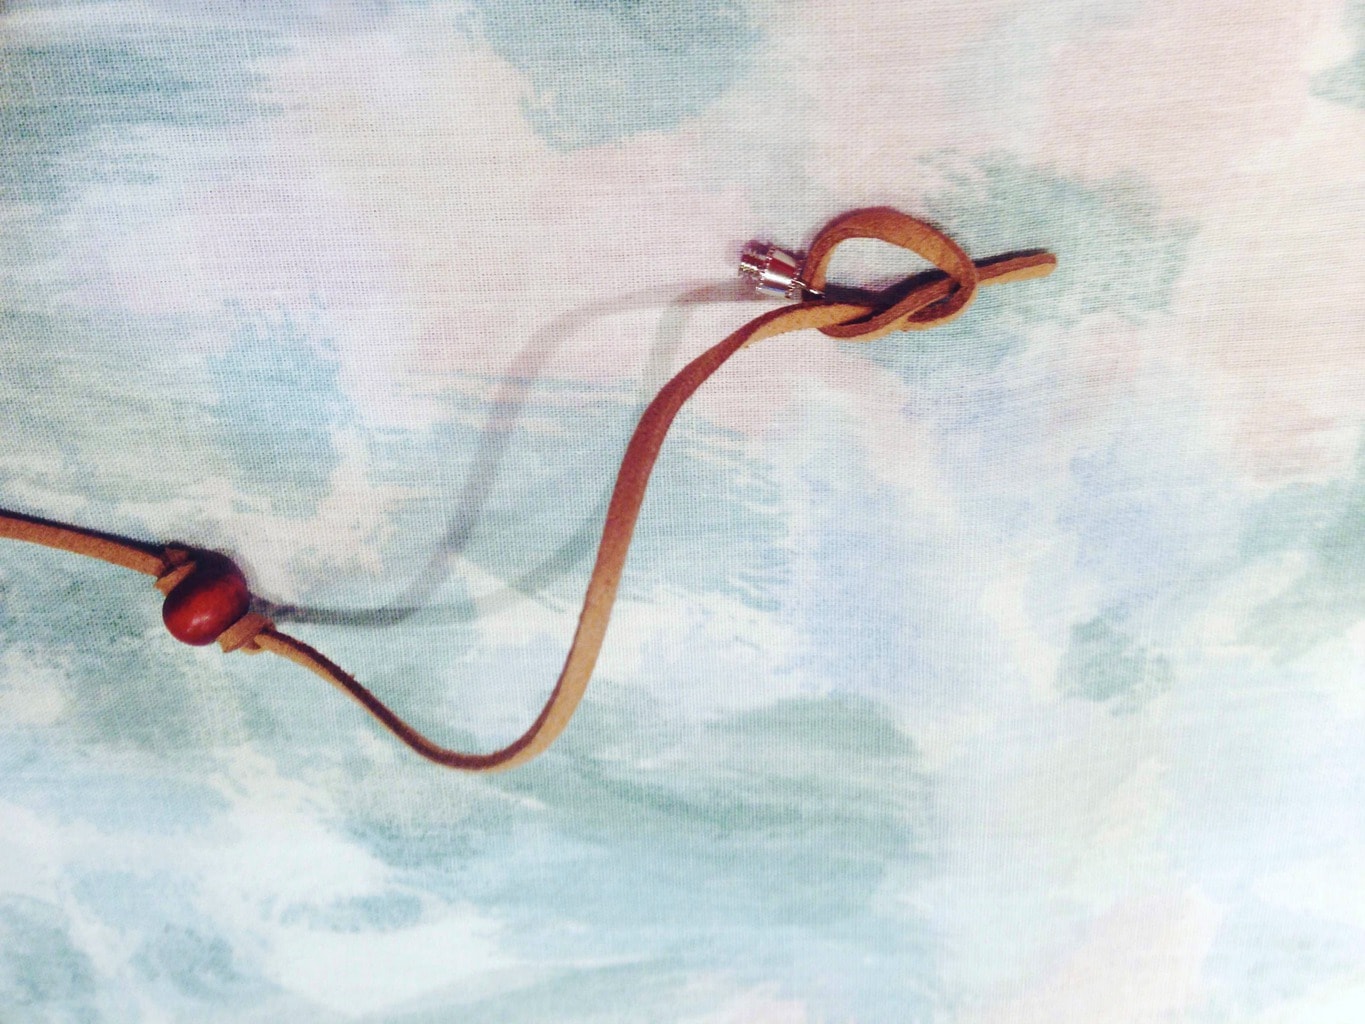
Tie one side of the barrel clasp to one end of the leather cord. Make a simple knot– adding a dab of hot glue will help it stay in place.
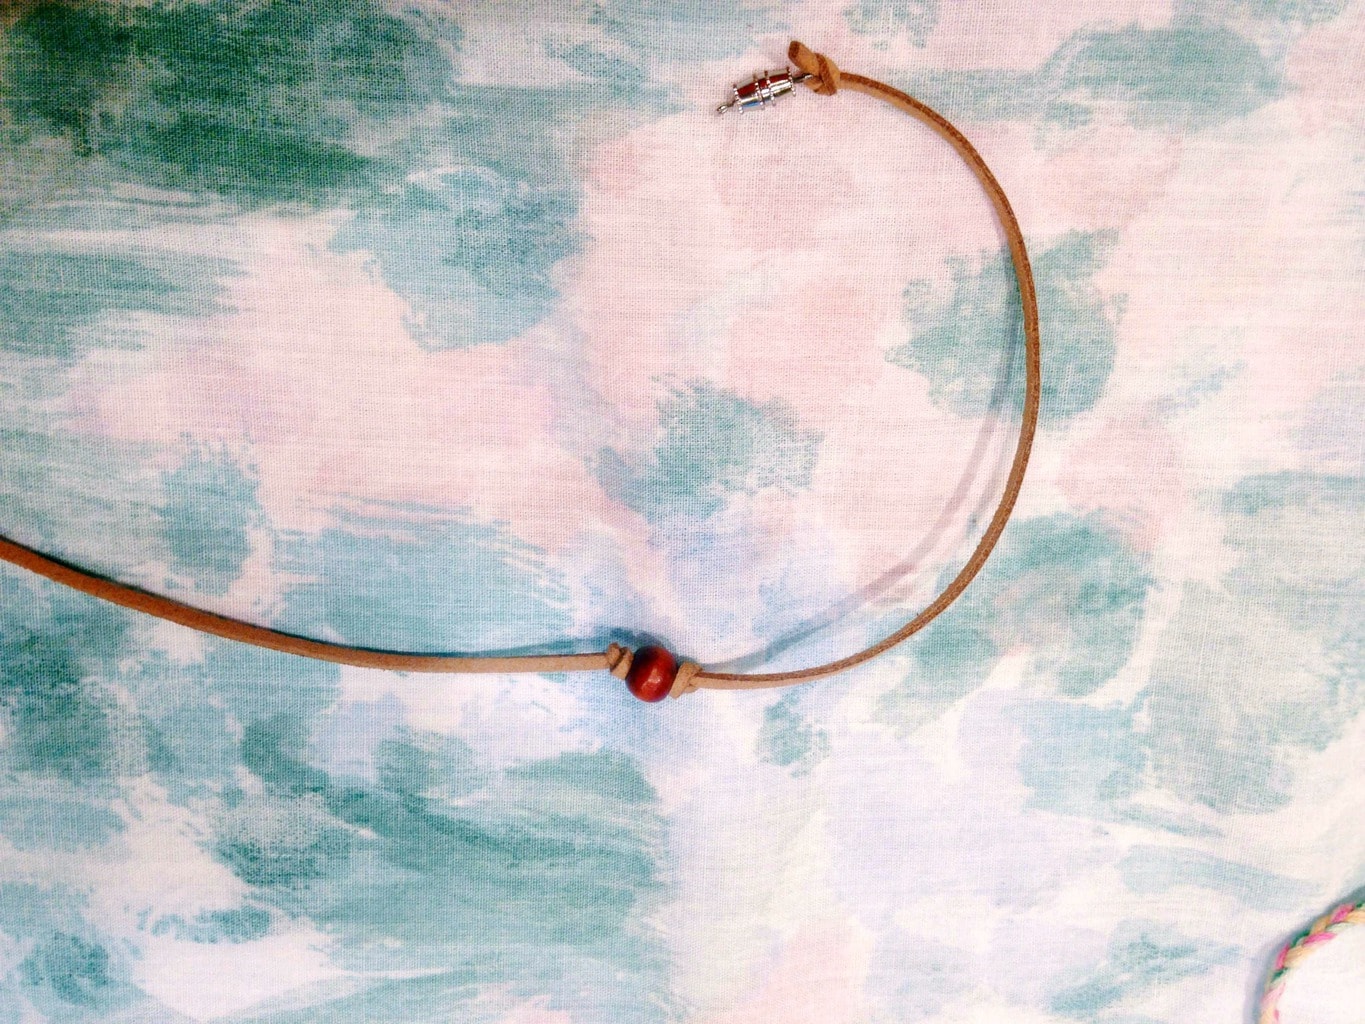
Center your bead in the middle of the necklace, then tie a basic knot on each side to keep it in place.
Once you tie the other end of the barrel clasp to the end of the string, you’re done. Voilà– you’ve got a new choker!
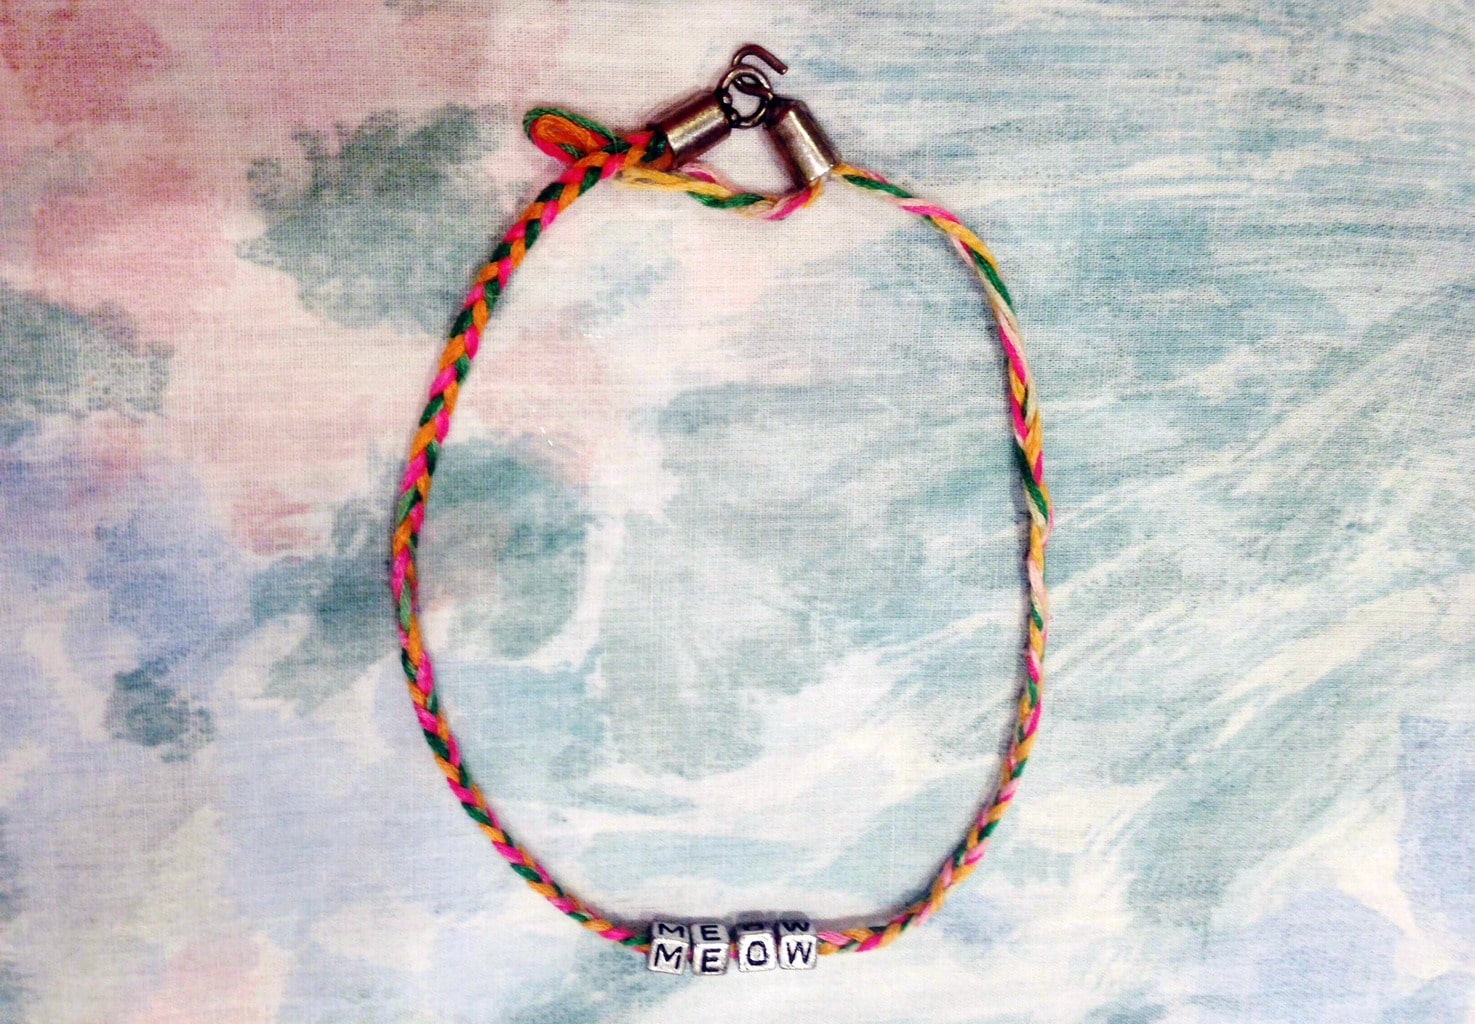
Braided Thread Choker with Letter Beads
How-to:
Choose three colors of embroidery floss, tie a knot to keep them together, then braid the floss to a length that comfortably fits around your neck.
Like the leather choker, you’ll want to leave extra space for knots and the clasp. For this one, you’ll need at least 5 inches of extra space, because of the way the thread tucks into the clasp.
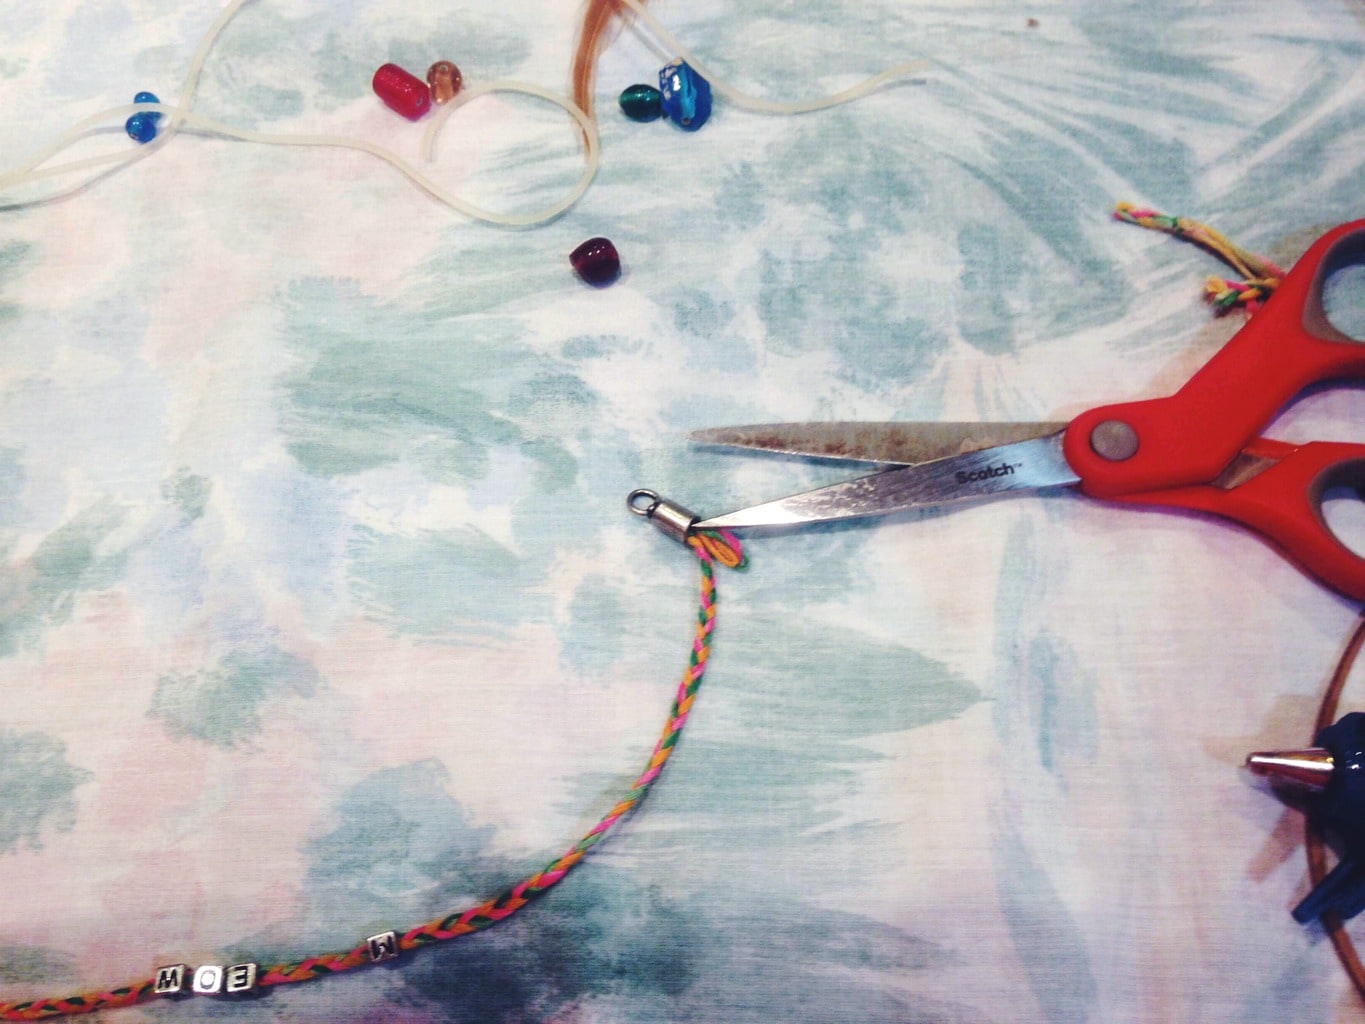
Fill the space inside the hook clasp with hot glue, and quickly tuck the knot you made into the clasp. You can use scissors to help tuck the knot in, like I’ve done in the photo above. Once the glue has dried, add an extra dot of glue where the string comes out of the clasp.
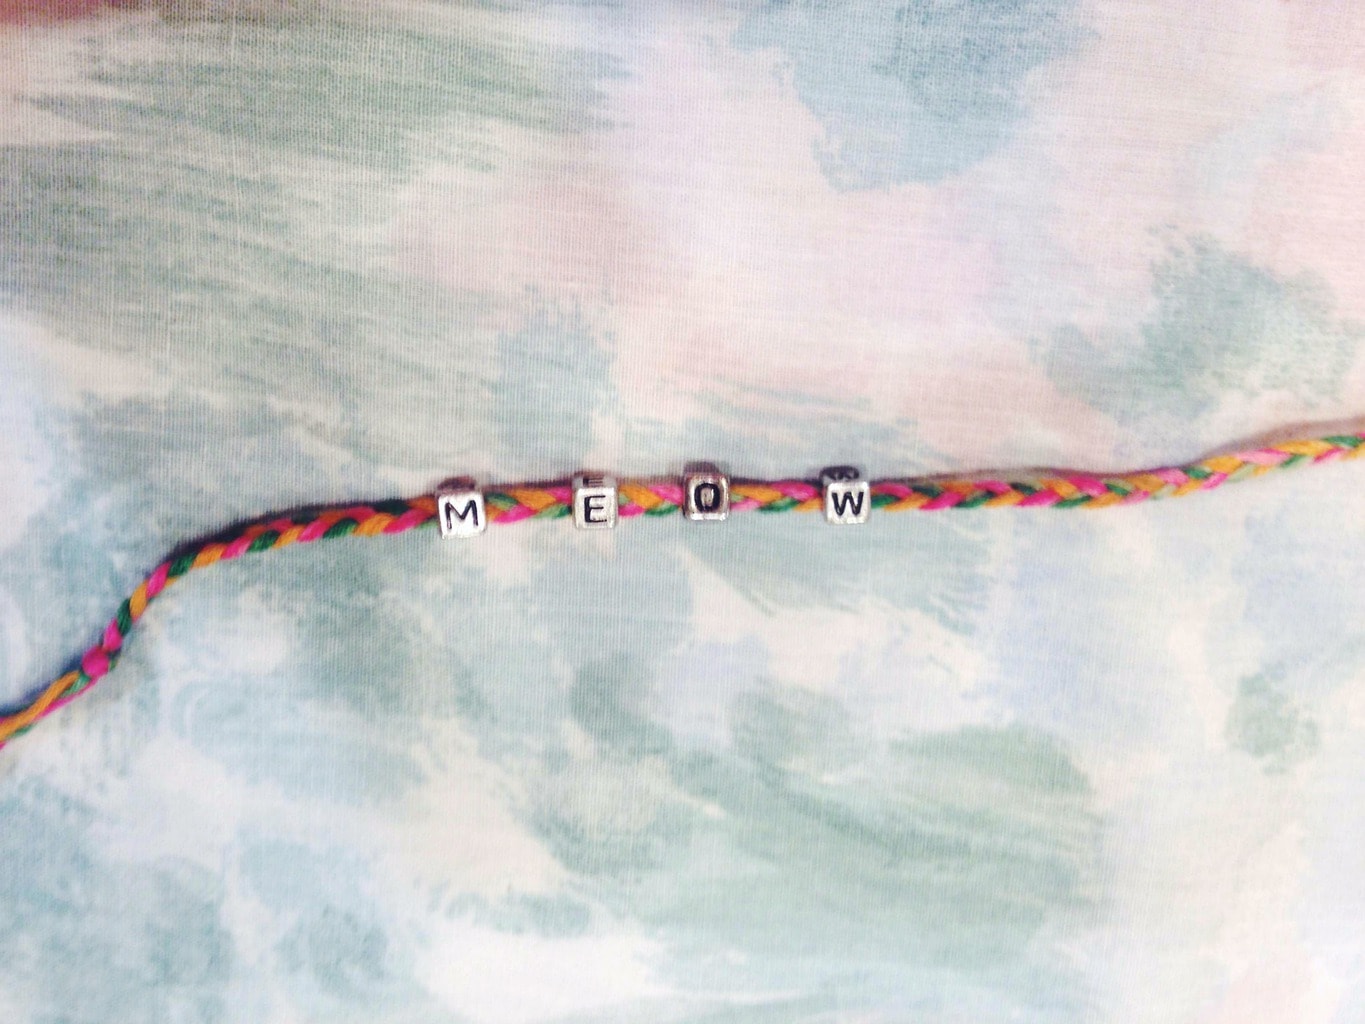
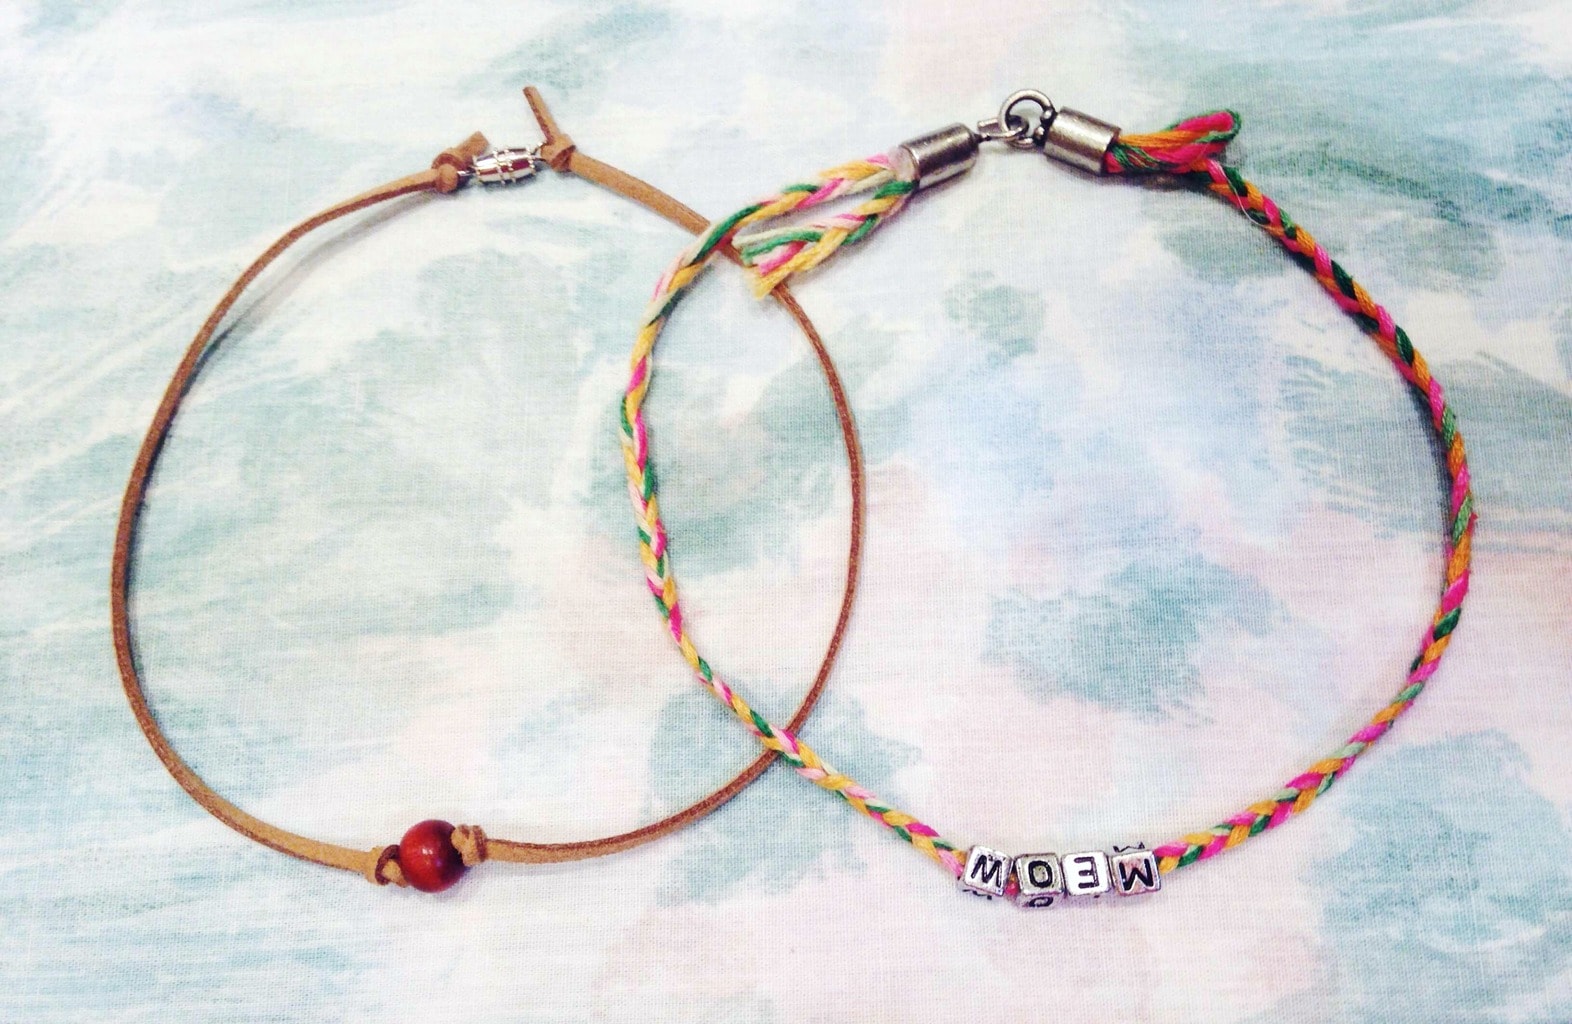
Thread your phrase onto the string; make sure they will read forwards when you put the necklace on! I spelled out “meow” because I thought it matched the campy, ’90s aesthetic.
Once you’ve made a knot at the other end of your necklace and glued the clasp on, you’re all set.
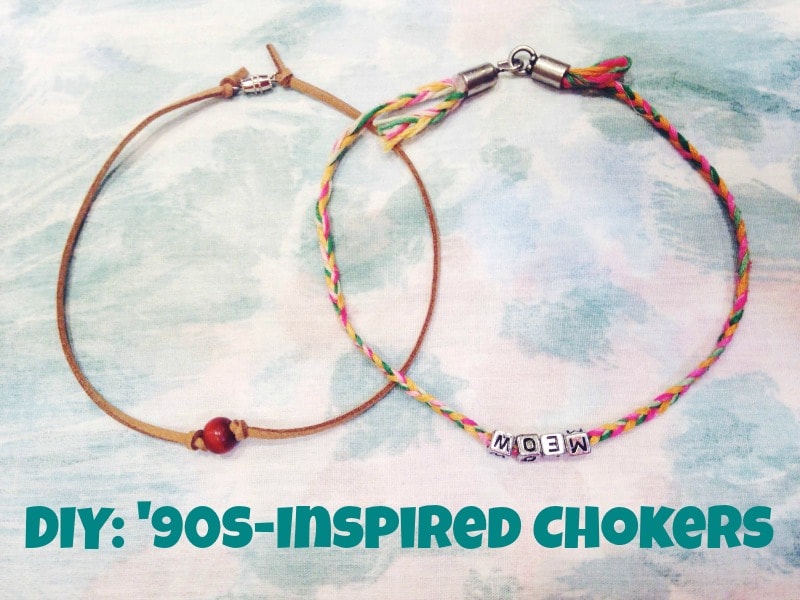
The Finished Chokers:
I hope you enjoyed this quick, ’90s-inspired DIY as much as I do! I love wearing my own creations– in fact, I’m wearing the leather choker as I write this article.
What do you think?
How will you customize your choker? Do you love ’90s style as much as I do? Let me know in the comments!