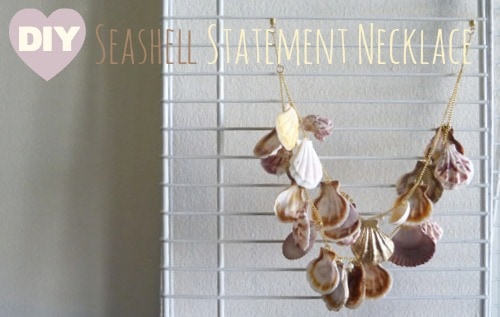
Even through school just started I’m desperately clinging on to the last bit of summer. I stumbled across this amazing seashell necklace while browsing the internet for inspiration, and what better way to cling onto summer (and make a statement into the school year) than with something inspired by the beach? Today’s DIY will show you how to make your own!
Table of Contents
Materials
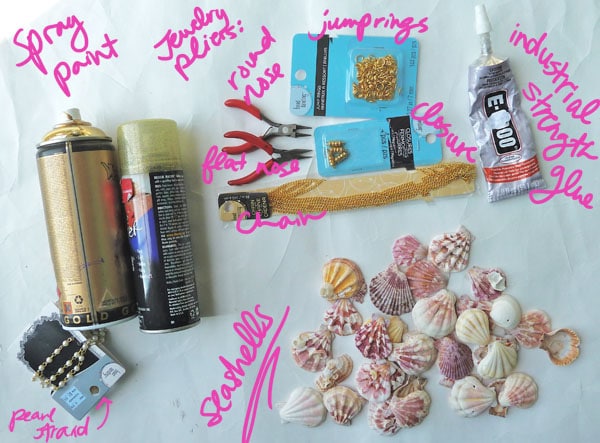
- Seashells (either from a beach, or from a craft store)
- Jewelry Chain
- Jump Rings (same color as chain)
- Spray Paint (in a metallic finish, same color as chain and jump rings)*
- Newspaper/scrap paper (not shown)*
- E-6000 (industrial strength glue)
- Jewelry Clasp (I used a magnetic clasp)
- Jewelry Pliers (round-nose and flat-nose)
- Pearl Bead Strand*
*means optional
Step One (Optional)
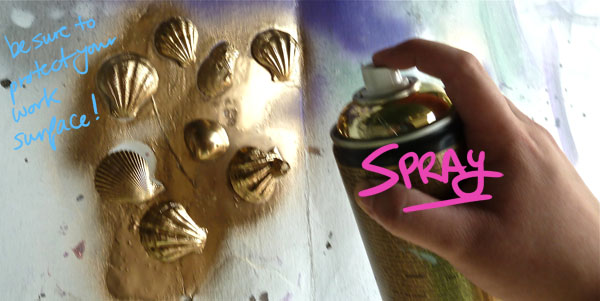
Plain old seashells are a tad bit boring, so jazz up select few by spray painting over them with metallic spray paint (or glitter spray paint, for a more subtle effect). Wait for these to dry before proceeding.
(Warning: only spray in a well-ventilated area or outside and make sure to line newspaper/scrap paper underneath to protect the work surface.)
Step Two
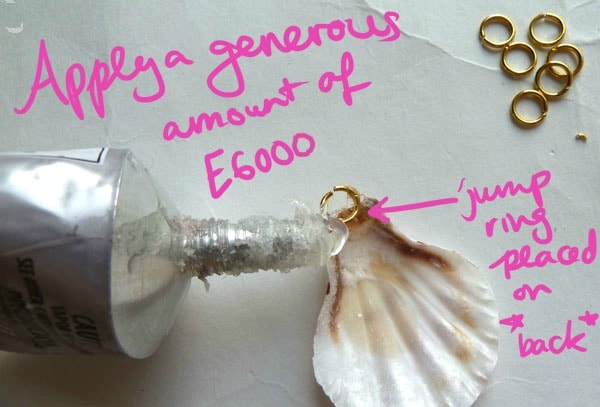
Prep your seashells. The seashells are going to be turned into “charms” that hang from the necklace. Place the jump ring into the desired position (on the inside of the shell, at the top) and glob on a generous amount of E-6000.
(Warning: E-6000 fumes are bad for you! Make sure to do this in a well-ventilated area or outdoors.)
Step Three
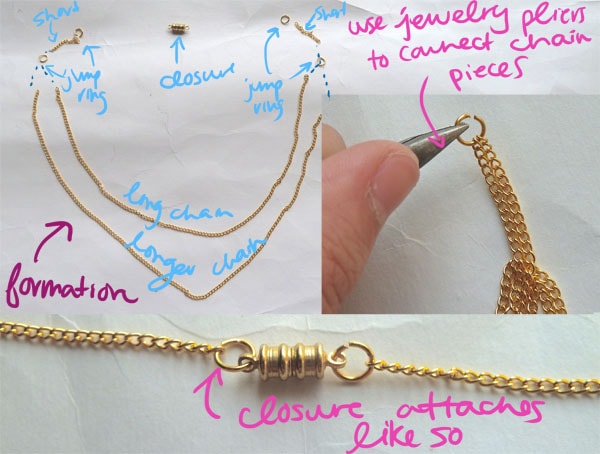
Set up your necklace chain formation (to “cut” the chain to length, this is simply done by opening up individual chain links with jewelry pliers). I wanted a double-chain necklace, so that the shells would overlap.
Using jewelry pliers, attach all chain ends to each other where you want them to connect with jump rings. (Click here to see how to pry open jump ring).
Attach each jewelry clasp part to individual ends of the jewelry chain with a jump ring.
Step Four
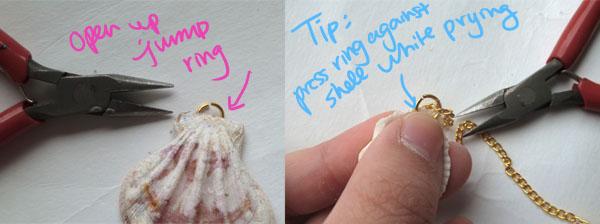
Finally, attach the seashell charms made earlier to the chain. This can be easily done by opening and closing the jump rings attached to the seashells, and sliding the jump ring through one of the chain links.
Pro-tip: Be sure to press the jump ring against the shell when prying it open, so you don’t accidentally pry the jump ring off the glue!
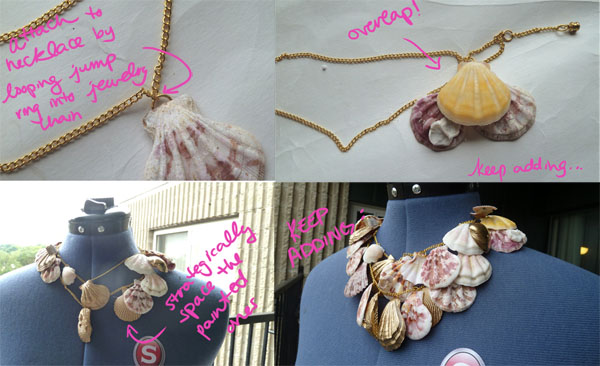
Keep adding on shells! Strategically space out the painted shells among the non-painted shells. I personally found that more seashells clustered together looks amazing, but you can customize the size/shape/spacing of the seashells to your own will.
Step Five (Optional)
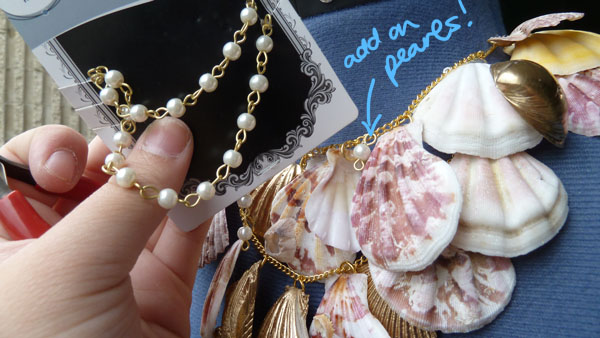
If you want to add a little more glam, add on several pearl bead charms.
Step Six
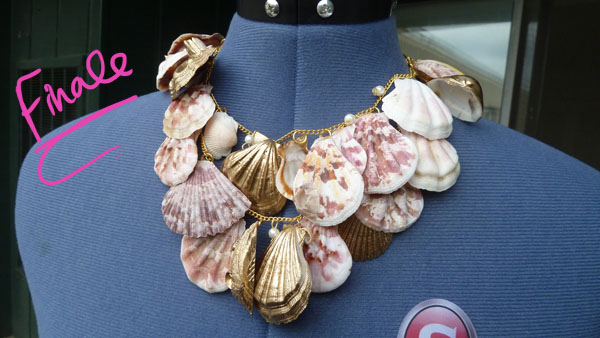
Edit! Try on your necklace, add or subtract shells according to your own personal vision, adjust the length of chains, add another layer, or whatever else you want. And there you have it – a gorgeous statement necklace inspired by summertime:
Feedback Please:
Hope you had a fantastic summer, and that your school year goes well for you! Do you cling onto summer like me, or embrace the school year? What do you think of seashells, or this DIY in general (and on that note, would you try this DIY?)? What DIYs would you like to see the tutorial for? Let me know in the comments!
@Julie L: Good luck with the DIY! Just remember to be stern but gentle (seashells are delicate, but hard, it’s frustrating DX) Glad you like this!