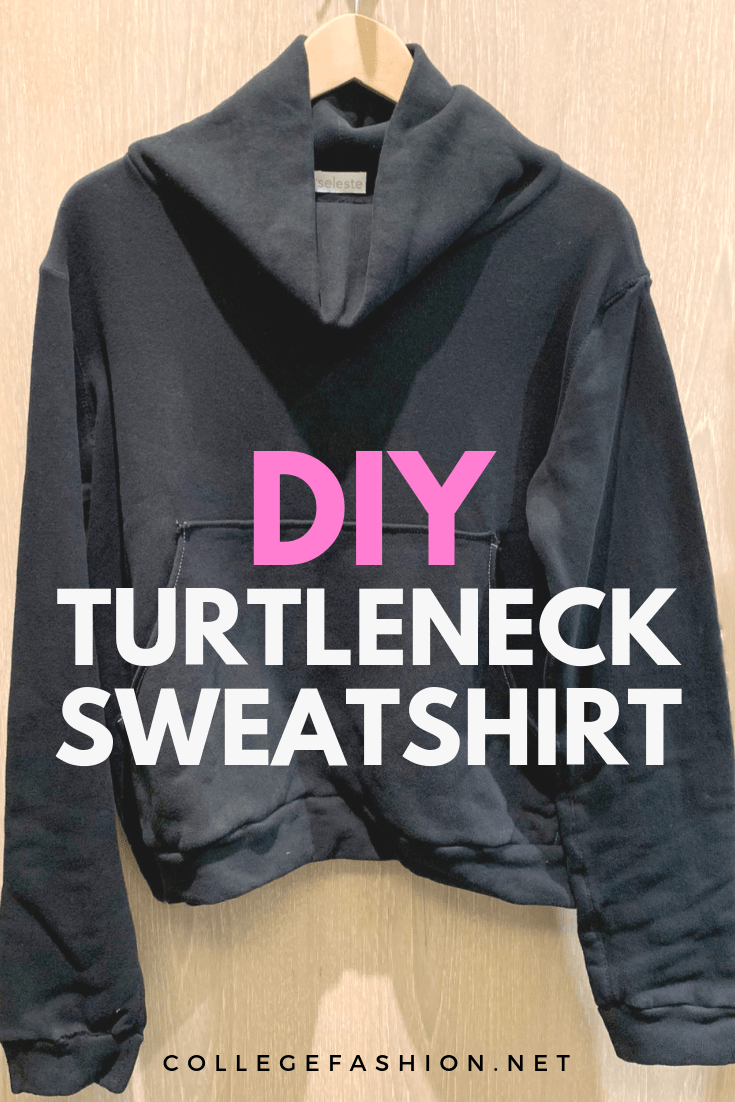
A sweatshirt is the perfect thing to wear to lectures on a lazy day. Combine it with a turtleneck and you’ve got the the ultimate in winter coziness. I’ve gone with black and white for mine, but it’s also such a basic piece that you could play with print and color and still not have it seem overwhelming. So let’s get started!
Things you will need:
– 1 yard of stretchy fleece fabric
– sewing machine
Step 1. Cut out your pieces
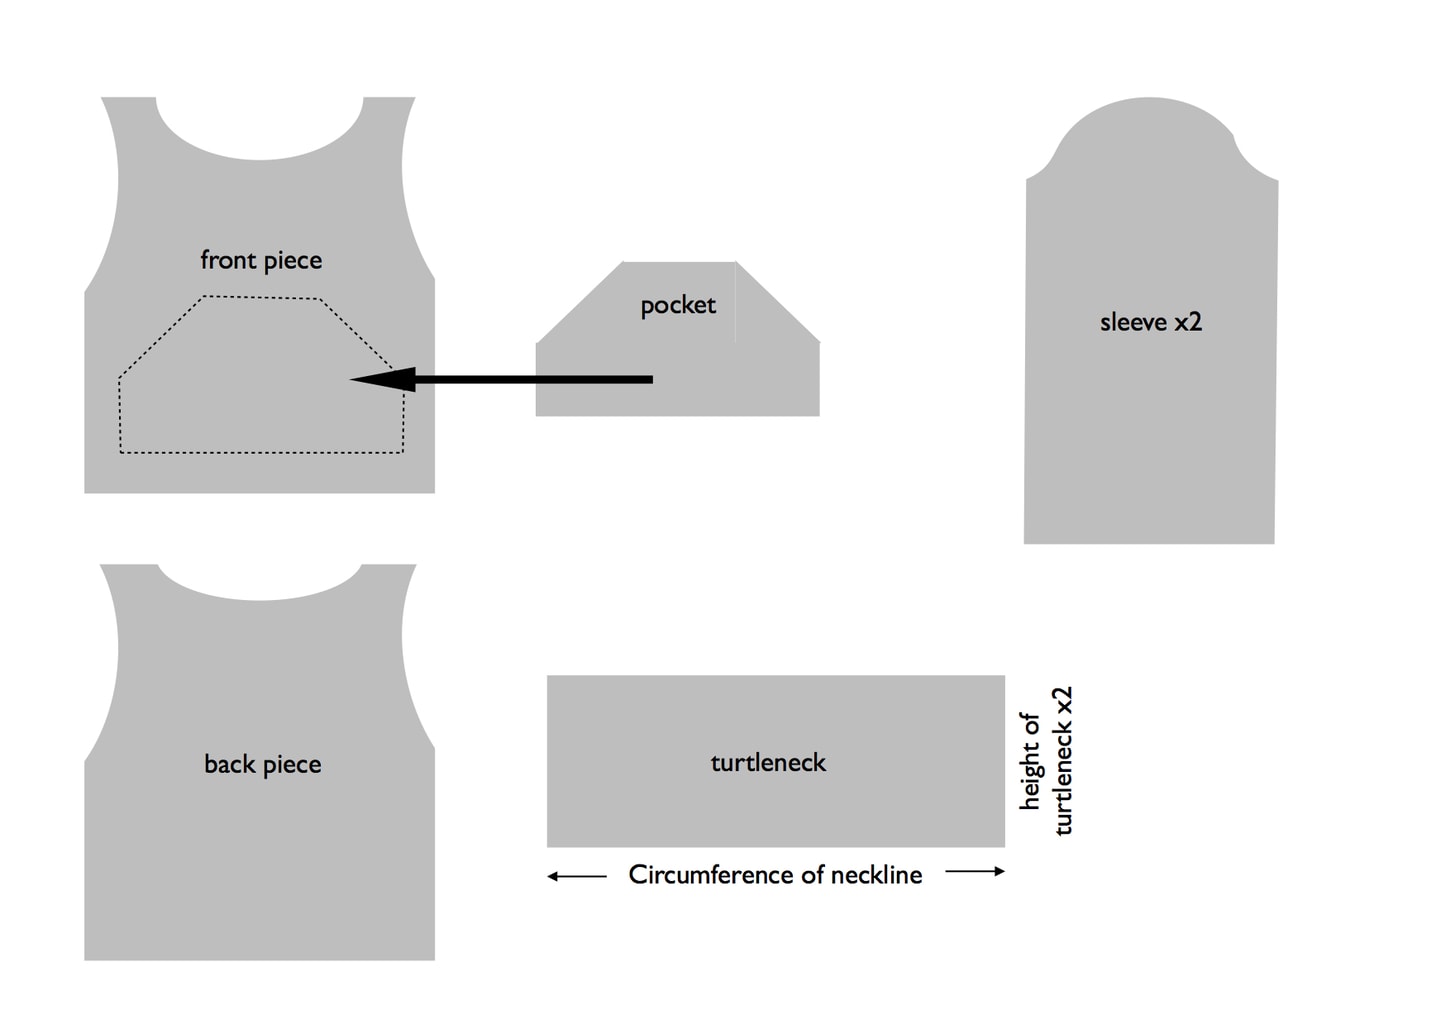
Here are all the pattern pieces you will need for this sweatshirt. I’ll show you more detailed steps to cut out each individual piece below.

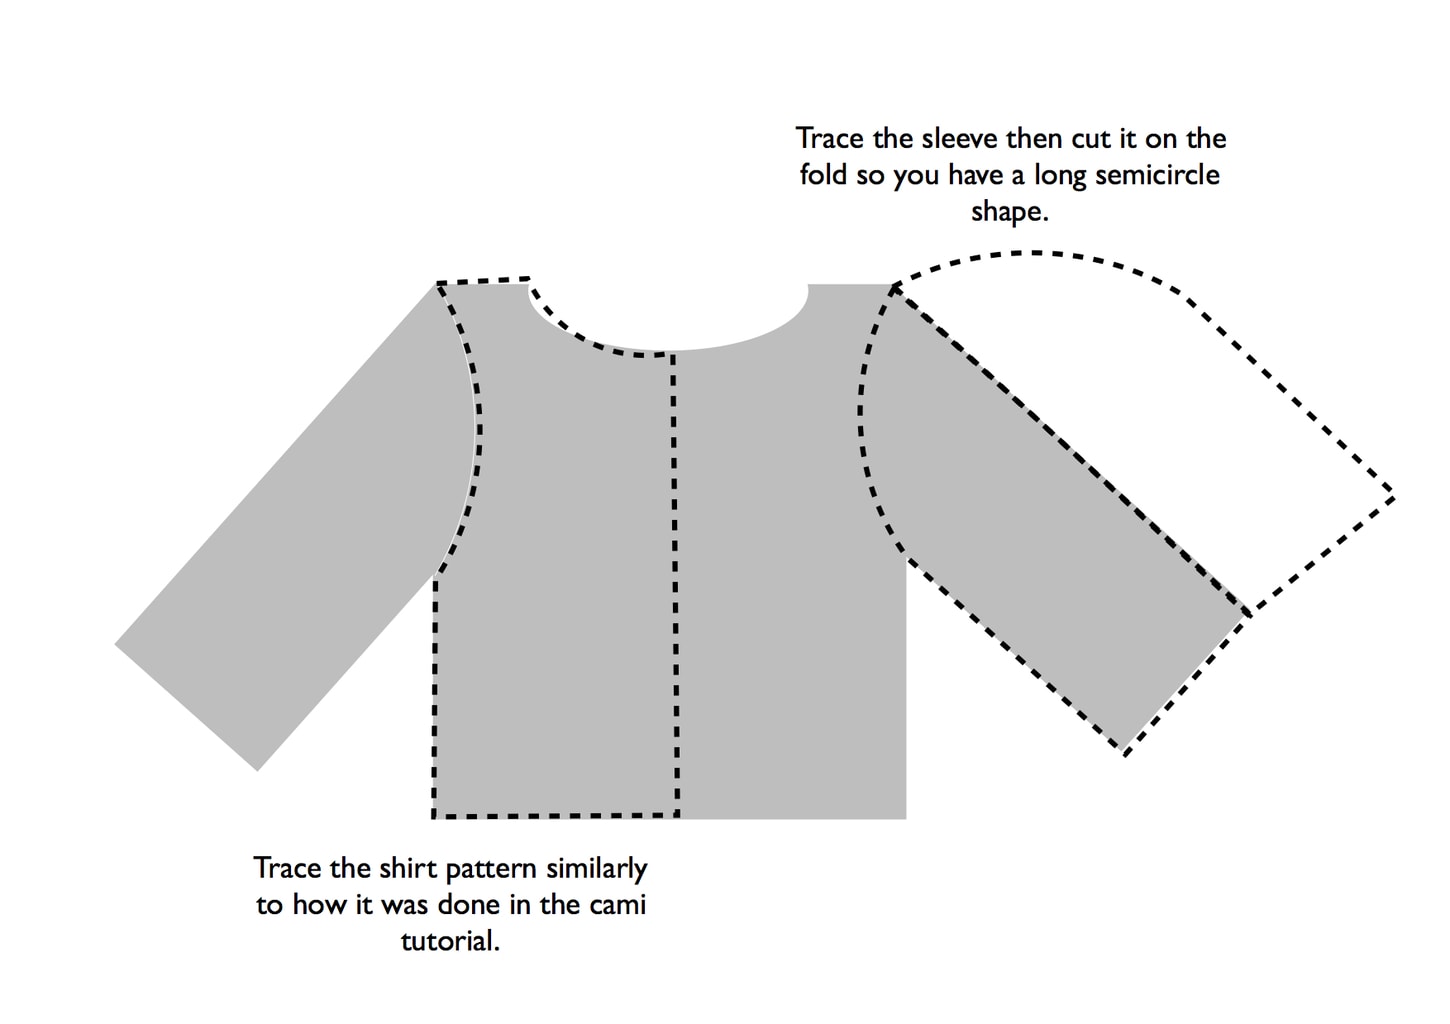
First you’re going to cut out the body of the sweatshirt by copying one you already own. Fold the sweatshirt in half and trace it on the fold, like in the cami pattern from our cami tutorial. Don’t forget to add seam allowance! Then do the same for the sleeves. Trace around the armhole to create a curved shape like in the diagram above.

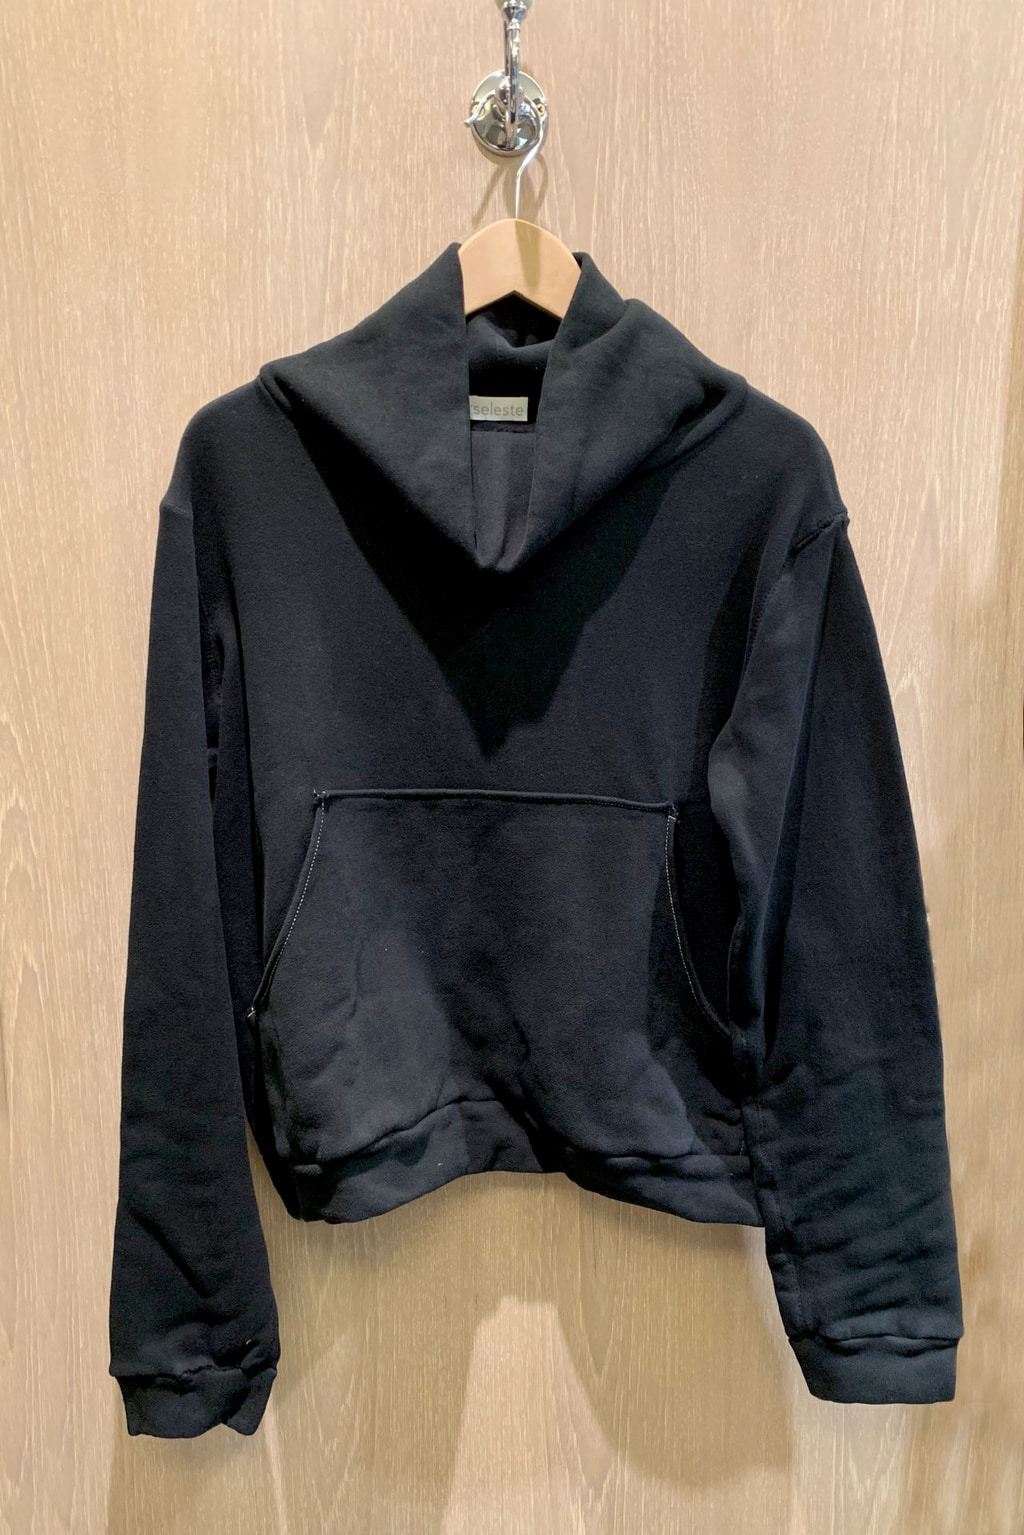
The turtleneck piece is a rectangle measuring a loose circumference of your neck by double however high you want the turtleneck to be. Mine was 18 x 12 inches so it could still fit over my head. To make the kangaroo pocket, cut out a trapezoid with slightly curved edges, make sure there’s about a centimeter of seam allowance on all sides.
Step 2. Sew the pocket
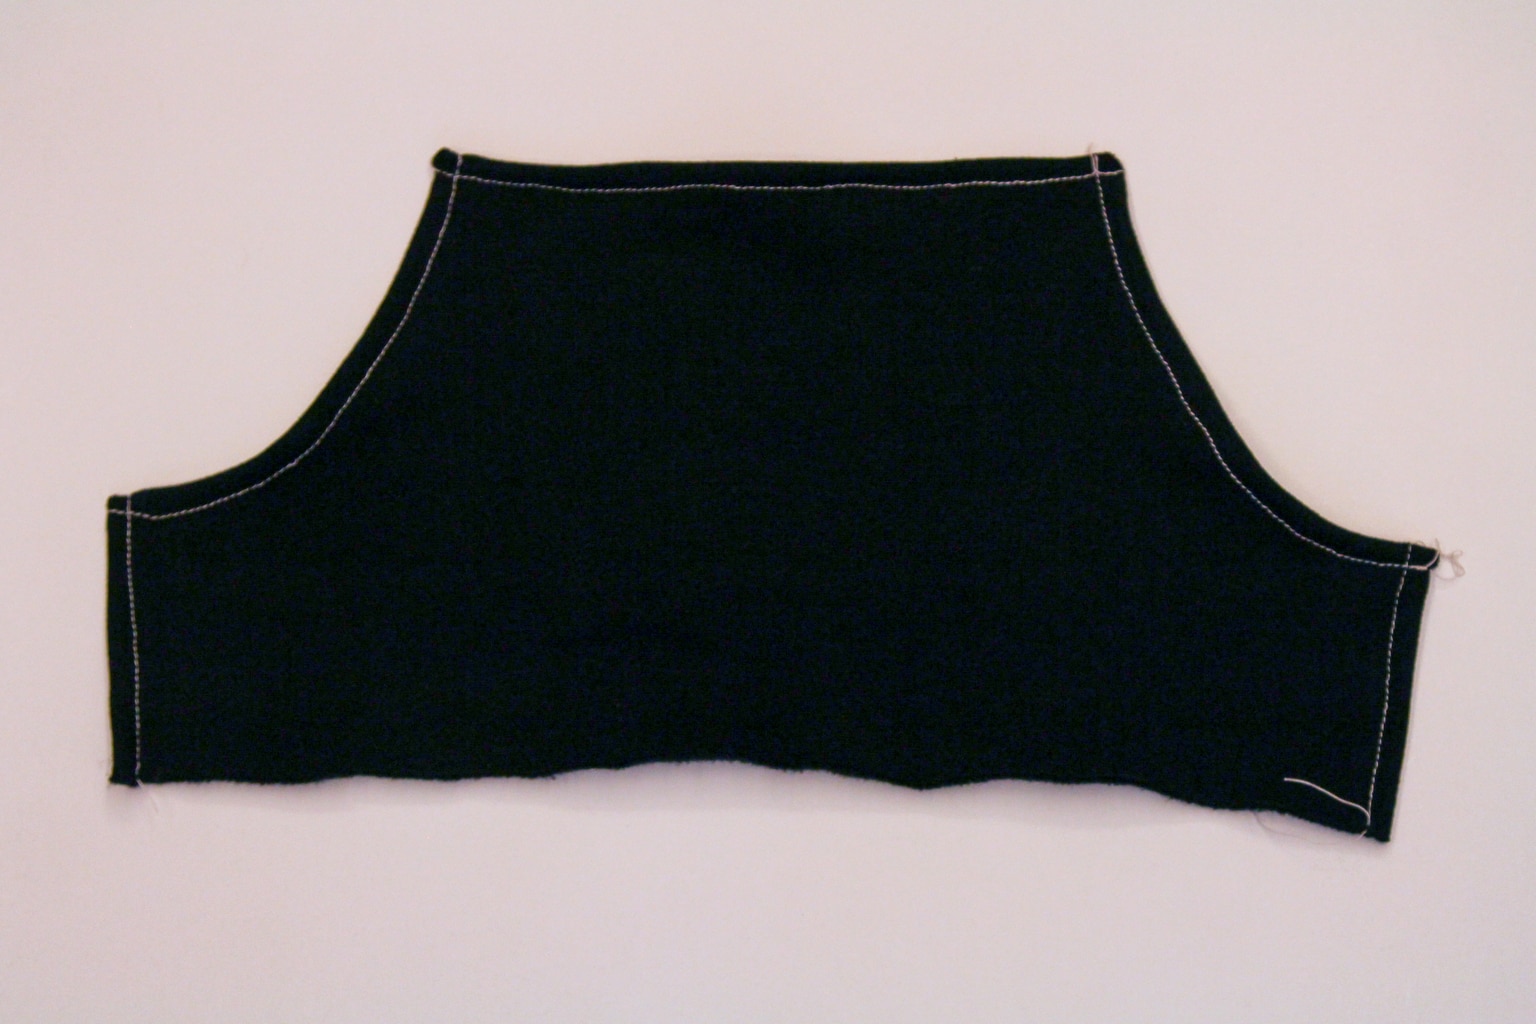
Hem all sides of the pocket piece by folding it over by a centimeter and sewing down. I used a contrasting color of thread here but if you’d rather, a matching color thread will hide any wobbly lines. Then attach the pocket to the bottom of the front piece, by sewing another line where you’ve stitched and leaving the bottom edge free. Finally sew the sweatshirt together along the shoulders.
Step 3. Attach the turtleneck
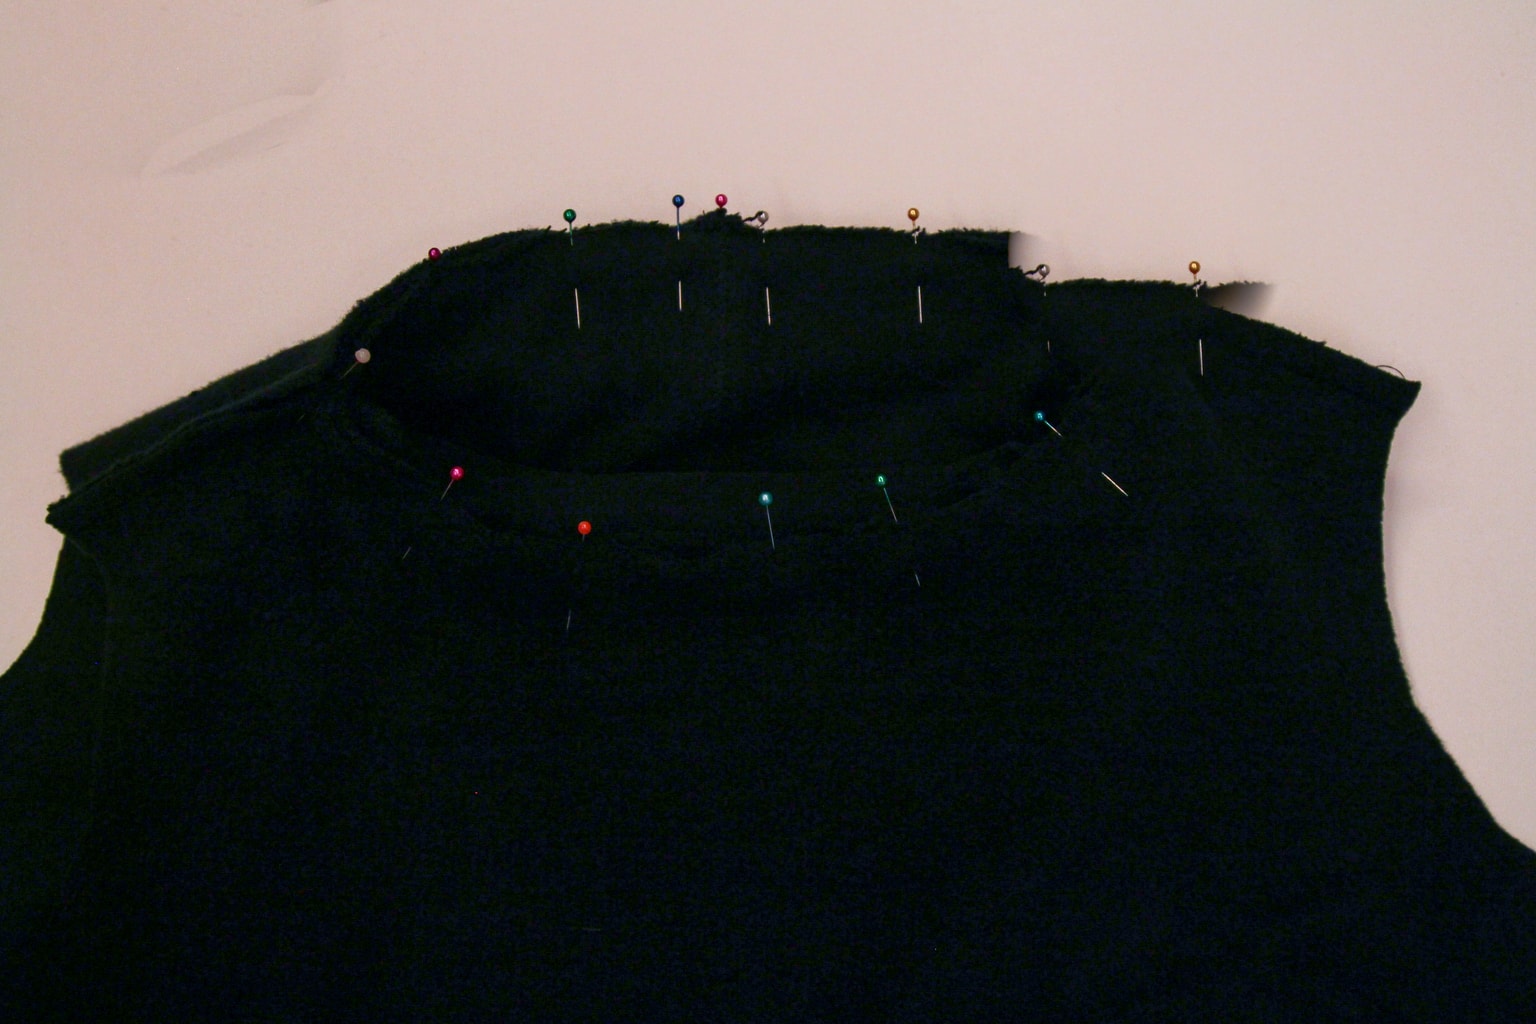
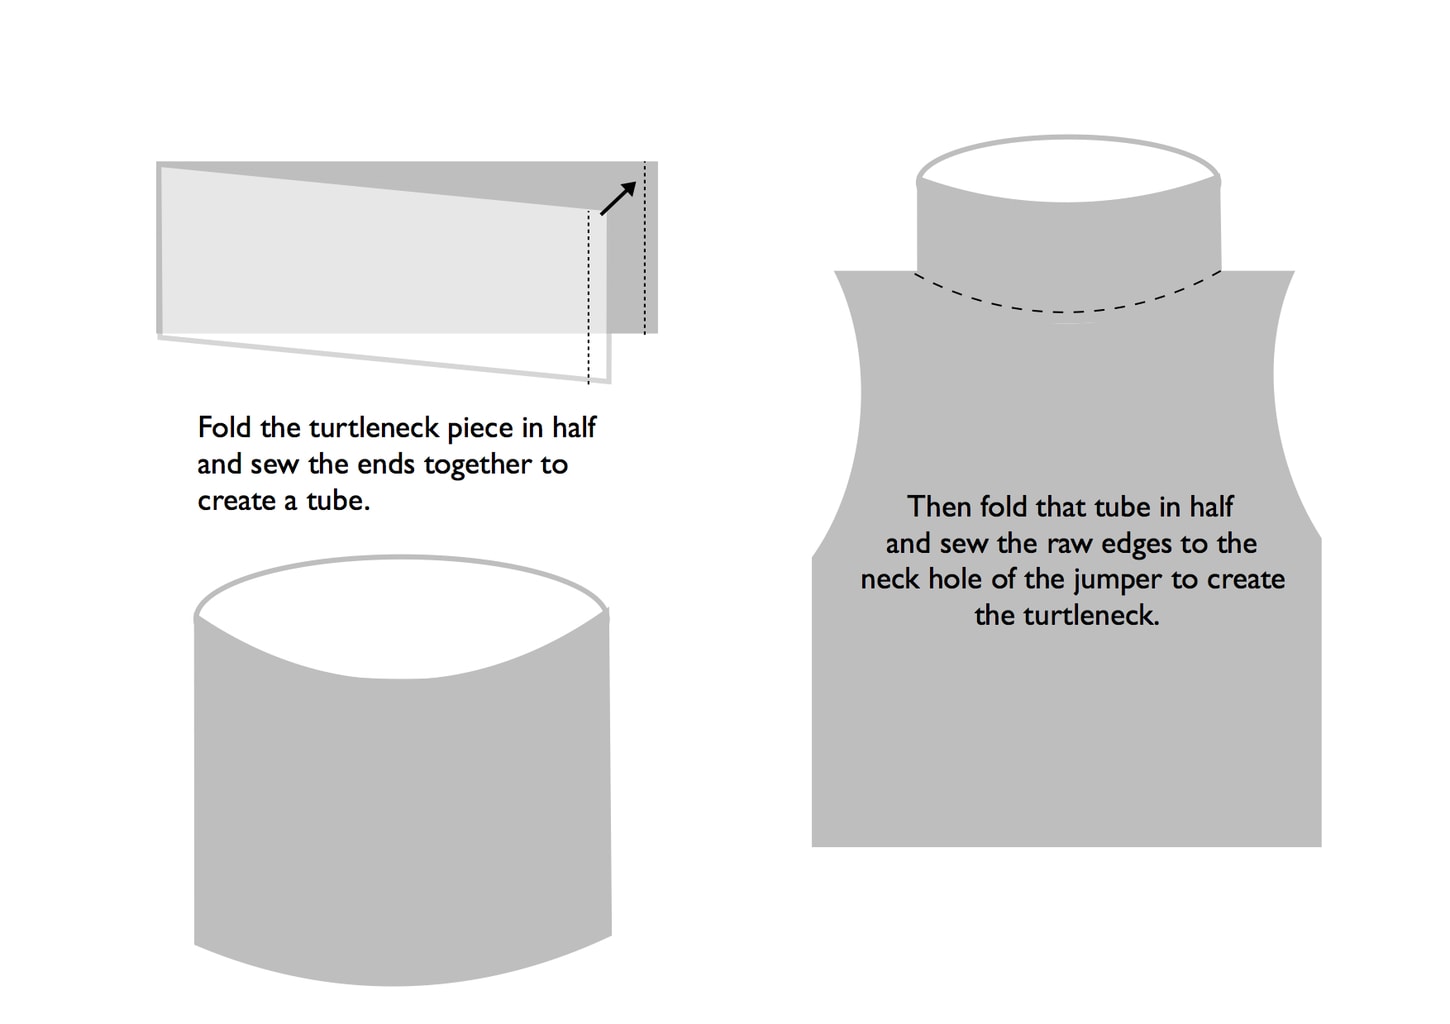
Then create the turtleneck by folding the pattern piece in half lengthways then sewing down that edge. You should now have a tall tube that is double the height you want it to be. Then fold that tube in half right side facing out and pin the bottom edge to the neck part of the turtleneck, making sure the seam of the neck piece is in the back. Sew it in place along the neck.
Step 4. Sew up the sides
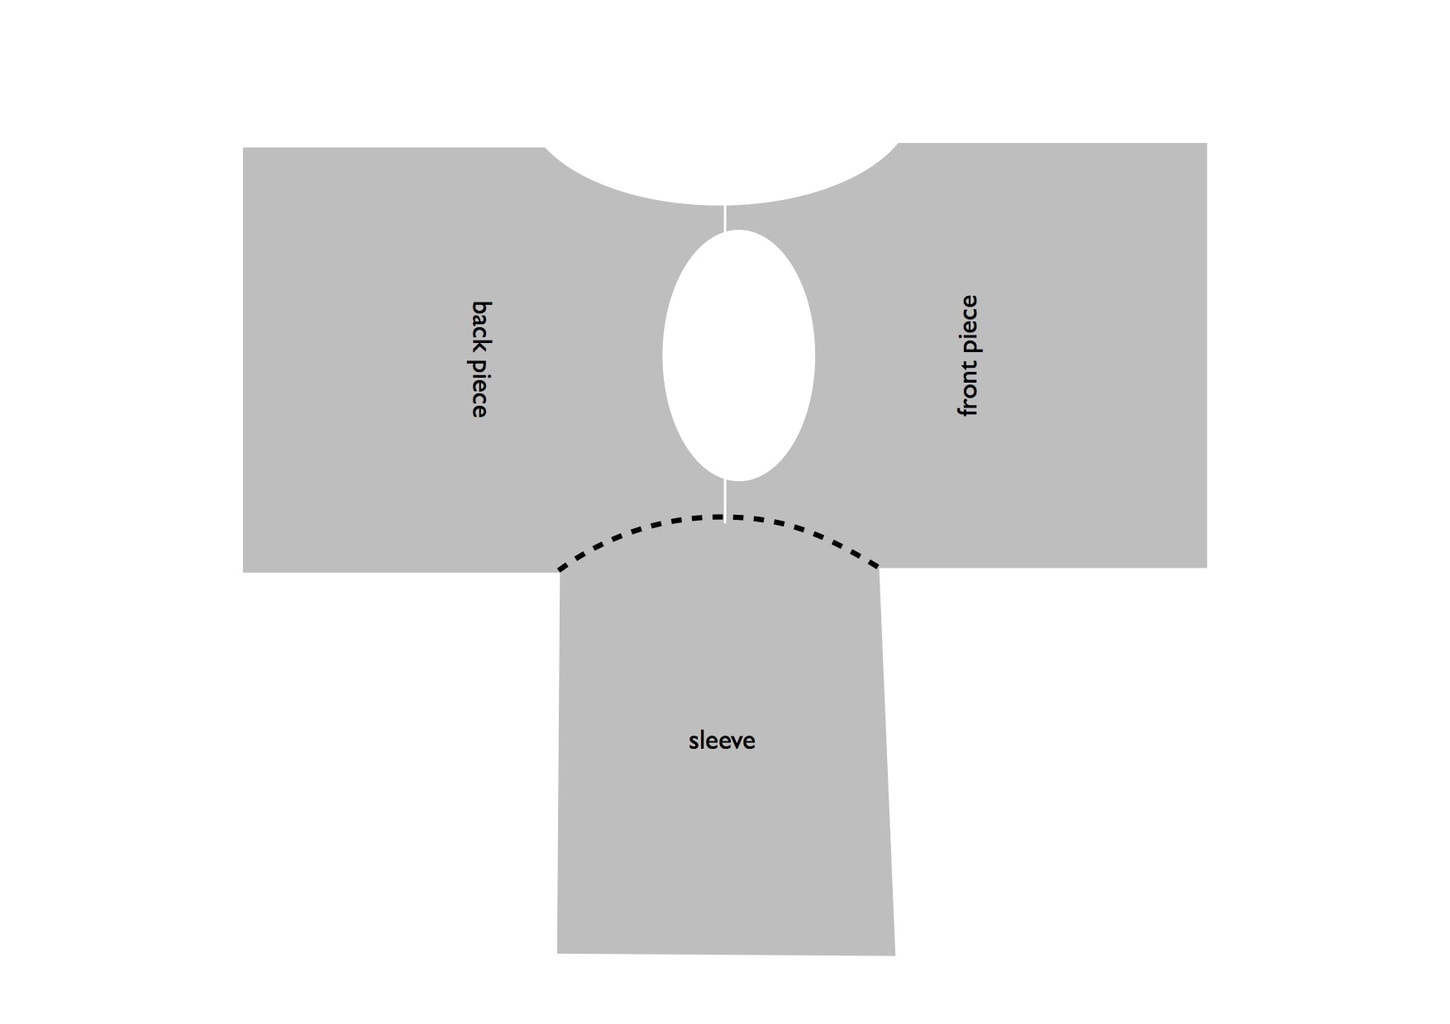
Attach the sleeves to the armholes by laying the pieces flat like in the diagram above and sewing the round part of the sleeve to the armholes, right sides together.
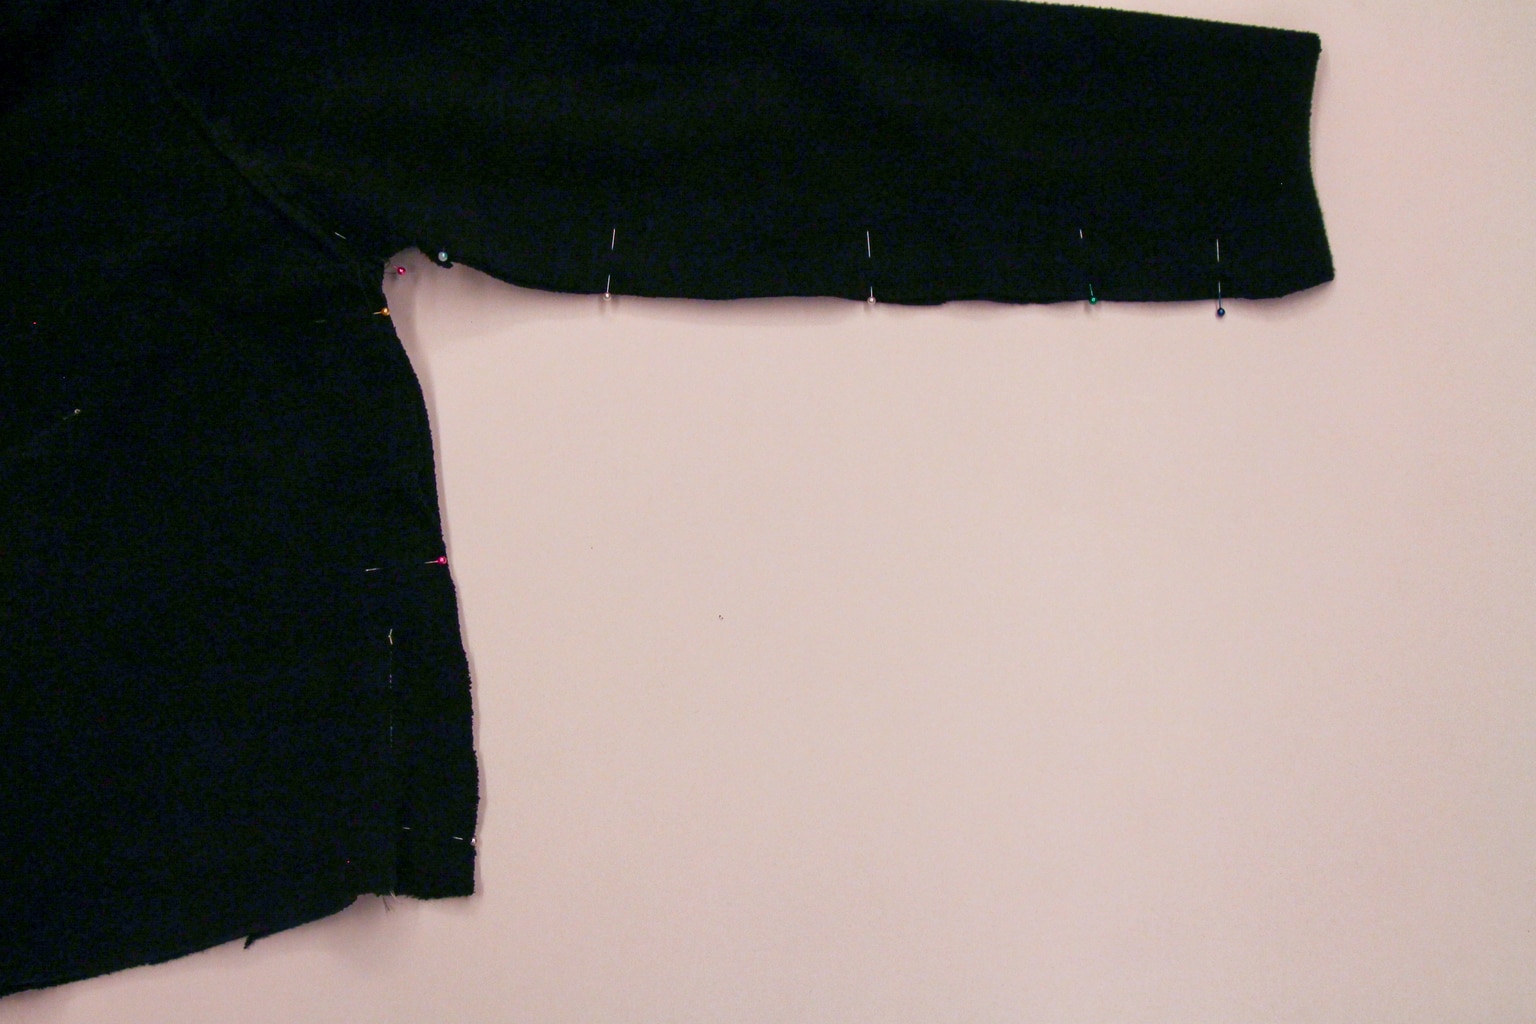
Then with the right sides facing each other, sew the arm and the side seams in one go, sewing in an ‘L’ shape. Finally, hem the cuffs and the hem by folding over a one inch seam and sewing down. And you’re done!
So that was a complicated tutorial, and I hope you were able to follow it. It comes together sort of like the cami I showed you a few weeks ago, but because winter clothing has more pieces, it’s a bit of a puzzle trying to fit everything together. Don’t feel discouraged if you have to undo a few seams or it takes you a while to sew.
As always leave any questions you may have in the comments, and tag us in your creations on Instagram — we’re @collegefashion!