
For this week’s nail art post, I came up with the idea of doing owl nails, since a lot of readers enjoyed my past tutorials featuring animals or other characters. Owls have become a really popular animal in the past few years, even making appearances on items like necklaces and graphic shirts. I know some people find owls a bit haunting (those eyes!), but these animated versions are oh-so cute and adorably likeable.
Believe it or not, this is a very simple design to execute, so you don’t need a lot of skill or precision to do owl nail art! It actually follows the general techniques in the Totorro nail art I did, so it’s not too challenging – promise.
Read on for our owl nail art tutorial:
Table of Contents
What You’ll Need:
- A lilac polish – I used Sally Hansen Xtreme Wear’s Lacey Lilac
- A taupe/brown polish – Essie’s Glamour Purse
- A white polish – mine was China Glaze’s White on White
- A black polish, or black black nail art pen
- A dotting tool or toothpick
Step 1:
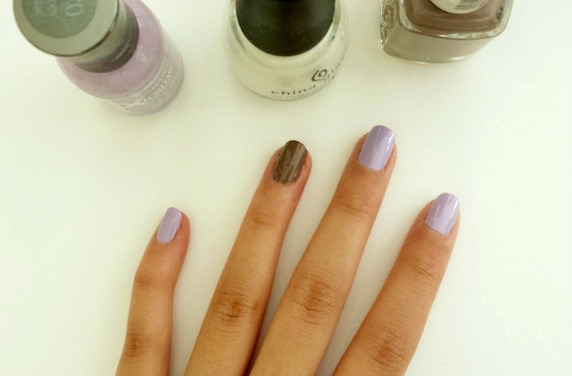
Paint on all your base colors – I did an accent nail in brown. I decided to paint on two owls and decided to keep the second one the same color as the rest of my nails.
Step 2:

Once that’s dried, paint a half circle on whichever nail(s) you want your owl to be on, as shown above.
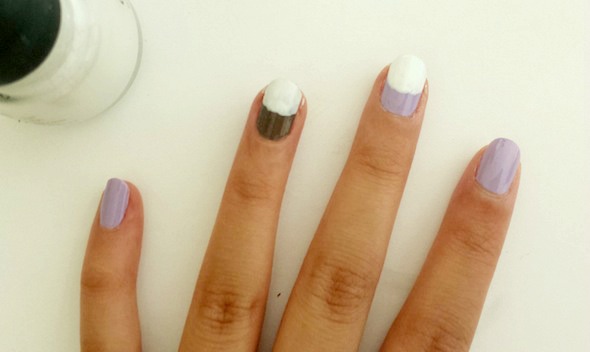
In my case, I chose my ring finger and middle finger. I did both of them at once rather than working one nail at a time. That way, I could let one dry while working on the other. Also, don’t worry about making the edges look perfect – they don’t have to be!
Step 3:
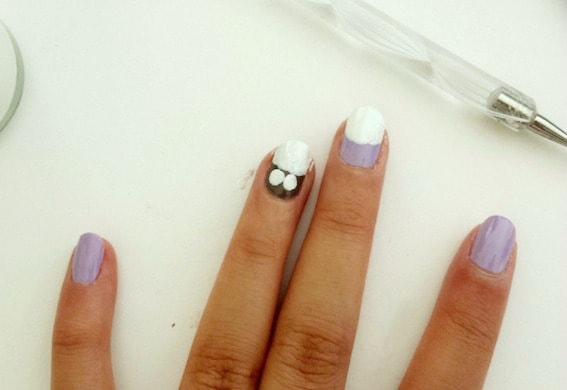
Starting with the ring finger, dot two eyes using a dotting tool. If you don’t have one that’s large enough, pick up a big blob of polish and stipple it in a circular motion to create a larger circle.
Step 4:
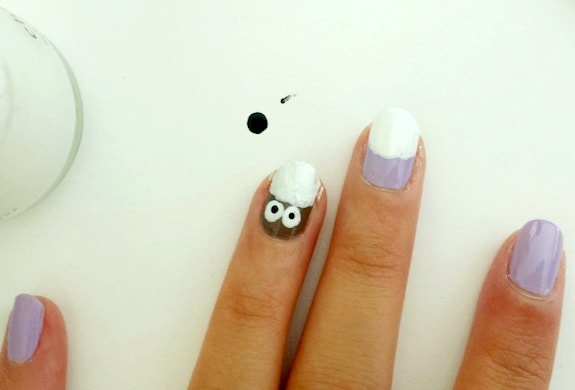
Add two pupils using a black nail polish. If you want, you can place them strategically to emit different emotions. (Maybe looking to one side?)
Step 5:
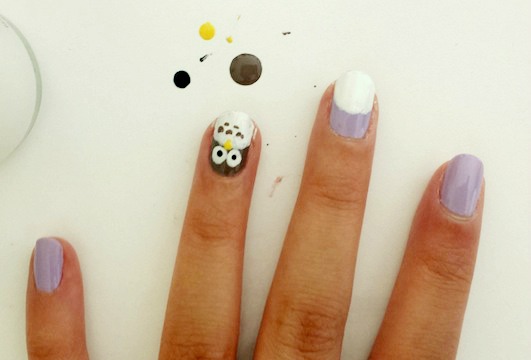
Once that’s done, take some yellow polish and a toothpick/very thin dotting tool and make a little triangular beak below the eyes. To make the ‘feathers’, use the toothpick/thin dotting tool and make little half circles underneath the beak with the color of your accent nail.
Step 6:

The other owl uses the same general ideas and techniques from the first one, except that I did half circles for the eyes instead to make it look like it’s asleep. So cute!
You can play around with what your owls look like, as well as the colors you use. You can also use the same concept to make penguins (using black and white and adding little wings on the side). Finish it off with a top coat and enjoy your adorable new nail art!
How do you guys feel about owls?
Will you be trying out this tutorial? What did you think about it? If you have any comments, questions or suggestions about what other animals (or anything else) you’d like me to do, feel free to leave them down below. Thanks for reading!
I luv
it!