
Today I have a super cute and easy tutorial on how to make your own faux leather zipper clutch. Simple leather clutches with contrasting zippers are all the rage right now and they’re so simple to make! The best part? This project can be tailored to your personal fashion sense – you can make a clutch in any color or style you want for a totally custom look.
Table of Contents
You Will Need:
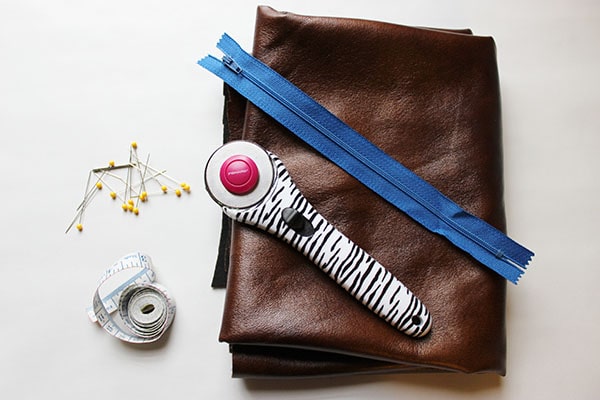
- About 1 yard of faux leather or vinyl in the color of your choice – those with soft backings work best (from fabric stores)
- Fabric scissors or cutting tool
- A zipper, ideally in a bold color (I used a 10″ zipper)
- Pins
- A ruler
- A needle & thread or a sewing machine
Step One:
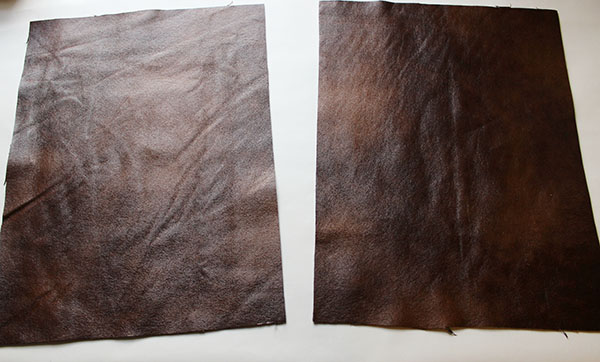
Use your ruler to measure out the size your want your clutch to be (mine was 10″ wide x 14 1/2″ long and my zipper was 10″ to match the width) and use your cutting tool to cut out two matching pieces of vinyl in the size you want.
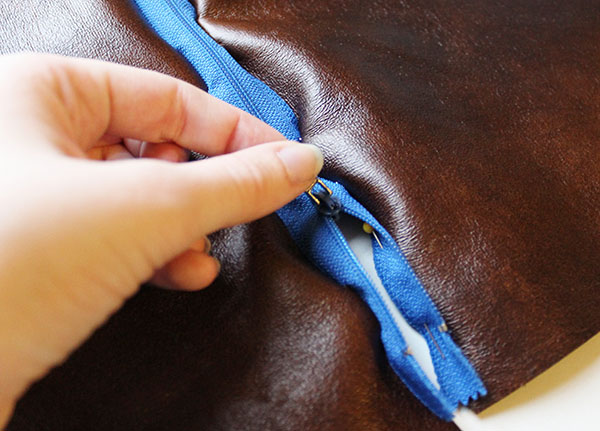
Step Two:
Lay your zipper and your first piece right sides together (as shown) and sew along the dotted area. If you are using a sewing machine, make sure you use a zipper foot.
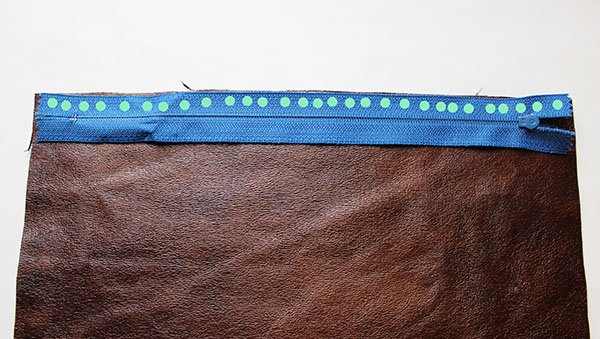
Repeat this step with your other piece, making sure that the right sides are showing when you sew.
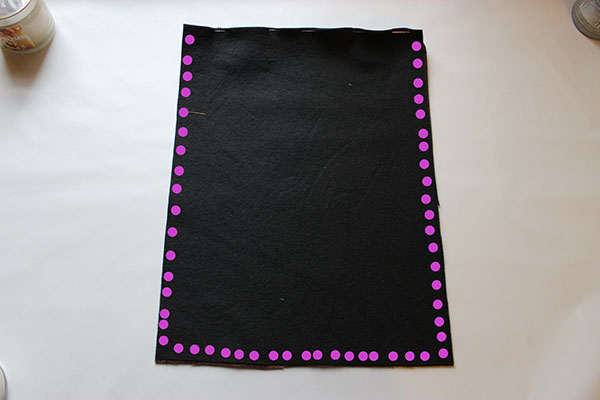
Step Three:
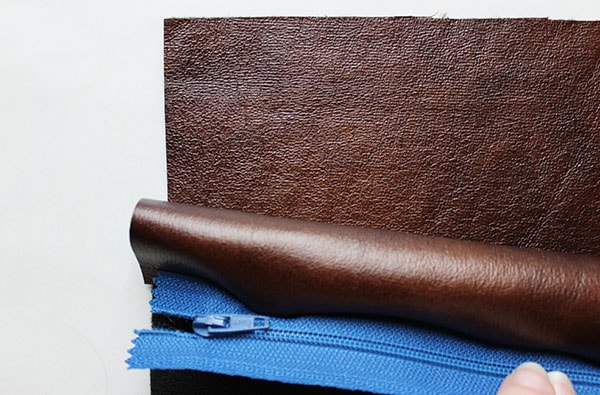
Now that you have your zipper in place, your pieces should look something like this. Sew up the sides and bottom seams, as indicated by the dots below. (Don’t forget to lock your stitches.) Also, be sure to unzip the zipper about 3/4 of the way so you can turn your bag right side out.
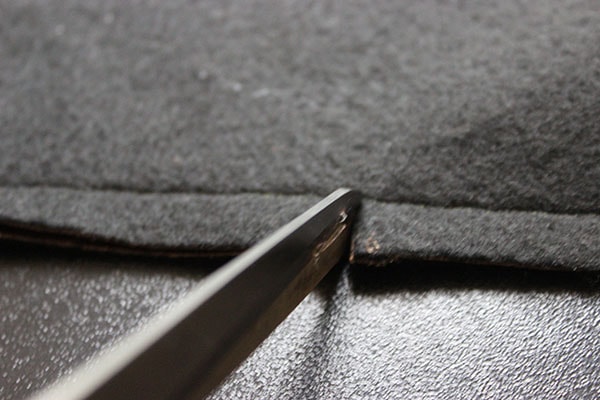
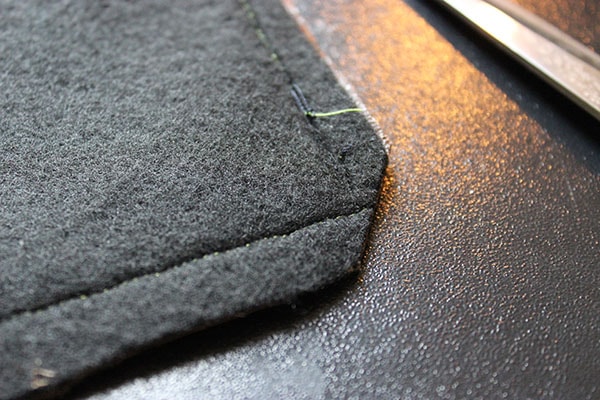
Step Four:
Before turning your bag right side out, cut off the corners just below the sewn lines and make small snips along the sides of the clutch without cutting into the seams.
Step Five:
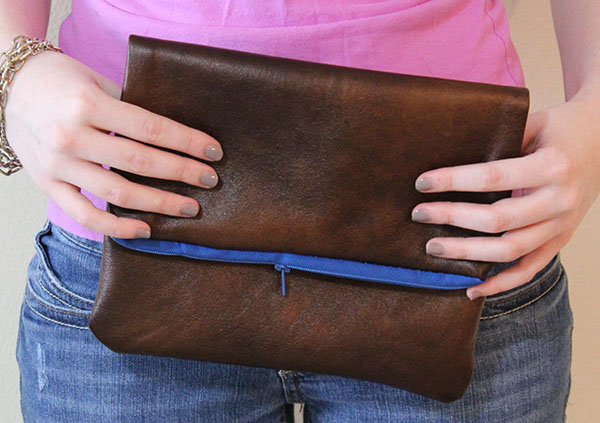
Turn your clutch right side out and shape the corners. Mine is a more rectangle shape so I folded the top over for an on-trend look. Now go out and rock your new awesome clutch!
What do you think?
Do you like this DIY? Are you a fan of the zippered clutch trend? What colors would your pair together for this? Are you going to give it a try? Leave a comment and let us know!
I am totally making this. Thank you!
This is fabulous, I never would have thought of making my own clutch…how much did the materials cost you?