I would like to begin by letting you know that I am not a crafty person. In fact, I am probably one of the least artistically-inclined people in the world, and possibly in human history. I am not good at things. And I say this only to help anybody reading this who usually immediately gives up when they see the word “DIY” understand that if I, the least crafty person ever, can handle this tutorial, then so can you.
So as I’ve mentioned before, here in Central Florida we don’t mess around when it comes to Christmas. The Main Street decorations at Disney World literally went up the day after Halloween.
My signature go-to thing has always been headbands because I, like so many, just want to be Blair Waldorf, so I knew I wanted one for this season that was extra festive. There are a bunch of Etsy stores and I even have some friends who make the most gorgeous flower crown Mickey ears, which I’ve been craving for like, EVER.
However, I knew no one was going to be able to make me anything in the two days I had before my first Christmas-y event, so I decided to brave the terrifying land of do-it-yourself. AND IT ACTUALLY WENT OKAY.
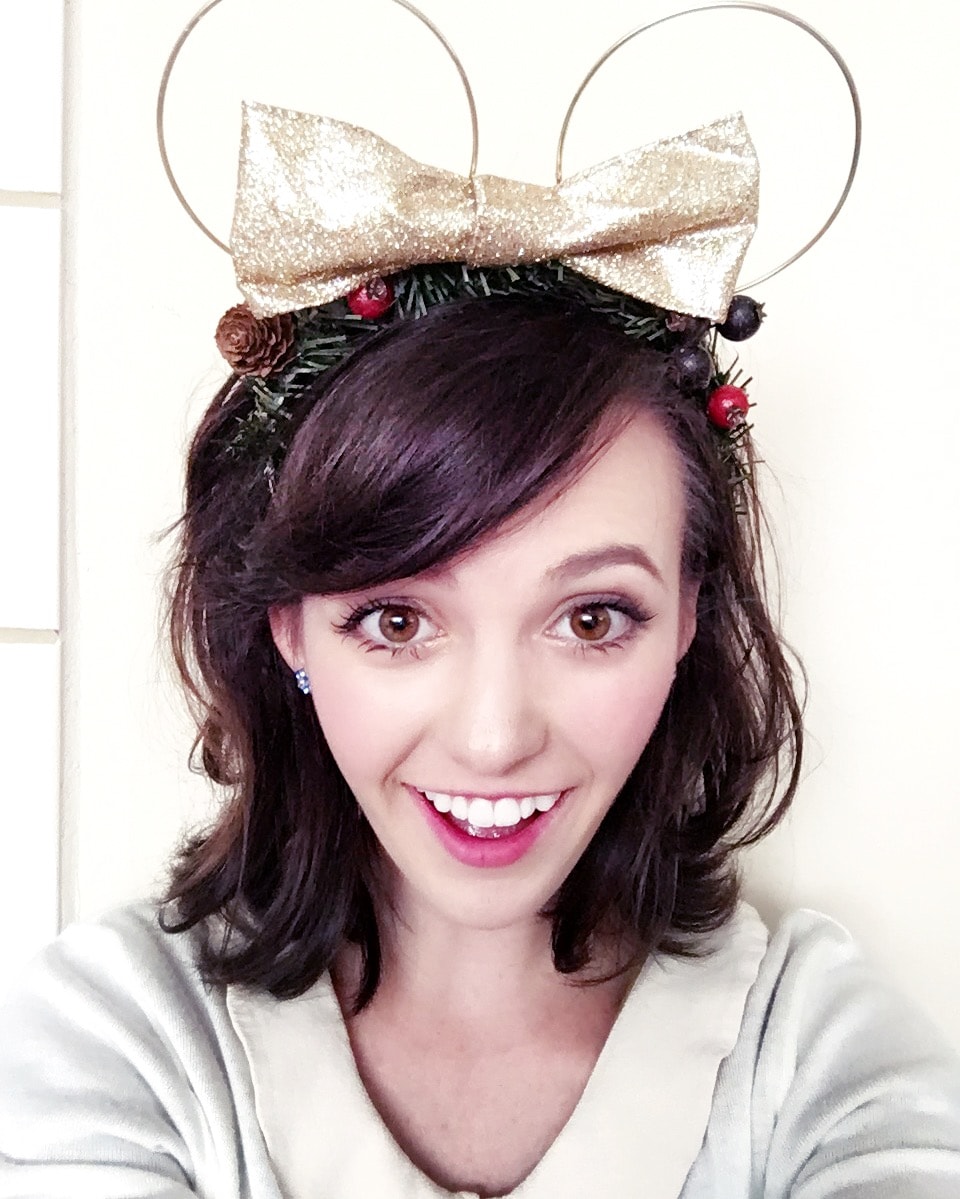
See?? My DIY Xmas Mickey ears don’t suck, right?? And it was so easy you’re going to laugh!
Table of Contents
Stuff you need:
– Wire clippers
– A solid headband
– Christmas garland
– Hot glue gun
– Ribbon
– Holiday florals (for embellishment)
-Floral wire
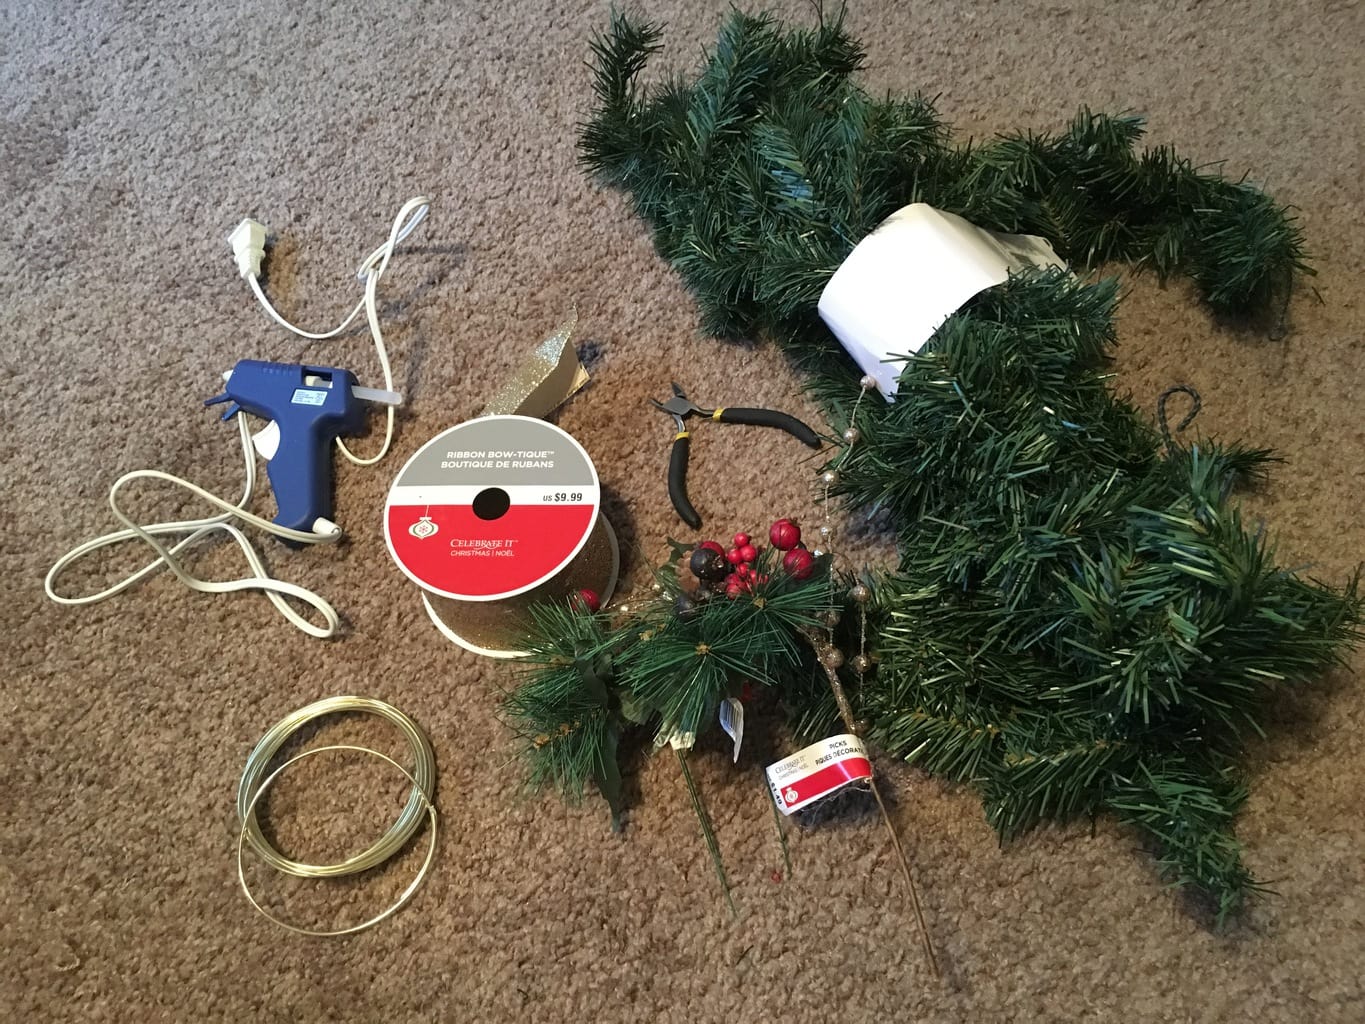
I got almost everything (except the headband, which was from Hobby Lobby for $1.99) from Michaels, which I would totally recommend because everything holiday-related in the store was 50% off this week.
How to make them:
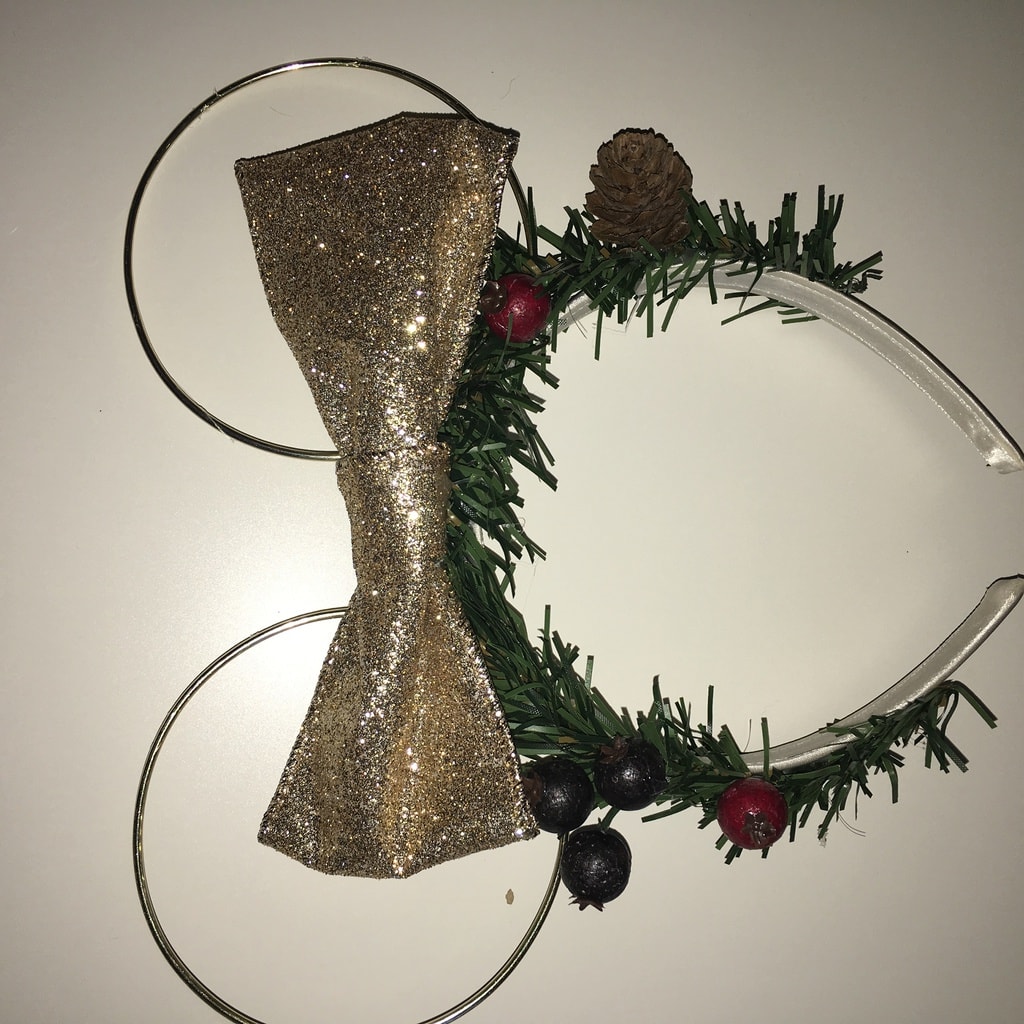
1. The first thing I did was use the wire clippers to cut the ears out of the floral wire. I used some that was already shaped into circles, but if you want to alter the shape of your wire then all you have to do is wrap it around a cup. Make sure you give yourself about a half-inch more wire than needed to complete a full circle so that you will have more surface area to glue onto the headband. Glue the wire rings where you want them on the headband and hold for about fifteen seconds to let the glue dry.
2. Next I used the wire clippers to cut some one to one-and-a-half-inch segments off of the garland. It only took about four to cover the headband which still left me enough garland to either make like fifty more headbands or totally encase my living room. Just hot glue the segments to the headband, overlapping so you can cover as much of the actual headband as possible.
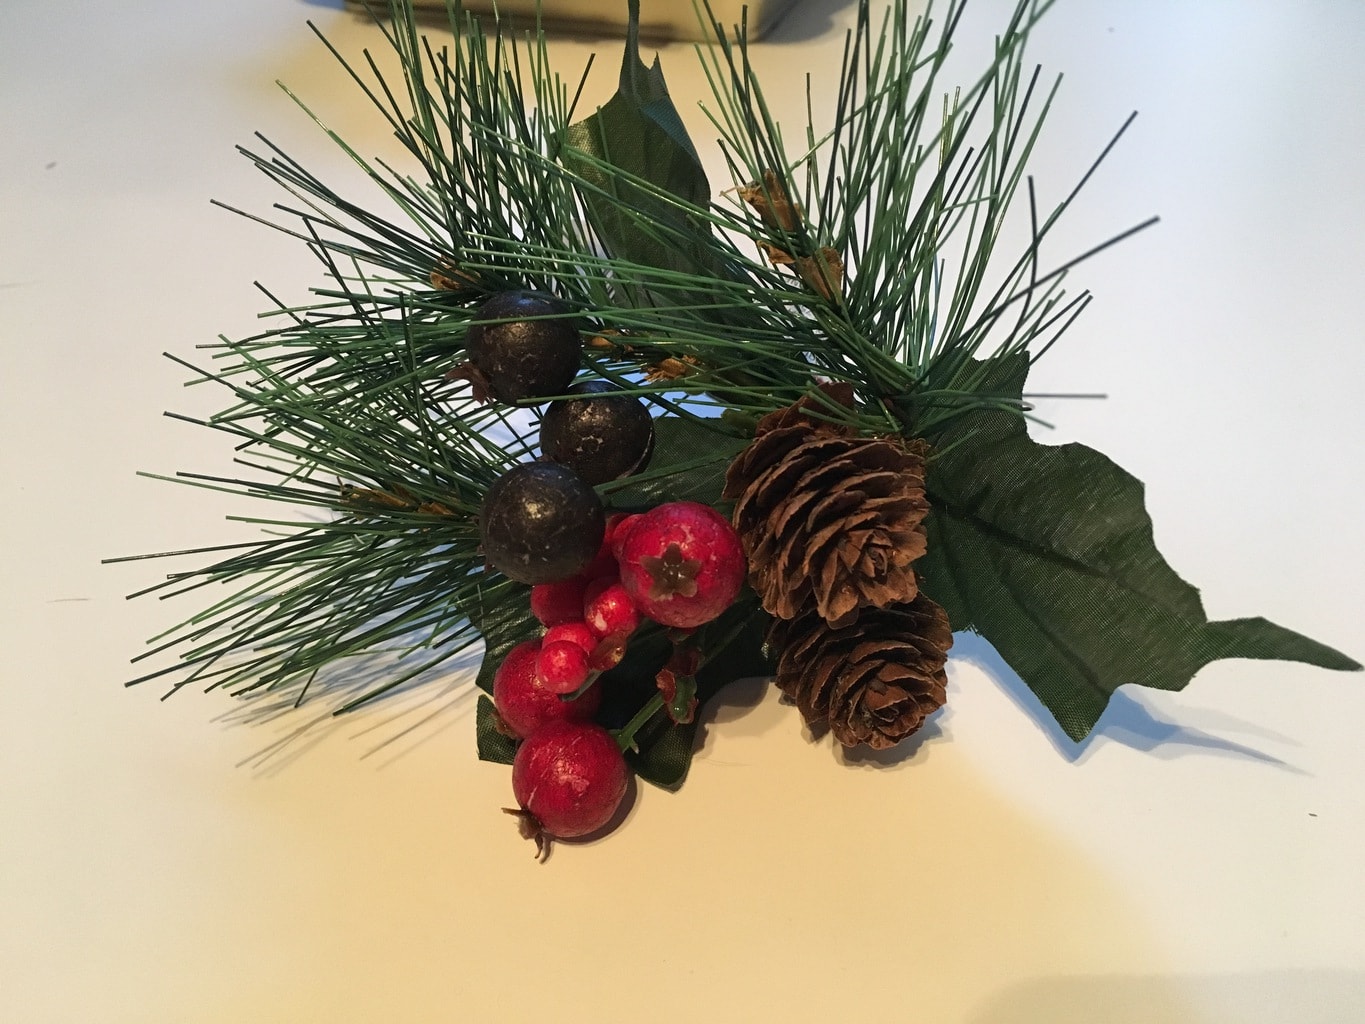
3. FUN PART. Use whatever Christmas florally things you want as decoration! I got a couple of those individual stick things they sell in the holiday section of Michaels, you know, the ones that look like little sprigs of pinecones and holly and such. I cut individual berries and pinecones off to make them into smaller, more manageable pieces, and then hot glued those directly onto the garland. I only used four small pieces because I was afraid that my head would look like a nest otherwise, but in retrospect I could probably go for some more.
4. The final touch is the bow – I’m sure you could find a tutorial of a better way to do this, but I made my bow by cutting about six inches of a two–inch-thick gold glittery ribbon, gluing the ends together so they overlap into a loop, and then wrapping and gluing a smaller, thinner piece of the same ribbon (about three inches long and about half an inch thick) around the center so that it cinches, forming the bow shape. I then glued the bow to the center of the headband, in between the two ears.
And here’s the finished product! Like I said, it was super easy. It only took about half an hour to make. The tools and everything all cost about $25, but I still have enough leftover of everything to make many, many more headbands (I just need to go buy some more of the bands themselves).
These are the perfect accessory to any holiday activity, and would also make super cheap and easy Christmas presents for all your friends!
Will you be trying this DIY?
Send me pictures in the comments if so!
Cute!