
I am always buying t-shirts. Whenever I find a t-shirt that fits well, I always end up buying it in every color, which is great when I need a certain color tee. But oftentimes, I’m faced with a closet full of PWTs and nothing that is “fun.”
Since I love to DIY, I’m always looking for new ways to make an old t-shirt into something new. One of my favorite ways to do this is to use different dyeing techniques.
One technique I recently discovered is inverse dyeing: making a pattern on a t-shirt by allowing the dye to adhere to everything but your design. The process is super easy and cheap, and a great way to update that collection of t-shirts you have sitting around.
Table of Contents
What you’ll need:
- T-shirt (preferably white or pastel colored)
- Dye
- Gel Glue
- Bucket
- Gloves
- Cardboard
- Tarp or garbage bag to protect your floor
How to:
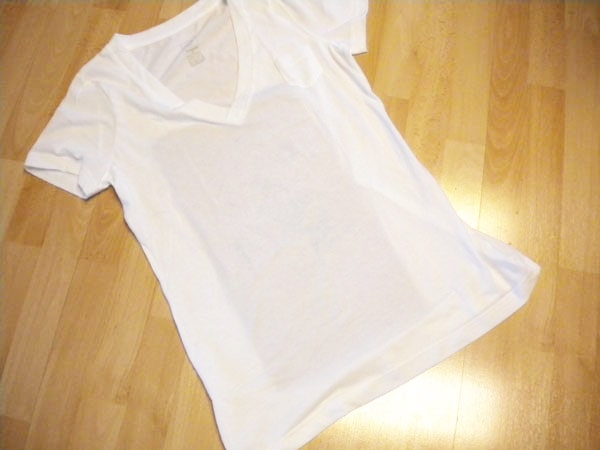
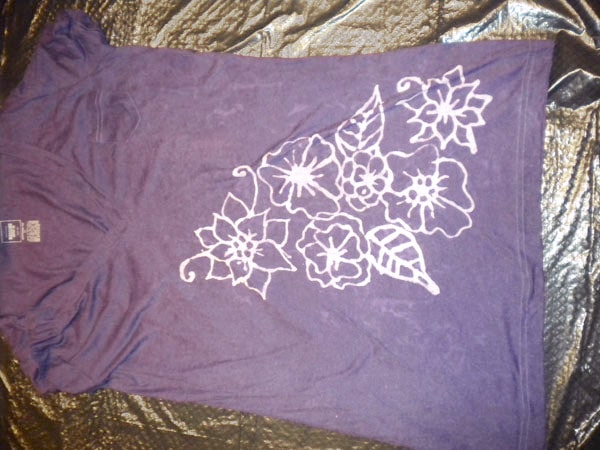
1. Lay your t-shirt out flat and place the cardboard inside the shirt, wherever you’re going to be making your design. The cardboard will protect the back of your shirt: After all, you don’t want the glue to soak through, since the places that have glue on them will stay white.
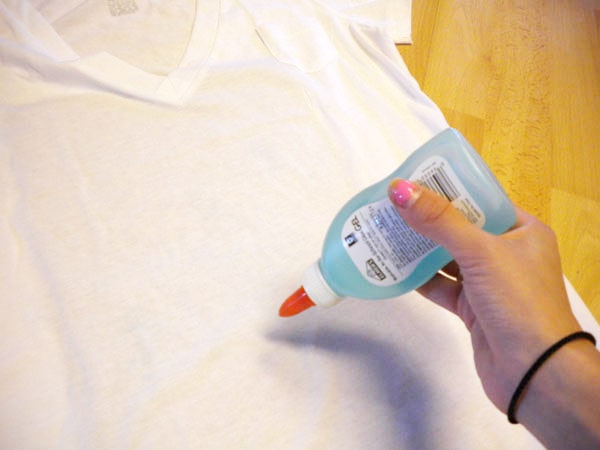
2. Begin drawing your design. Make sure you use gel glue, as shown, for this project. (You can usually find it at craft stores.) If you mess up on your design, just quickly wipe off the part you don’t want. The lines you draw will spread out, so don’t try to draw anything too intricate or it will look like a blob when it dries.
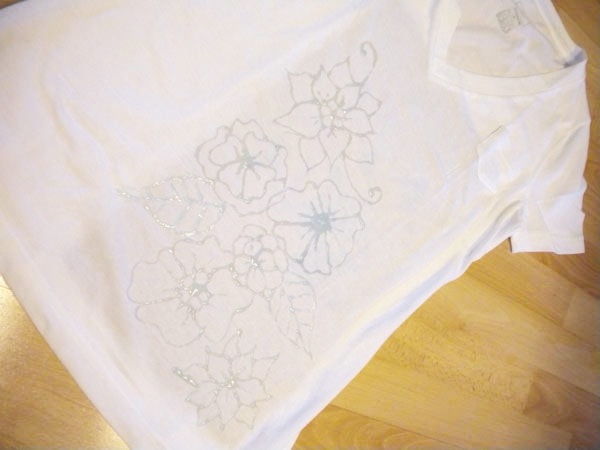
3. Once you’ve finished your design, let it dry for about 6 hours. It may take longer if your design has more glue. You can try to speed it up using a hair dryer, but when I tried it, I found the glue didn’t dry and the dyeing process became very messy.
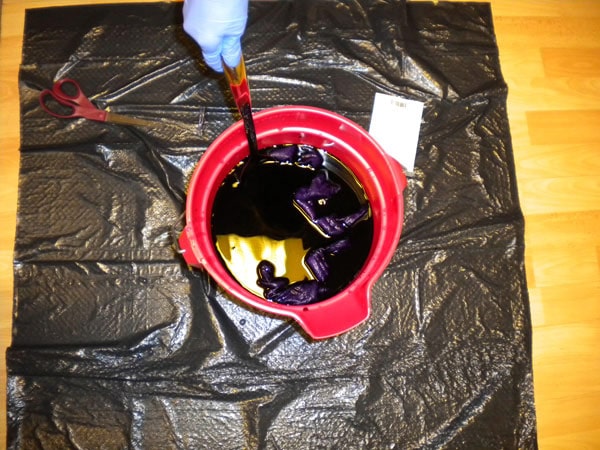
4. Prepare your dye according to the directions on the box and place your shirt inside the dye. Make sure the entire shirt absorbs the dye by gently mixing it. Let it soak for about 5 to 10 minutes before removing it.
5. Gently wring the excess dye out of the shirt. This needs to be done very carefully, because the water in the dye will make the glue wet again, and any part of the shirt that gets glue on it will not dye. Once you’ve squeezed the majority of the dye out, set the shirt out to dry overnight.
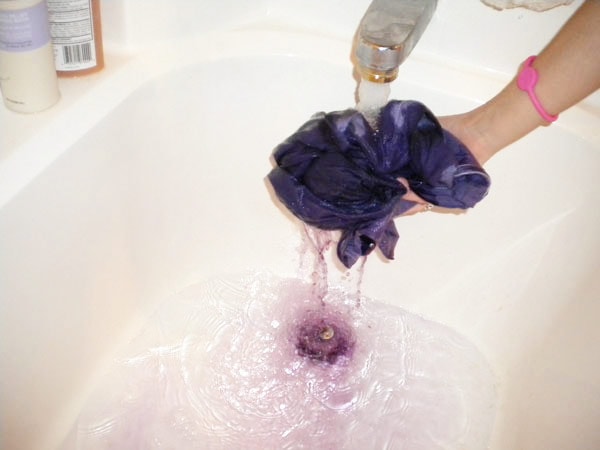
6. Rinse your shirt out once the dye has dried. When the water runs clear, throw your shirt in the washer. Do not wash anything else with your shirt since some more dye will come out in the wash. This will take the glue off and leave your inverted print.
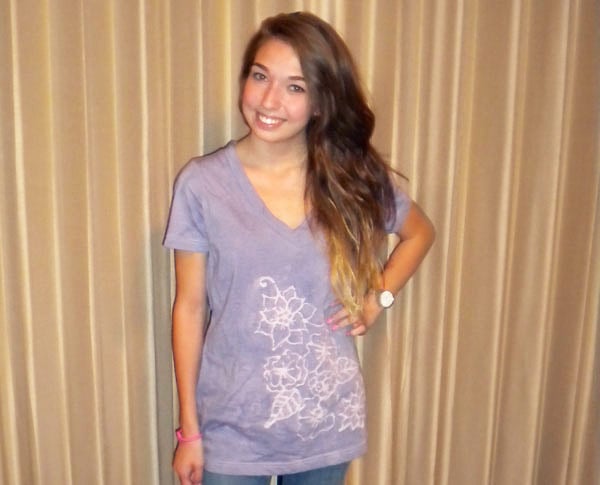
There you have it! You can change the design to anything you want- text, a silhouette, or a pattern all over your shirt. The possibilities are endless!
What do you think?
Will you be making your own inverted dye t-shirt? What designs will you be using? Have another DIY project idea? Let us know in the comments!
I’ve done this before! Make sure your glue is suuuuper dry and rinse the shirt well. We didn’t do either = and most of our lines were overrun with dye and the design mostly disappeared.
Wow, great idea. Will definitely be doing this.
What a nice DIY project! I will definetely try it out. The shirt looks pretty.